



How to Document Fallen Tree Roof Damage Before Filing a Claim
A step-by-step guide for Texas commercial property owners after wind, tornado, or tree-impact damage
Quick answer: Before filing a claim, protect people, stay clear of downed power lines and unstable trees, notify emergency services or utilities when needed, and photograph the tree, impact point, roof, elevations, interior damage, debris, and surrounding conditions before removal when it is safe. Record dates, times, dimensions, witnesses, emergency work, invoices, prior roof condition, and weather sources. Do not delay necessary mitigation merely to collect evidence, and do not climb onto a damaged roof yourself.
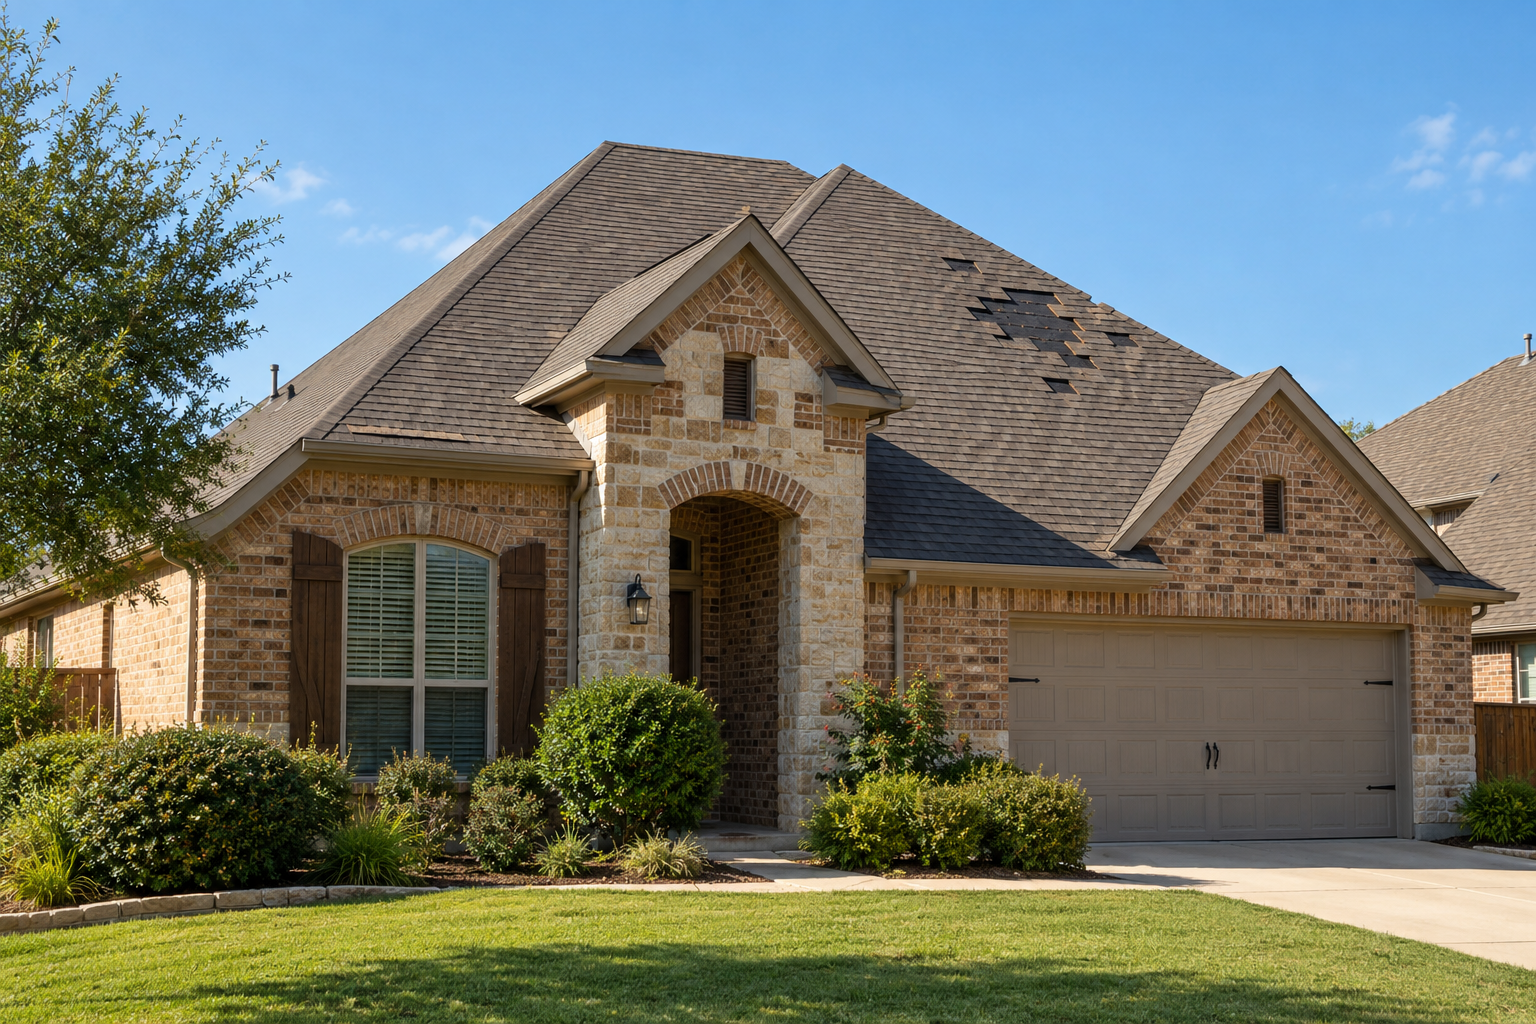
A fallen tree can damage much more than the visible roof surface. The trunk or limbs may affect membrane, metal panels, shingles, edge metal, parapets, skylights, rooftop equipment, insulation, deck, framing, walls, drainage, electrical service, fire-protection systems, and interior finishes. The impact can also create a hazardous suspended load: a tree may appear stable while branches, the roof, or the structure remain under tension.
Good documentation helps a property owner understand what happened, organize emergency decisions, obtain a reliable repair scope, and provide accurate information to an insurer. It does not guarantee that a claim will be accepted. The insurance carrier determines coverage under the issued policy, while the roofing contractor documents physical conditions and prices roofing work within its professional role.
Safety comes before photographs
Do not enter a building area where the roof, ceiling, framing, glass, masonry, electrical service, gas lines, fire sprinklers, or tree remains may be unstable. Keep occupants and bystanders away from the impact zone. Call 911 for immediate life-safety threats and contact the electric utility when power lines, service drops, transformers, or energized equipment may be involved. Treat every wire as energized until the utility confirms otherwise.
Do not walk beneath hanging limbs or attempt to cut a tree that is resting on a building. Loaded limbs and trunks can roll, split, spring, or shift as material is removed. Tree removal from a roof often requires trained arborists, crane operators, roofing professionals, and sometimes structural engineers working from a coordinated plan. Chainsaws, ladders, wet roofs, debris, and damaged structures create overlapping hazards.
Document only from safe locations until qualified professionals establish access. Ground-level photographs, interior photographs from unaffected areas, adjacent windows, security cameras, drone images collected by qualified operators, tenant images, and first-responder records can preserve useful information without exposing staff to the roof. No photograph is worth a fall, electrical injury, or structural collapse.
What to photograph before the tree is moved
Begin with wide photographs that show the entire building, tree, direction of fall, surrounding property, access roads, nearby trees, power lines, and visible debris field. Photograph all four elevations when possible. These images establish context that close-ups cannot provide. Include recognizable building features and roof-area labels so another person can understand where the impact occurred.
Next, take medium-distance views showing the trunk or limb in relation to the roof edge, parapet, rooftop equipment, skylights, penetrations, drains, gutters, walls, and interior rooms. Then capture detailed images of punctures, crushed materials, displaced metal, torn membrane, broken components, split wood, scraped surfaces, fasteners, branches, and water pathways. Use a ruler or other known scale only when it can be placed safely.
Photograph the tree itself. Record the apparent base or break point, uprooted root plate, snapped trunk, cut surfaces created during emergency work, decay that is plainly visible, major limbs, species if known, and the portion contacting the building. Do not draw conclusions about tree health, ownership, negligence, wind speed, or causation unless a qualified professional has evaluated those questions.
Create a precise incident timeline
Write down when the storm or incident occurred, when the tree was first observed on the building, who discovered it, what they saw or heard, when water entry began, when power or alarms were affected, and when emergency calls were placed. Record the arrival and departure of utilities, fire personnel, police, arborists, roofers, engineers, restoration crews, tenants, and insurer representatives.
Use exact dates and times whenever available. Preserve weather alerts, text messages, emails, security footage, access-control records, maintenance dispatches, tenant reports, photographs, and call logs. If the tree fell overnight and nobody witnessed the moment of impact, state that clearly. A reliable timeline distinguishes direct observations from later assumptions.
Continue the log through stabilization, tree removal, temporary dry-in, water extraction, testing, inspections, estimates, permanent repairs, and closeout. Record who authorized each action and why it was necessary. This helps prevent conflicting accounts and creates a practical management record even if the owner ultimately decides not to file a claim.
Document the tree-removal operation
Before work begins, ask the removal contractor to describe the planned sequence, equipment, access, exclusion zone, and coordination needed with roofing or structural professionals. Photograph the tree in place from safe locations. Record the company, crew contact, arrival time, equipment, crane or lift use, and any limitations. Keep the proposal, work authorization, invoice, disposal records, and certificates requested by the property owner.
During removal, photographs should show the tree before each major section is lifted, the contact points, newly exposed roof conditions, and any movement or secondary damage. The roofing professional should be ready to assess and temporarily protect exposed areas as removal progresses. When practical and requested by relevant parties, retain representative damaged roof materials or tree sections without creating a safety or storage hazard.
After removal, photograph the cleared roof from wide, context, and detail perspectives before temporary materials conceal it. Document dimensions, openings, crushed zones, damaged edges, penetrations, insulation, deck, framing, walls, equipment, and interior effects. Separate damage caused by the initial impact from incidental marks created during necessary removal when that distinction can be supported.
Map every roof and interior finding
Create a simple roof plan showing north, roof areas, access points, edges, parapets, drains, scuppers, gutters, expansion joints, penetrations, skylights, equipment, the tree-impact zone, and numbered findings. A close-up has limited value if the reviewer cannot locate it. Use the same finding number on the plan, photograph caption, narrative, recommendation, and estimate line item.
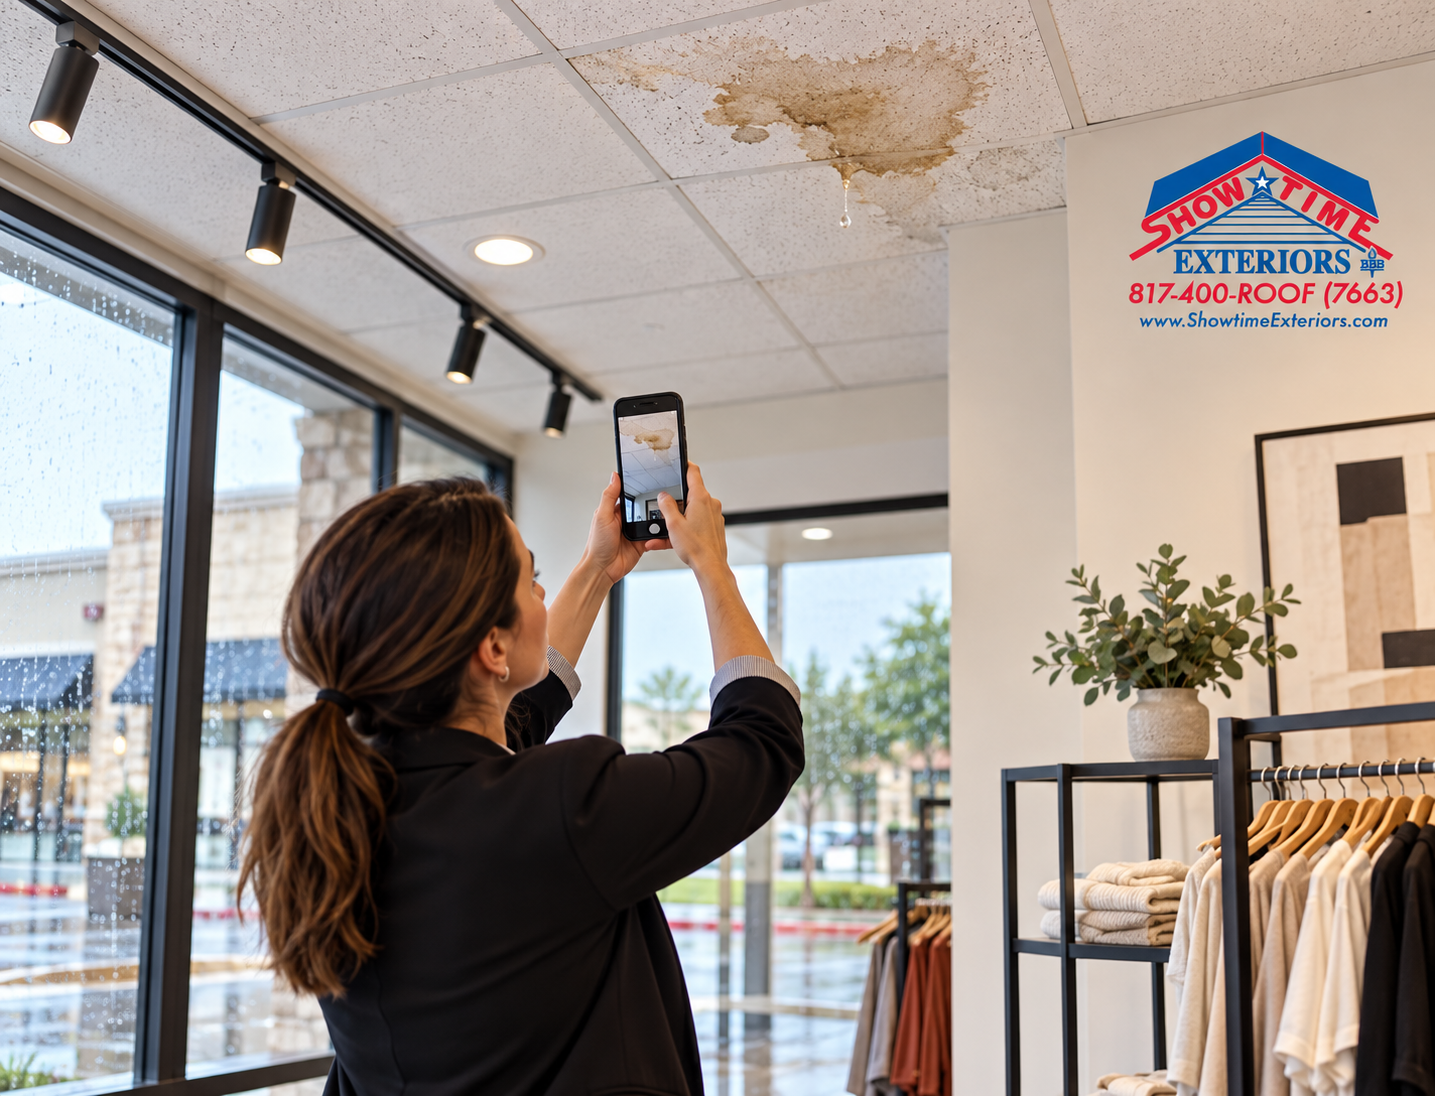
Map interior evidence separately and connect it to the roof plan. Record active dripping, stains, wet ceiling tiles, damaged walls, displaced fixtures, wet inventory, equipment exposure, odors, and restricted rooms. Water may travel along deck flutes, insulation, framing, conduits, or ceilings before appearing inside, so the interior leak point is not automatically the roof entry point.
Include approximate dimensions rather than vague descriptions such as “large hole” or “major damage.” Measure the affected roof area, punctures, crushed insulation, displaced panels, broken edge length, damaged parapet, wet interior area, and temporary covering when safe and practical. Identify whether dimensions are measured, estimated, or pending access.
Record pre-loss roof condition honestly
Collect roof installation documents, warranties, permits, prior inspection reports, maintenance logs, repair invoices, leak records, moisture surveys, photographs, tenant reports, and equipment-change records. Pre-loss documents can establish the system, age, known defects, repair history, drainage, and condition before the tree fell. They may also reveal older issues that should not be attributed to the new event.
A credible report distinguishes impact damage from wear, deterioration, corrosion, failed sealant, ponding, blocked drains, old patches, recurring leaks, brittle materials, and deferred maintenance. Do not hide unfavorable records. An accurate separation of new, old, and uncertain conditions is more useful than a report that labels every defect as storm-related.
If no prior records exist, say so. Use available evidence such as aerial imagery, owner photographs, service invoices, manufacturer labels, permits, tenant history, and observed construction, while identifying limitations. An apparent roof age should not be presented as a verified installation date without support.
Inspect beyond the visible impact point
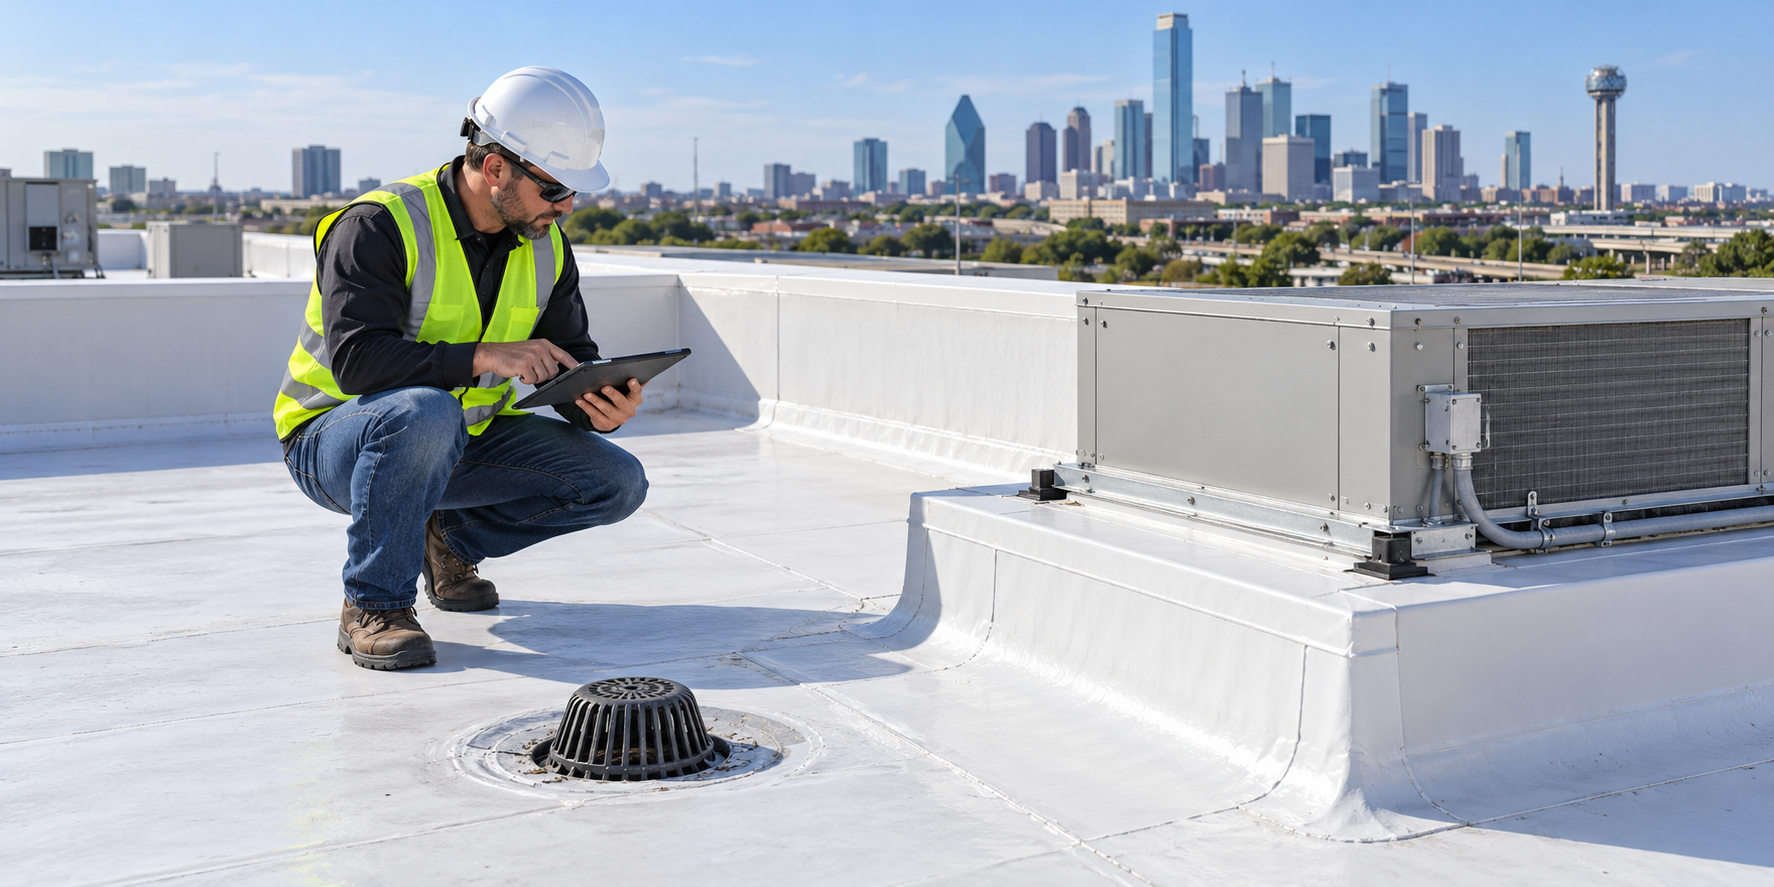
Tree impact can transfer force into components outside the obvious opening. Inspect nearby seams, membrane attachment, panels, clips, fasteners, decking, framing, parapets, coping, edge metal, gutters, drains, skylights, curbs, pipes, conduits, and equipment supports. Look for displacement, cracking, bending, open laps, punctures, crushed insulation, fractured welds, pulled fasteners, and changed drainage.
The interior assessment should consider ceilings, walls, structure, fire sprinklers, electrical systems, HVAC, plumbing, stored goods, machinery, and tenant spaces. Roofing professionals should document roofing conditions and recommend other qualified trades when the issue exceeds their scope. Structural movement, fire-protection damage, energized equipment, or compromised mechanical supports may require immediate specialty review.
Do not assume the absence of an interior leak means the roof escaped damage. A puncture may not leak until rain reaches it, water may be temporarily blocked by debris, or insulation may retain moisture before water becomes visible inside. Conversely, an interior stain may predate the tree impact. Compare timing, location, physical evidence, and prior records.
Evaluate concealed moisture and deck damage
A tree can puncture the waterproofing and expose insulation or deck to rain. Water can also enter around displaced flashings or damaged equipment. Visual inspection alone may not establish the boundaries of wet material. Depending on the roof and project, moisture surveys, cores, test cuts, probes, or other methods may help define conditions before repair or replacement.
Every test method has limits. A scan anomaly is not automatically wet insulation, and a dry test cut proves only the selected location. Document equipment, calibration or procedures, survey boundaries, weather, roof conditions, anomalies, verification points, layers, insulation, deck, and repaired openings. State what was tested and what remains unknown.
Deck or framing damage may be hidden below roofing materials or obscured by the tree. Softness, deflection, cracking, corrosion, fire effects, crushed profiles, broken members, or unusual movement may justify structural review. Do not load damaged areas with crews, materials, debris, water, or equipment until safe access and capacity have been assessed.
Document emergency mitigation
Emergency work may include barricades, interior protection, water extraction, temporary drainage, temporary power coordination, tree stabilization or removal, temporary dry-in, board-up, debris control, and security. Photograph conditions before and after each action when safely possible. Record the reason, authorization, labor, equipment, materials, quantities, dates, and contractor.
Do not delay reasonable measures needed to protect people and prevent additional damage while waiting for ideal documentation. When evidence must be altered or removed for safety, document why, preserve photographs and measurements, retain representative material if appropriate, and notify relevant parties. The policy and circumstances determine the insured’s duties.
Temporary repairs must be labeled as temporary and followed by a permanent plan. A tarp or patch does not remove wet insulation, repair damaged deck, restore displaced equipment, or confirm the surrounding assembly is sound. Reinspect temporary protection after rain, wind, tree-removal activity, or any renewed interior water entry.
Special concern: aging gravel-surfaced BUR roofs
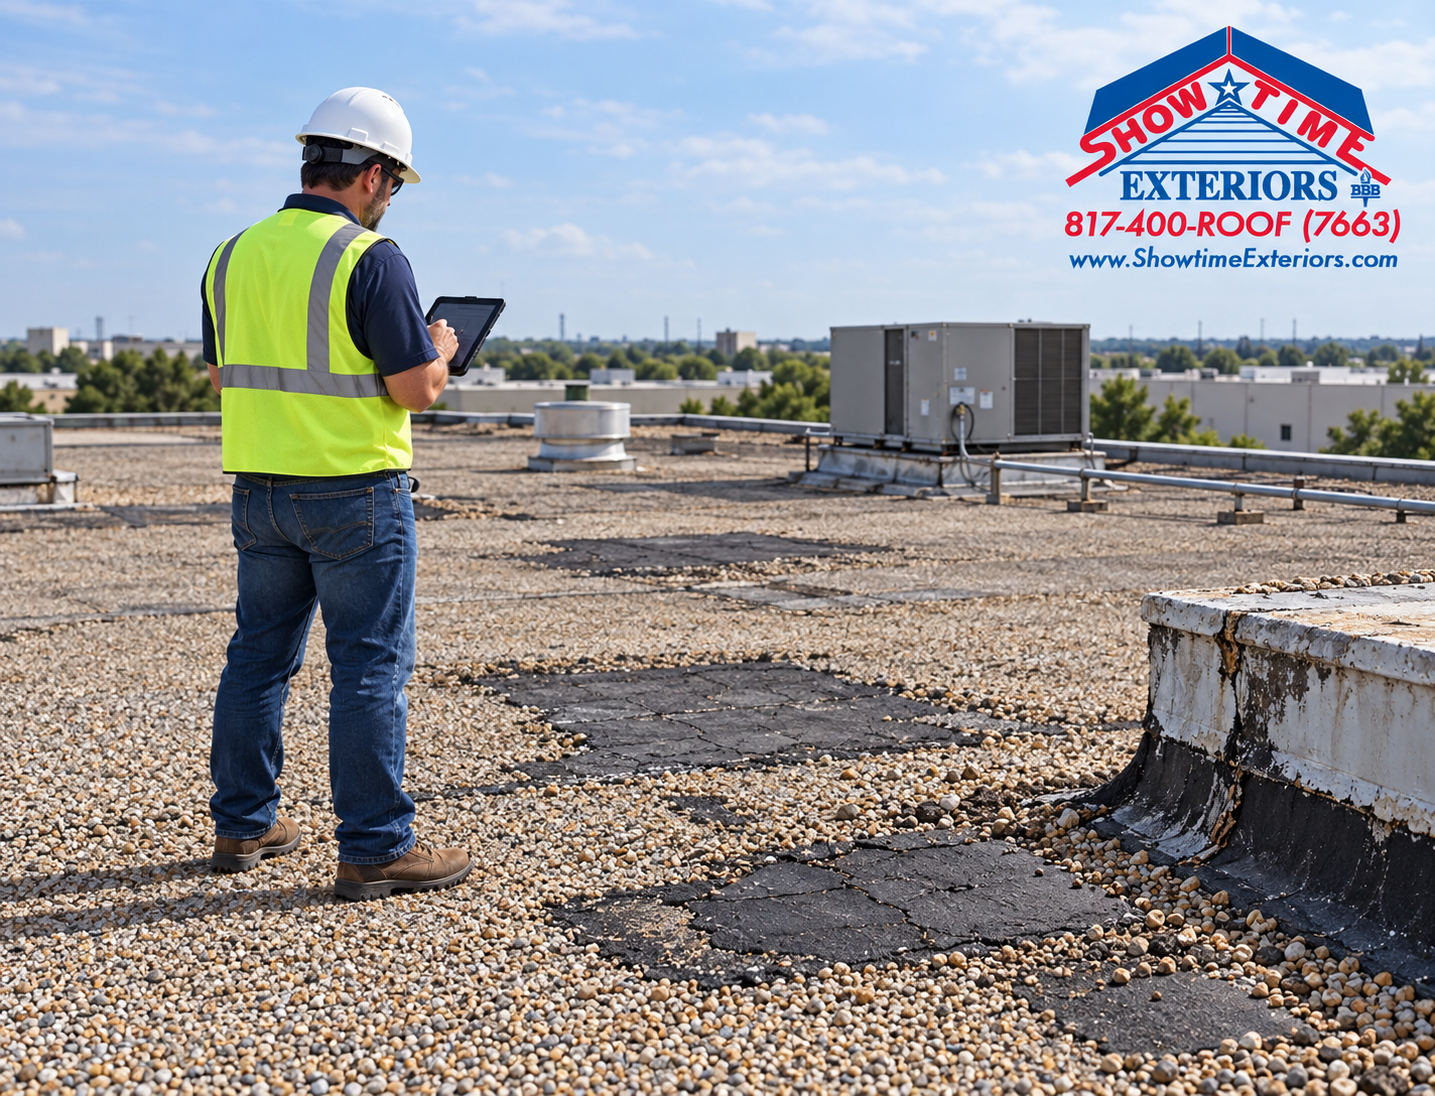
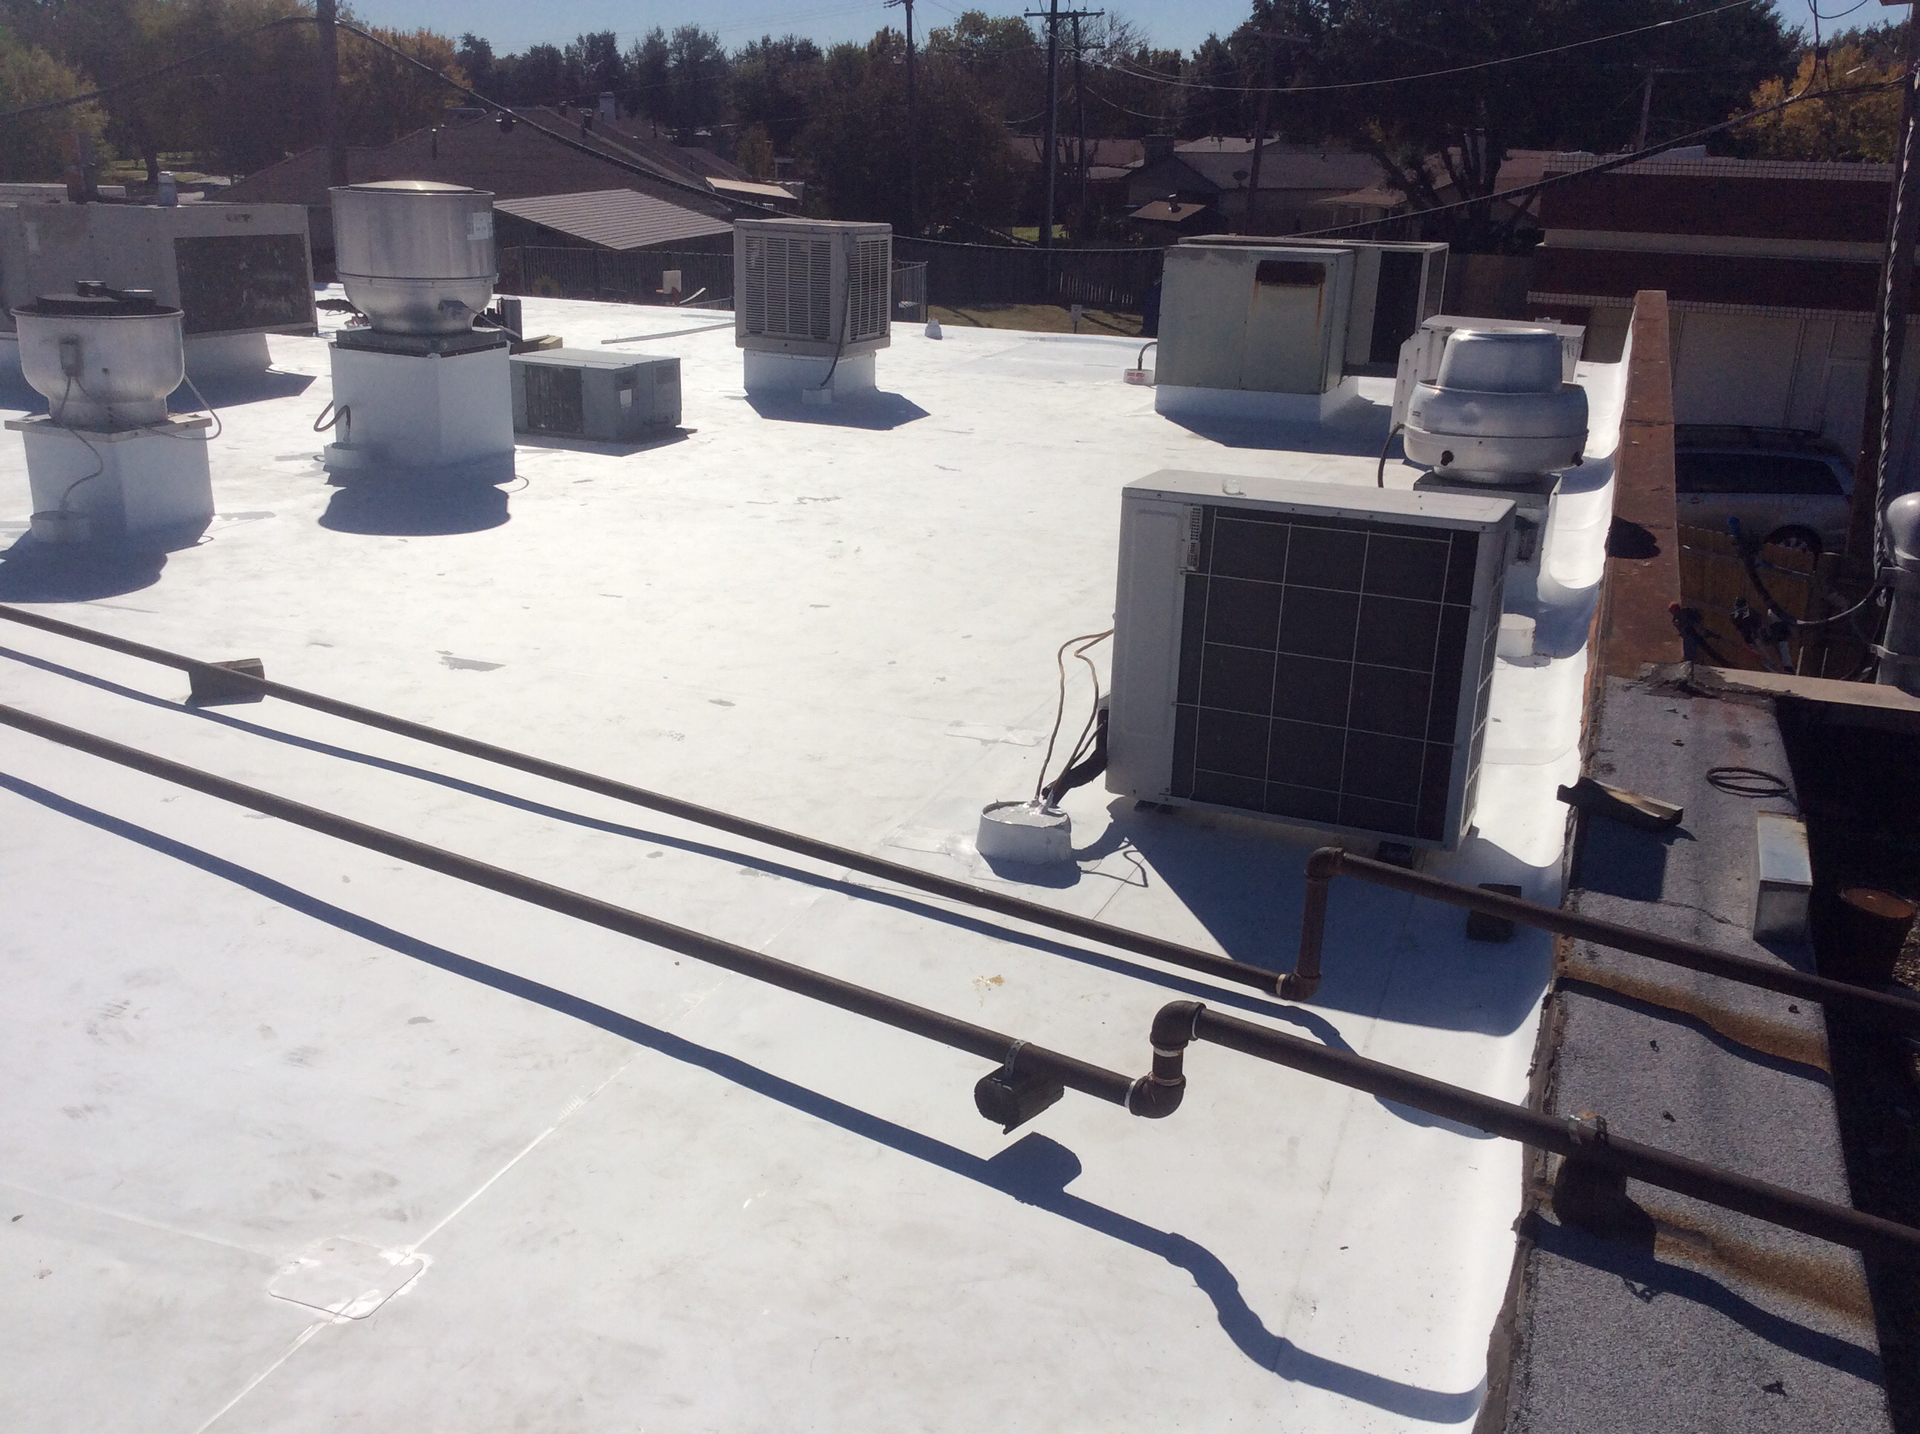
Fallen tree damage can be especially difficult to evaluate on an aging built-up roof with gravel surfacing. Gravel may conceal the membrane, flood coat, cracks, splits, blisters, prior repairs, moisture-related deterioration, and the full boundary of impact damage. Displaced aggregate or bare areas show that the surface changed, but they do not reveal every condition below.
Consistent with Showtime Exteriors’ campaign, do not portray aging gravel as an advantage or treat visible aggregate as proof that the waterproofing remains sound. Map gravel displacement, exposed membrane, debris, vegetation, drainage, punctures, impact points, previous patches, perimeter conditions, interior leaks, moisture findings, and authorized representative investigation locations.
If the roof is old, repeatedly leaking, broadly wet, difficult to inspect, or creating underwriting concerns, a permanent replacement assessment may be more appropriate than continuing to add patches around concealed conditions. Replacement planning can address wet materials, deck, insulation, drainage, attachment, edges, penetrations, equipment coordination, and selection of a more inspectable system.
Weather evidence: useful but not enough by itself
Save official weather alerts, local National Weather Service information, NOAA Storm Events records, radar or station information used by qualified professionals, and photographs of regional tree or utility damage. Record the source, event date, location, reported measurement, and retrieval date. Weather evidence can help establish that damaging conditions occurred in the area.
Regional weather data does not by itself prove when a particular tree fell, why it failed, or which roof components were damaged. Pair weather information with site-specific evidence: tree position, break or root condition, debris direction, physical impact, roof openings, displaced components, interior timing, witnesses, security footage, and pre-loss records.
Avoid claiming an exact wind speed at the building unless a reliable site-specific measurement supports it. Estimated or nearby gusts should be labeled accurately. A roofing report should focus on observed physical conditions and identify the source of any reported weather information rather than presenting third-party data as the inspector’s direct observation.
Insurance information to gather before filing
Obtain the complete policy, declarations, schedules, deductibles, roof-related endorsements, valuation provisions, exclusions, duties after loss, notice requirements, protective-safeguard conditions, and contact instructions for the reported date of loss. Commercial policies vary, and renewal documents or summaries may not contain every controlling term.
Ask the insurance professional which deductible may apply, whether tree removal or debris handling has separate limits, what emergency expenses require documentation, whether the insurer wants to inspect before permanent work, how damaged materials should be preserved, and which forms or estimates are requested. Get important instructions in writing.
Do not rely on a roofing contractor to interpret coverage. Showtime Exteriors can document roof conditions, identify repair needs, prepare roofing estimates, and perform authorized work. The insurer makes the coverage and payment decision. Property owners should consult licensed insurance professionals for policy questions and qualified counsel for legal questions.
Develop a repair or replacement scope
A complete scope should identify the affected roof area, system, layers where known, dimensions, removals, wet-material handling, deck allowance, insulation, cover board, membrane or metal, attachment, flashings, penetrations, edge details, drainage, equipment coordination, access, safety, permits, code, warranties, testing, and closeout documents.
Separate emergency mitigation, direct impact work, water-damaged materials, older maintenance, code-related work, and elective improvements. If concealed conditions cannot be known until demolition, use stated assumptions, allowances, or unit prices. This makes contractor and insurer estimates easier to compare line by line.
Replacement may be appropriate when impact is widespread, structure or deck is extensively damaged, moisture is broad, repairs cannot tie into sound material, the roof is at the end of useful service, or older concealed conditions make continued repairs impractical. The decision should be based on verified conditions, not solely on the existence of a claim.
Preserve evidence and organize the file
Keep original photographs and videos in their native format with metadata. Create annotated copies separately. Use a consistent folder structure for incident records, tree images, exterior elevations, roof areas, interiors, weather, prior condition, emergency work, invoices, testing, estimates, communications, insurer documents, and closeout records.
Maintain a communication log with date, time, person, organization, method, request, response, decision, and promised follow-up. Save emails, letters, portal confirmations, claim numbers, adjuster information, contractor proposals, engineering reports, arborist records, utility notices, and tenant communications. Retain a copy of every package submitted.
If samples or removed materials are preserved, label the building, roof area, finding number, date, collector, description, and storage location. Use a simple custody log when evidence may be inspected by several parties. Do not preserve unsafe, contaminated, oversized, or unstable materials without an appropriate plan.
Step-by-step fallen tree roof damage documentation process
Protect occupants and establish an exclusion zone around the building, tree, debris, electrical hazards, and unstable areas.
Call emergency services, the utility, arborist, roofer, engineer, restoration contractor, or other qualified parties required by the conditions.
Photograph the whole scene from safe ground-level positions before the tree is moved when possible.
Record the date, time, witnesses, weather, discovery, water entry, alarms, outages, and emergency calls.
Notify the owner’s insurance contact according to the policy and request documentation instructions in writing.
Create roof and interior maps with area names, compass direction, tree position, impact zone, equipment, drainage, and finding numbers.
Coordinate tree removal so newly exposed roof conditions can be photographed and temporarily protected.
Measure and photograph the impact, openings, displaced materials, wet areas, damaged edges, equipment, and interior effects.
Collect prior inspections, photographs, warranties, permits, maintenance, repair invoices, leak logs, and roof-age evidence.
Inspect surrounding roof components, structure, deck, insulation, flashings, penetrations, drainage, equipment, walls, and interiors.
Use moisture testing, test cuts, engineering, arborist evaluation, or specialty review when warranted and authorized.
Document emergency labor, equipment, materials, tree removal, debris, dry-in, water extraction, receipts, and invoices.
Prepare an itemized permanent repair or replacement scope with assumptions, allowances, exclusions, and code or warranty requirements.
Preserve original files, relevant materials, estimates, communications, and proof of what was submitted.
Complete permanent work and retain closeout photographs, invoices, permits, warranties, and an updated roof plan.
Fallen tree roof damage evidence checklist
Wide views of the entire building, tree, fall direction, debris field, surrounding trees, access, and utilities.
All building elevations plus roof overviews, impact context, and close-up photographs.
Tree base, root plate, trunk break, major limbs, building contact points, and removal sequence.
Roof plan and interior map with north, roof areas, drains, equipment, impact zone, and numbered findings.
Measured openings, punctures, crushed areas, displaced metal, damaged edges, wet zones, and temporary covering.
Interior water, ceilings, walls, inventory, equipment, electrical concerns, and restricted areas.
Date, time, witnesses, security footage, tenant reports, weather alerts, utility records, and emergency dispatches.
Prior roof photographs, inspections, warranties, permits, maintenance, repairs, leak logs, and moisture records.
Tree-removal proposal, authorization, photographs, equipment, invoices, and disposal records.
Emergency roofing, tarping, dry-in, water extraction, board-up, security, labor, materials, and receipts.
Moisture testing, cores or cuts, deck observations, structural review, and specialty reports where applicable.
Itemized repair or replacement estimate with scope boundaries, assumptions, unit prices, and exclusions.
Claim number, policy documents, adjuster information, communications log, submissions, and written instructions.
Original unedited image files, annotated copies, retained samples if appropriate, and custody records.
Completed-work photographs, invoices, permits, warranties, inspection records, and updated maintenance plan.
Frequently asked questions
Should I remove the tree before contacting the insurer?
Address life safety and prevent additional damage first. Notify the insurer promptly and ask for instructions, but do not leave a dangerous tree in place merely to preserve evidence. Photograph and measure before removal when safely possible, document why emergency action was necessary, and preserve relevant records and materials.
Can I climb onto the roof to take pictures?
No untrained person should enter a damaged roof area. A tree can conceal openings, weak deck, unstable branches, damaged power, wet surfaces, and shifted structure. Use safe ground or interior observations and qualified professionals.
What if the tree must be removed immediately?
Use available ground photos, video, witnesses, emergency records, contractor notes, measurements, and images during each removal stage. Photograph exposed roof conditions before temporary repair. Safety takes priority over perfect documentation.
Do weather reports prove the claim?
Weather reports can document regional conditions, but they do not alone prove that a specific tree fell at a particular time or caused each roof condition. Pair them with site evidence and pre-loss records.
Should I preserve part of the tree?
Only when requested or reasonably useful and when it can be done safely. Photographs, measurements, arborist findings, and removal records may be more practical. Coordinate with relevant parties before discarding potentially important material when circumstances allow.
What if the roof already leaked before the tree fell?
Disclose the prior leak and provide records. The inspection should separate old conditions, new impact damage, and uncertainty. A prior defect does not erase new physical damage, but it should not be mislabeled.
Who determines whether damage is covered?
The insurance carrier makes coverage and payment decisions under the policy. A roofing contractor documents physical conditions and provides a construction scope and estimate; licensed insurance or legal professionals address policy interpretation.
How does gravel affect the inspection?
Gravel on an aging BUR roof can hide the membrane, deterioration, prior repairs, moisture, and the full impact boundary. The report should state that limitation and use appropriate investigation rather than treating the visible aggregate as proof of good condition.
When should permanent repairs begin?
After safety, evidence preservation, inspection, scope, access, materials, permits, warranty steps, and necessary authorizations are addressed. Do not let temporary work remain unexamined while coordination continues.
What is the most important evidence?
A coherent package: scene context, locatable detail photographs, timeline, dimensions, roof and interior maps, prior records, emergency invoices, testing, itemized scope, communications, and honest limitations. No single photograph replaces the complete record.
How to build a complete photo sequence
A useful photo set tells the story from the whole property down to the smallest verified defect. Start outside the impact zone with a location photograph showing the building, street or site entrance, and the side where the tree fell. Continue with each building elevation, even when no damage is visible. Then photograph the entire tree and roof relationship from more than one direction. These orientation images allow an adjuster, consultant, estimator, or owner who was not present to understand the scene.
Move from wide views to context views and then details. A context photograph should show a damaged item together with a fixed building feature, such as a parapet corner, drain, rooftop unit, skylight, column line, door, or wall. The detail photograph can then show the tear, puncture, bend, crack, or crushed area closely. Without the context image, a dramatic close-up may be impossible to locate. Without the detail image, a wide overview may not reveal the physical condition clearly.
Use consistent identifiers. Divide the roof into named areas and assign each condition a finding number. A practical filename may include the property, date, roof area, finding number, and sequence. Photograph a whiteboard or paper identifier at the start of each area when it can be done without blocking the condition. Preserve the original files exactly as captured; add arrows, labels, circles, or measurements only to separate working copies.
Capture scale without creating risk. A folding ruler, tape, marked card, or known roofing component can help show dimensions, but nobody should reach beneath a tree, cross an unstable deck, stand near an edge, or disturb evidence merely to place a scale. Record dimensions in field notes when direct placement is unsafe. State whether measurements are exact, approximate, obtained from plans, or estimated from imagery.
Photograph absence as well as damage. Clear images of unaffected elevations, adjacent roof areas, intact equipment, and undisturbed roof components help define the boundaries of the event. They can also show that the inspection did not focus only on selected damaged items. If an area could not be inspected because of the tree, unsafe access, standing water, temporary protection, darkness, or equipment, photograph the limitation when safe and state it in the report.
Repeat important views during the project. The preferred sequence is before tree removal, during controlled removal, immediately after the roof is exposed, before temporary protection, after temporary protection, during demolition for permanent work, after concealed conditions are revealed, after deck and insulation work, after the waterproofing is restored, and at final closeout. Each stage answers a different question and reduces the chance that critical evidence disappears behind new materials.
Quality-control review before the claim package is submitted
Before sending documents, confirm that the date of loss, property address, building identification, roof-area names, and contact information are consistent everywhere. Check that the photographs open correctly, retain their original resolution, and match the captions and roof plan. Verify that measurements and quantities use the same units and that estimates do not silently expand beyond the documented areas. Correct obvious clerical errors before they create confusion.
Read the report for unsupported conclusions. Replace statements such as “the storm destroyed the entire roof” with specific observations, measurements, testing, and clearly attributed professional opinions. Identify which facts came from the inspector, property manager, tenant, arborist, utility, weather source, or another party. State limitations and alternative explanations when the evidence does not support certainty. Precision strengthens the record more than absolute language.
Compare the contractor scope with the photographic and mapped findings. Every major line item should connect to a location, condition, quantity, construction requirement, or stated allowance. Confirm that temporary work, tree removal, roofing, insulation, deck, edge metal, drainage, equipment, electrical, interior restoration, permits, code work, and elective improvements are separated appropriately. This does not determine what insurance will cover; it makes the construction record easier to understand and evaluate.
Finally, keep an exact copy of what was submitted and how it was transmitted. Save the portal confirmation, email, delivery record, file list, and date. If updated photographs, testing, invoices, or estimates are provided later, label them as supplements rather than replacing the original package without explanation. A controlled record helps the property owner respond to questions and understand how the documentation evolved.
Why work with Showtime Exteriors?
Showtime Exteriors helps commercial property owners across North Texas and the Dallas-Fort Worth Metroplex respond to storm and impact damage. The team can document roofing conditions, organize roof areas and findings, coordinate temporary protection, investigate water pathways, identify repair priorities, and develop practical repair, restoration, retrofit, recover, or replacement scopes.
Showtime Exteriors evaluates BUR, TPO, PVC, EPDM, modified bitumen, metal, coatings, overlays, and other commercial assemblies. The approach is evidence first: state what was observed, distinguish reported information from inspection findings, acknowledge concealed conditions, recommend appropriate testing, and avoid promises about insurance coverage or claim outcomes.
Need a commercial roof inspection after tree impact? Call Showtime Exteriors at 817-400-ROOF (7663) or visit showtimeexteriors.com/commercial-roofing.
Helpful Showtime Exteriors resources
North Texas post-storm roof inspection guide
Commercial roof inspection for insurance renewal
Commercial roof maintenance records insurers may request
Why gravel can hide commercial roof damage
Independent safety, weather, and insurance resources
Texas Department of Insurance: help after a storm
OSHA: storm cleanup and recovery safety
OSHA Hurricane eMatrix: cleanup and struck-by hazards
FEMA disaster recovery frequently asked questions
Editorial and insurance disclaimer
This article provides general roofing and documentation information and is not legal, insurance, engineering, arboricultural, electrical, or safety advice for a specific property. Conditions, policies, contracts, warranties, codes, ownership questions, and project requirements vary. Showtime Exteriors documents roofing conditions and performs roofing work within its role; insurance carriers determine coverage and claim payment. Consult the appropriate licensed professionals for insurance, legal, structural, electrical, tree, utility, hazardous-material, or specialized safety questions.
817-400-ROOF (7663) showtimeexteriors.com