



Wind Damage Claim: A Step-by-Step Guide for Texas Property Owners
How to Protect the Building, Document the Roof, and Navigate the Claim Without Guesswork
Wind can damage a Texas commercial roof in seconds, yet the complete scope may take careful inspection to understand. A violent gust can peel edge metal from a parapet, lift a membrane, loosen fasteners, open a seam, displace panels, damage rooftop equipment, or drive debris into the assembly. Some failures are obvious from the parking lot. Others settle back into place after the storm and leave only subtle evidence of lost attachment or a weakened detail.
A wind damage claim should begin with safety, stabilization, and facts—not assumptions. Property owners need to protect occupants, prevent avoidable additional damage, document the building, review the policy, notify the correct parties, and arrange a qualified roof assessment. The roofing contractor and insurance carrier have separate roles. The contractor documents physical conditions and develops a construction scope. The carrier applies the policy and determines coverage, valuation, deductibles, and payment.
This step-by-step guide is written for commercial property owners, facility managers, asset managers, and property managers across Texas, including the Dallas–Fort Worth Metroplex. It explains what to do from the first minutes after the storm through permanent repairs and final recordkeeping. It also addresses the added uncertainty of aging built-up roofs with gravel surfacing—a central concern because gravel can conceal moisture, deterioration, and previous repairs.
Important: This is general educational information, not insurance, legal, engineering, or public-adjusting advice. Policies and losses differ. The issued policy controls, and the insurer decides coverage and payment. Showtime Exteriors documents physical roof conditions and proposes or performs roofing work; it does not interpret coverage for the carrier, negotiate claims as a public adjuster, waive deductibles, or promise claim approval, payment, renewal, premium reduction, or underwriting eligibility.
Quick Answer: What Should You Do After Roof Wind Damage?
After suspected commercial roof wind damage in Texas:
Protect people and restrict unsafe areas.
Contact emergency services or utilities when hazards exist.
Photograph exterior, interior, and collateral conditions from safe locations.
Make reasonable temporary repairs to prevent additional damage.
Preserve damaged materials and all emergency-work records.
Review the complete policy and applicable wind deductible.
Notify the insurer according to policy requirements.
Arrange a professional, location-mapped roof inspection.
Separate recent wind effects from aging, maintenance, and prior damage.
Identify wet insulation, deck concerns, and concealed conditions.
Compare the carrier's estimate with the contractor's construction scope.
Plan code-compliant permanent work and preserve completion records.
The sequence may overlap during an emergency, but safety and mitigation always come first.
Step 1: Protect People Before Inspecting Property
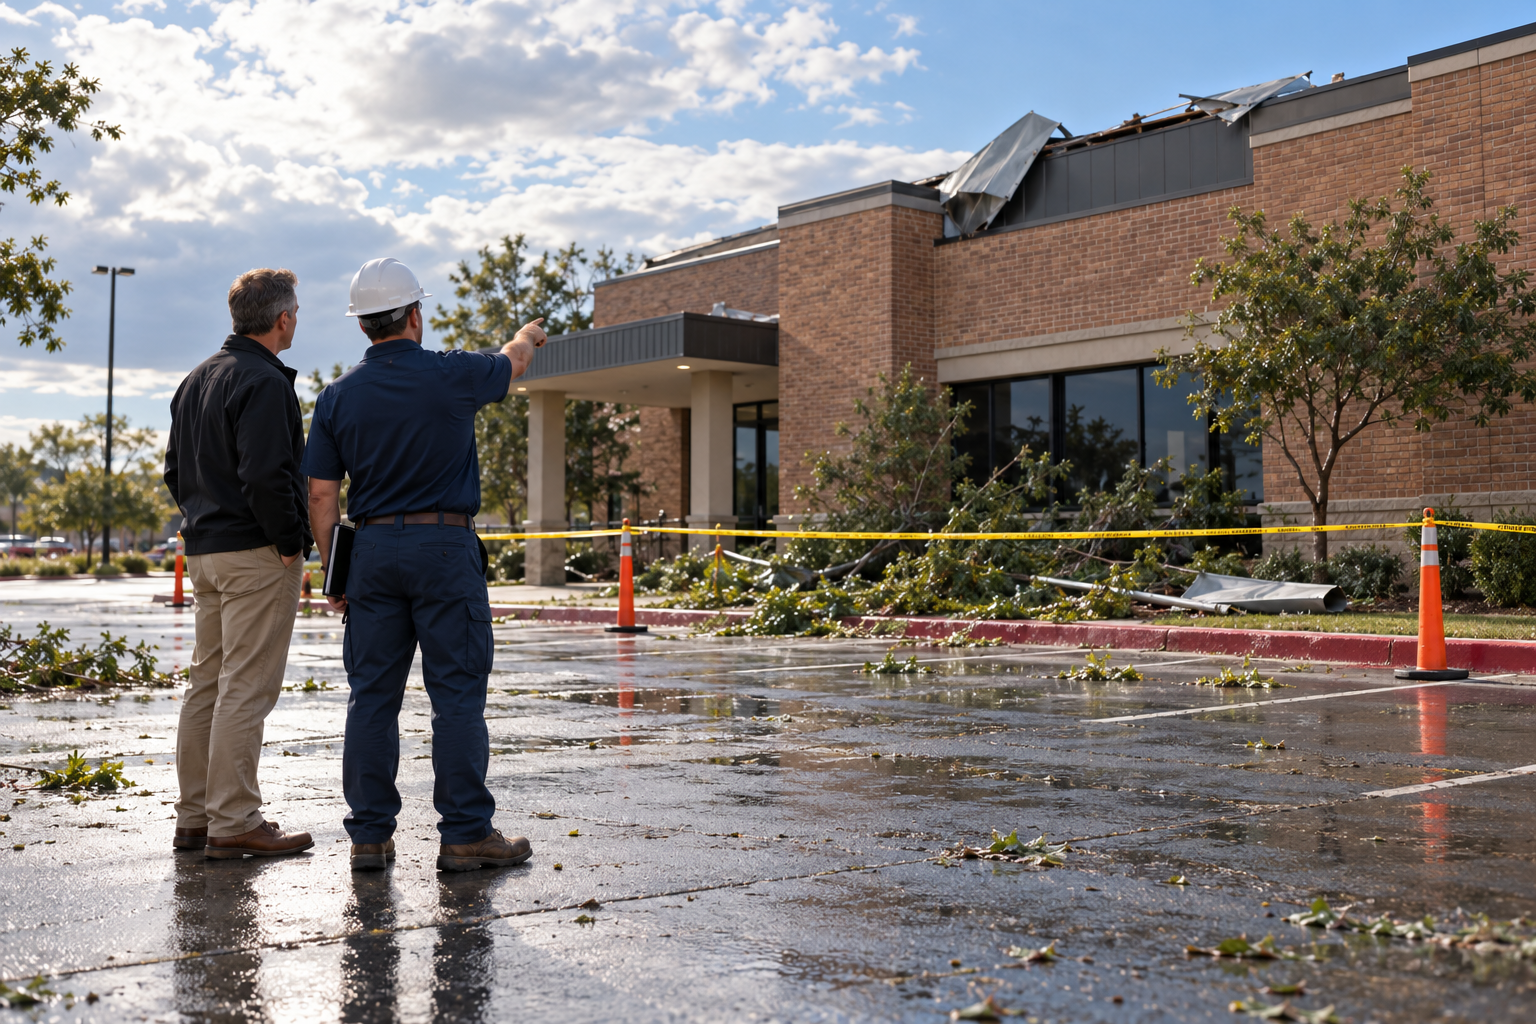
Wind damage can create hazards that are not visible. Loose coping, panels, signage, tree limbs, glass, rooftop equipment, and electrical components may fall or move without warning. Water can reach lights, panels, machinery, or ceiling systems. Decking or structural members may have been compromised.
Establish exclusion zones around affected walls, entrances, loading areas, and interior rooms. Move occupants away from sagging ceilings, active water near electricity, broken glazing, unstable trees, or displaced materials. Call emergency services, the utility, fire protection provider, structural engineer, or other specialist as conditions require.
Do not send maintenance staff onto a wet or damaged roof simply to take pictures. Roof access should follow site safety procedures, fall-protection requirements, and an assessment of the deck and access route. Ground-level evidence is better than an injury.
Record who made each safety decision, when areas were restricted, and when professionals arrived. These notes support operational continuity and establish a clear event timeline.
Step 2: Create the Initial Event Record
Write an incident summary while details are fresh. Include:
property name, street address, building number, and roof section;
date and approximate time of the storm;
time damage or water entry was first observed;
names and contact information of witnesses;
affected rooms, tenants, equipment, and operations;
visible exterior and collateral damage;
emergency calls and actions taken;
power, fire-alarm, HVAC, or security interruptions; and
photographs, video, alerts, and facility logs preserved.
Do not overstate what is known. If an employee heard metal moving but did not see the roof, record exactly that. If the loss time is uncertain, distinguish the storm period from the time water was discovered.
Weather information can establish that strong winds occurred near the property, but it does not prove that every observed condition resulted from that event. Physical evidence and pre-loss records remain essential.
Step 3: Photograph Conditions Before Cleanup When Safe
Begin with context. Photograph each building elevation, the surrounding property, debris patterns, trees, signs, fences, rooftop material on the ground, and neighboring damage. Then capture affected walls, parapets, edge metal, doors, windows, loading docks, and mechanical equipment.
Inside, photograph the room first, then the affected ceiling, wall, floor, inventory, or equipment. Use wide, medium, and close views. Record the image location and direction. A close-up of wet ceiling tile is much more useful when another photograph shows which room and grid location it belongs to.
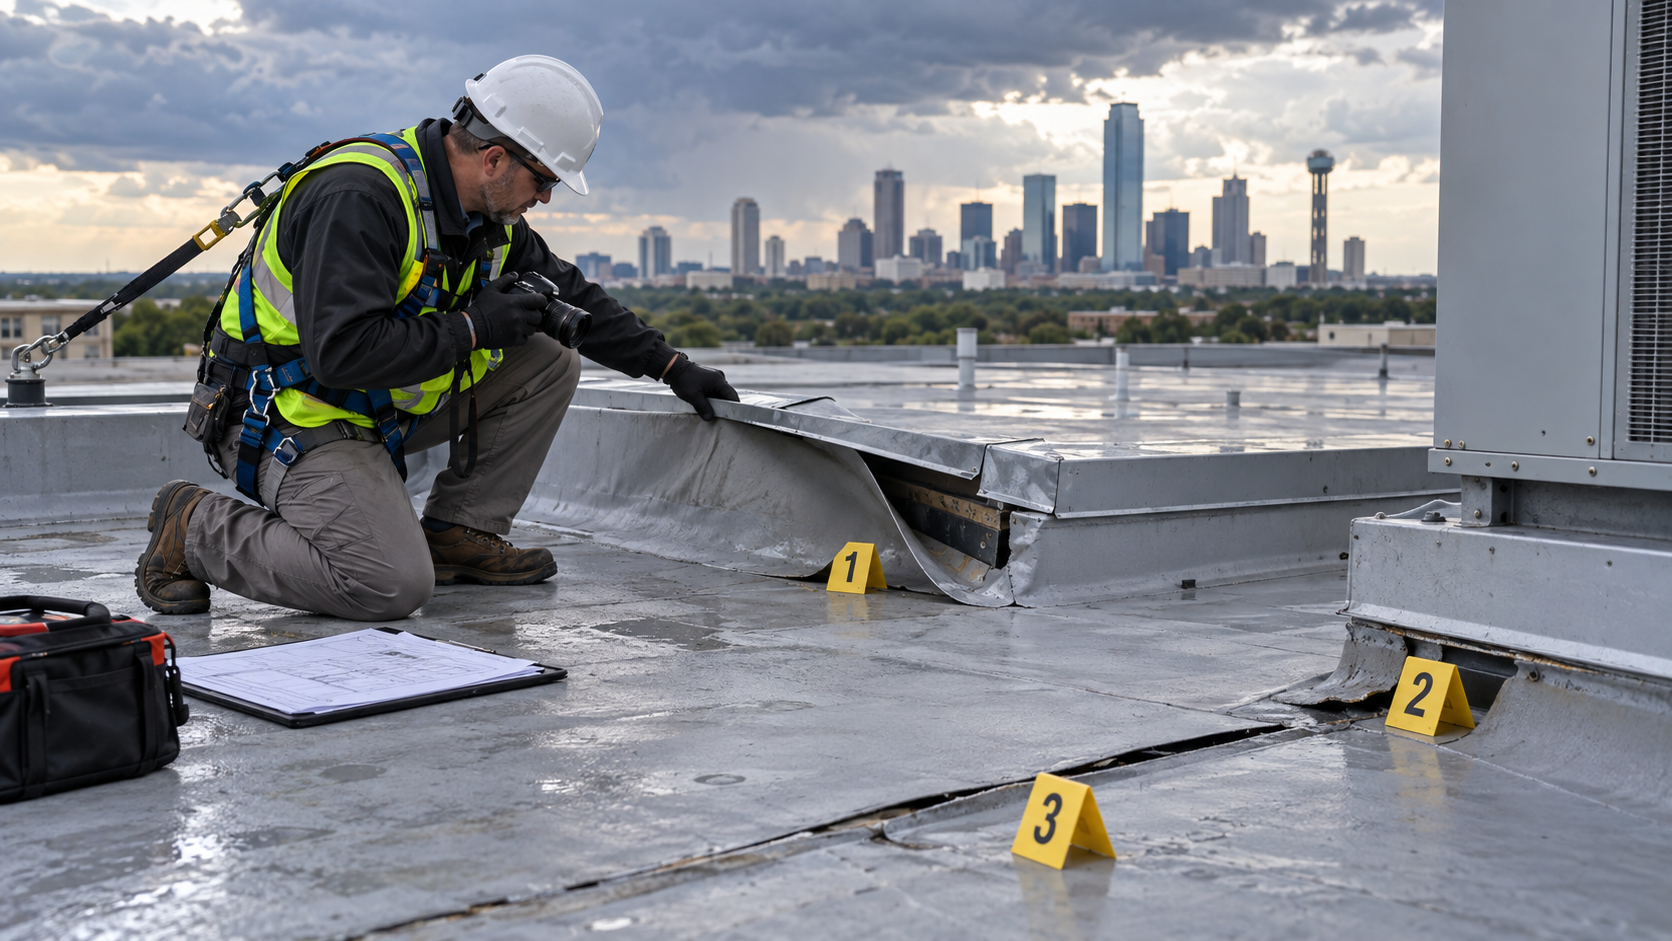
On the roof, qualified personnel should map photographs to a roof plan. Capture perimeters, corners, seams, flashing, penetrations, drains, scuppers, rooftop units, expansion joints, panels, fasteners, surfacing, punctures, displaced material, and previous repairs. Preserve original files and metadata when practical.
Never create or worsen a condition for a photograph. Do not pull on a seam, lift a panel, move ballast, or remove a patch unless the investigation requires it and the action is authorized and documented.
Step 4: Prevent Reasonable Additional Damage
Temporary protection may be necessary immediately. Work can include securing loose metal, covering openings, installing temporary membrane, redirecting water, clearing blocked drainage, extracting interior water, moving inventory, or protecting electrical and mechanical systems.
Document conditions before emergency work when safely possible. Then record:
exact work location;
photographs before, during, and after;
materials and attachment method;
labor, equipment, and access costs;
installer and authorization;
limitations and expected temporary life;
follow-up inspection date; and
invoices and receipts.
Temporary work should not become an unexamined permanent solution. A tarp or patch can loosen in another gust, trap moisture, redirect water, or conceal a larger failure. Schedule monitoring and permanent correction.
Do not delay urgent mitigation solely to preserve ideal evidence. Protect people and property, while creating the best record the circumstances safely allow.
Step 5: Notify Key Stakeholders
Commercial properties often involve multiple parties. Notify the owner, property manager, facility team, tenants, risk manager, lender, insurance agent or broker, insurer, and emergency vendors as appropriate. A lease may allocate responsibility for the roof, interior improvements, contents, or business interruption differently.
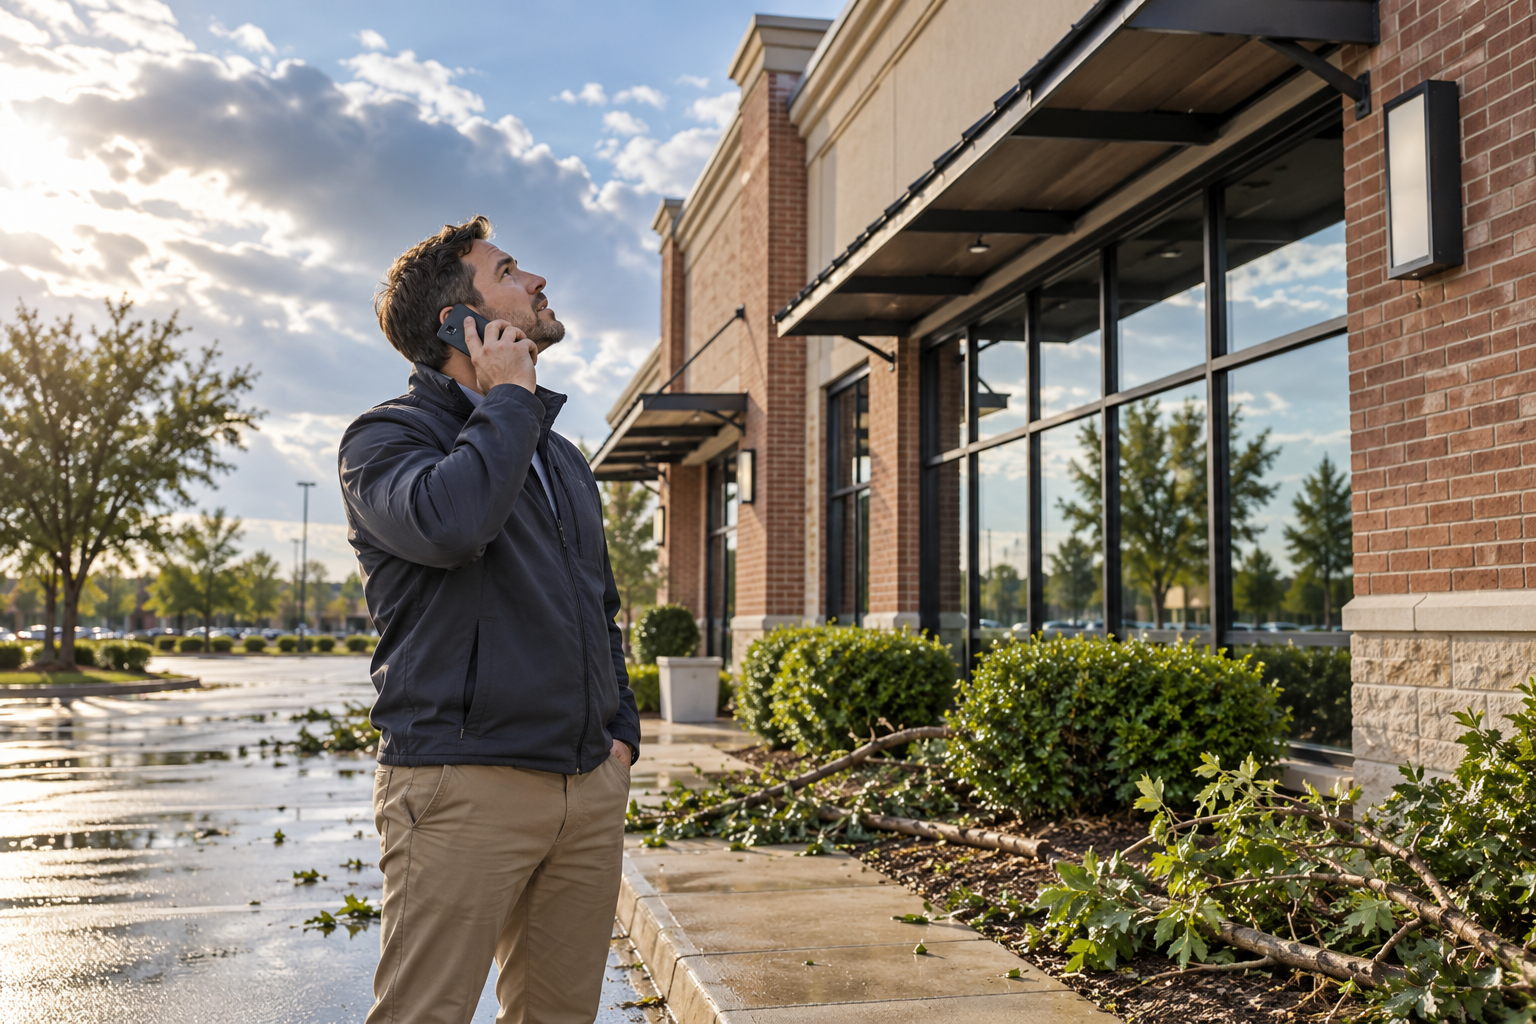
Use one incident leader and a written communication log. Record each call or message, the person contacted, instructions received, documents requested, promised action, and next deadline. Confirm important directions by email.
Avoid inconsistent speculation. Provide the known facts: what happened, what was observed, what emergency work occurred, and what remains under investigation.
Step 6: Review the Complete Insurance Policy
Obtain the policy effective on the reported date of loss, not merely the latest declarations page. Preserve declarations, property schedules, forms, endorsements, exclusions, and notices.
Ask a licensed insurance professional:
Is wind a covered cause of loss at this location?
Is hail treated separately?
Does a named-storm provision apply?
What deductible applies, and is it a percentage or dollar amount?
Is the roof valued at replacement cost or actual cash value?
Is there a roof schedule based on age or material?
Are roof surfacing or cosmetic damage limited?
What provisions address interior rain, water, debris removal, and emergency mitigation?
Is ordinance-and-law or code-upgrade coverage included?
What notice, proof-of-loss, cooperation, and inspection duties apply?
What deadlines control repairs or recoverable depreciation?
Are business-income and extra-expense coverages relevant?
Do not rely on “full coverage” as an explanation. Identify the actual policy language and obtain professional guidance for policy questions.
Step 7: Understand the Wind Deductible
A wind or hail deductible can be higher than the deductible for another cause of loss. Percentage deductibles require particular attention because the percentage may apply to a scheduled building value rather than the amount of damage.
Illustrative example only: if a two-percent wind deductible applies to a $2 million building value, the indicated deductible would be $40,000. The policy determines the real calculation, including whether it applies per building, per occurrence, or another basis.
The property owner is responsible for the deductible. Texas law prohibits a contractor from offering to waive, absorb, rebate, or help avoid a required property insurance deductible. Keep proof of payment.
Understanding the deductible helps owners evaluate cash flow, emergency spending, and repair authorization. It does not determine whether notice should be given; policy duties and facts still control.
Step 8: Arrange a Professional Roof Inspection
A professional assessment should cover the entire roof, not only the most visible damaged location. Wind pressures vary at corners, perimeters, field areas, elevation changes, and around rooftop equipment. An obvious loose coping section may be only one part of the failure.
The report should identify:
property and building;
inspection date, weather, and personnel;
roof plan and section names;
roof system and known assembly;
access and investigation limitations;
objective observations;
mapped photographs;
temporary repairs;
potential moisture or deck concerns;
recommended further testing; and
prioritized repair, restoration, recover, retrofit, or replacement options.
The inspector should distinguish observation from causation opinion and disclose uncertainty. The report is not a coverage determination.
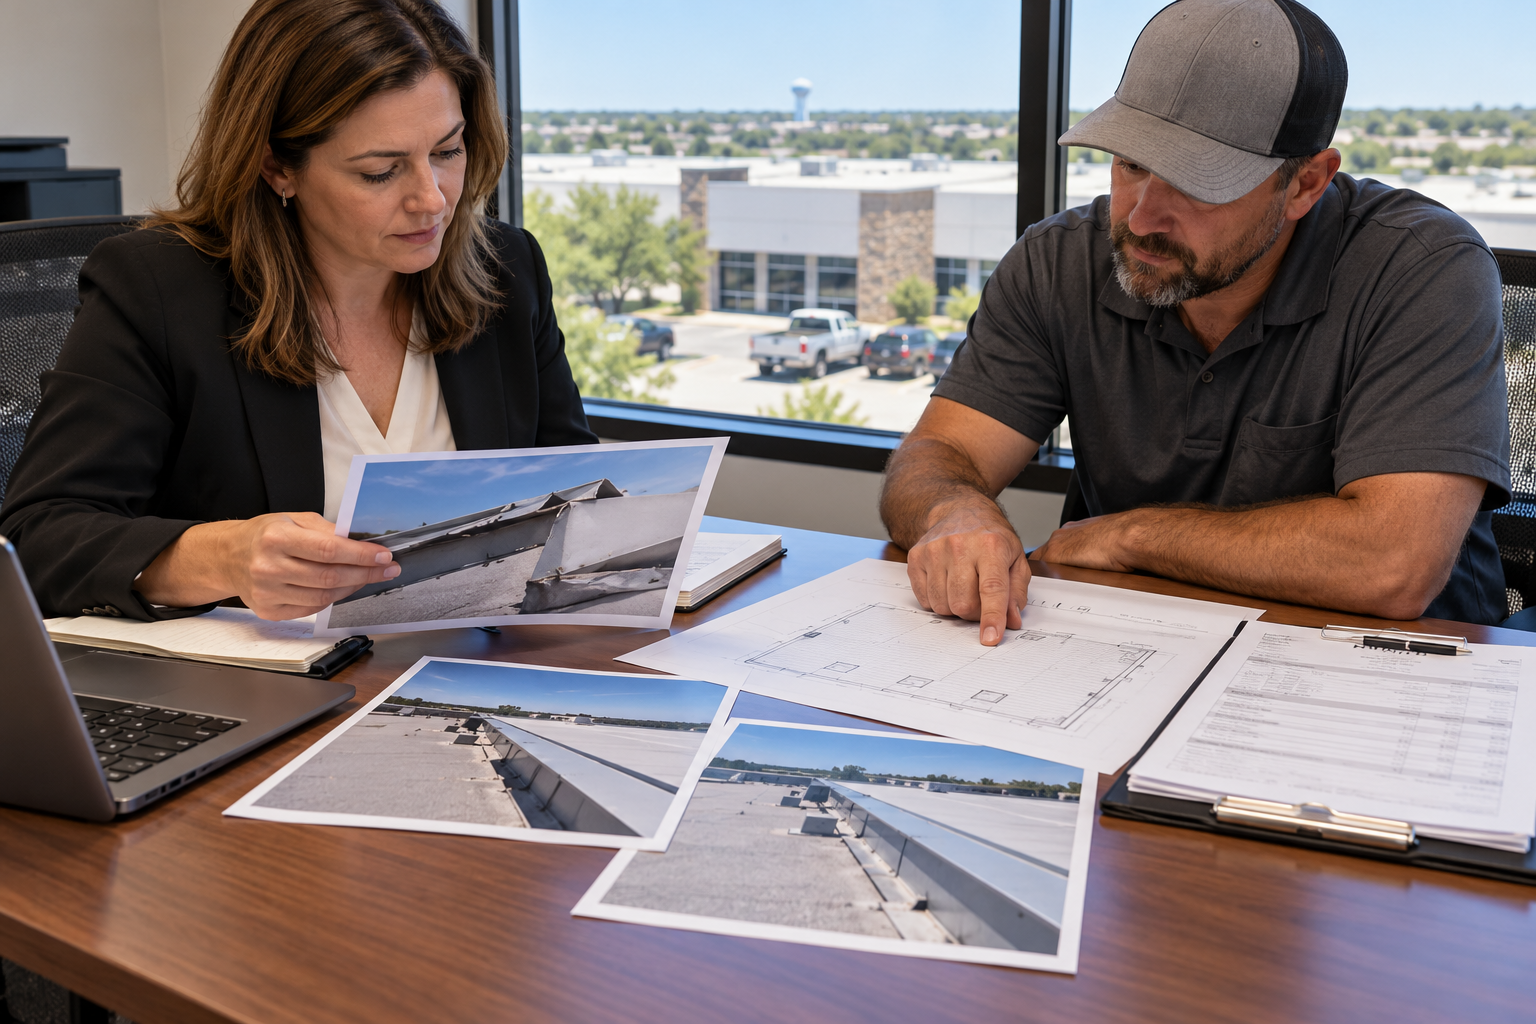
{width=6.6in}Image alt text: Qualified commercial roof inspector mapping wind-uplift damage and displaced perimeter metal in North Texas.
Step 9: Look for Wind-Specific Damage Patterns
Wind can affect roof systems differently. Evidence may include:
displaced, bent, or missing coping and edge metal;
membrane billowing, wrinkles, tears, or separation;
open seams or flashing laps;
pulled fasteners or stress around plates;
detached corners and perimeter zones;
punctures from windborne debris;
displaced pavers or loose-laid components;
shifted, missing, or deformed metal panels;
opened panel seams or clips;
damaged skylights, curbs, vents, or hatches;
movement at HVAC units and service lines;
cracked sealants and counterflashing separation;
loose gutters, downspouts, and drainage components; and
interior water patterns associated with wind-driven rain.
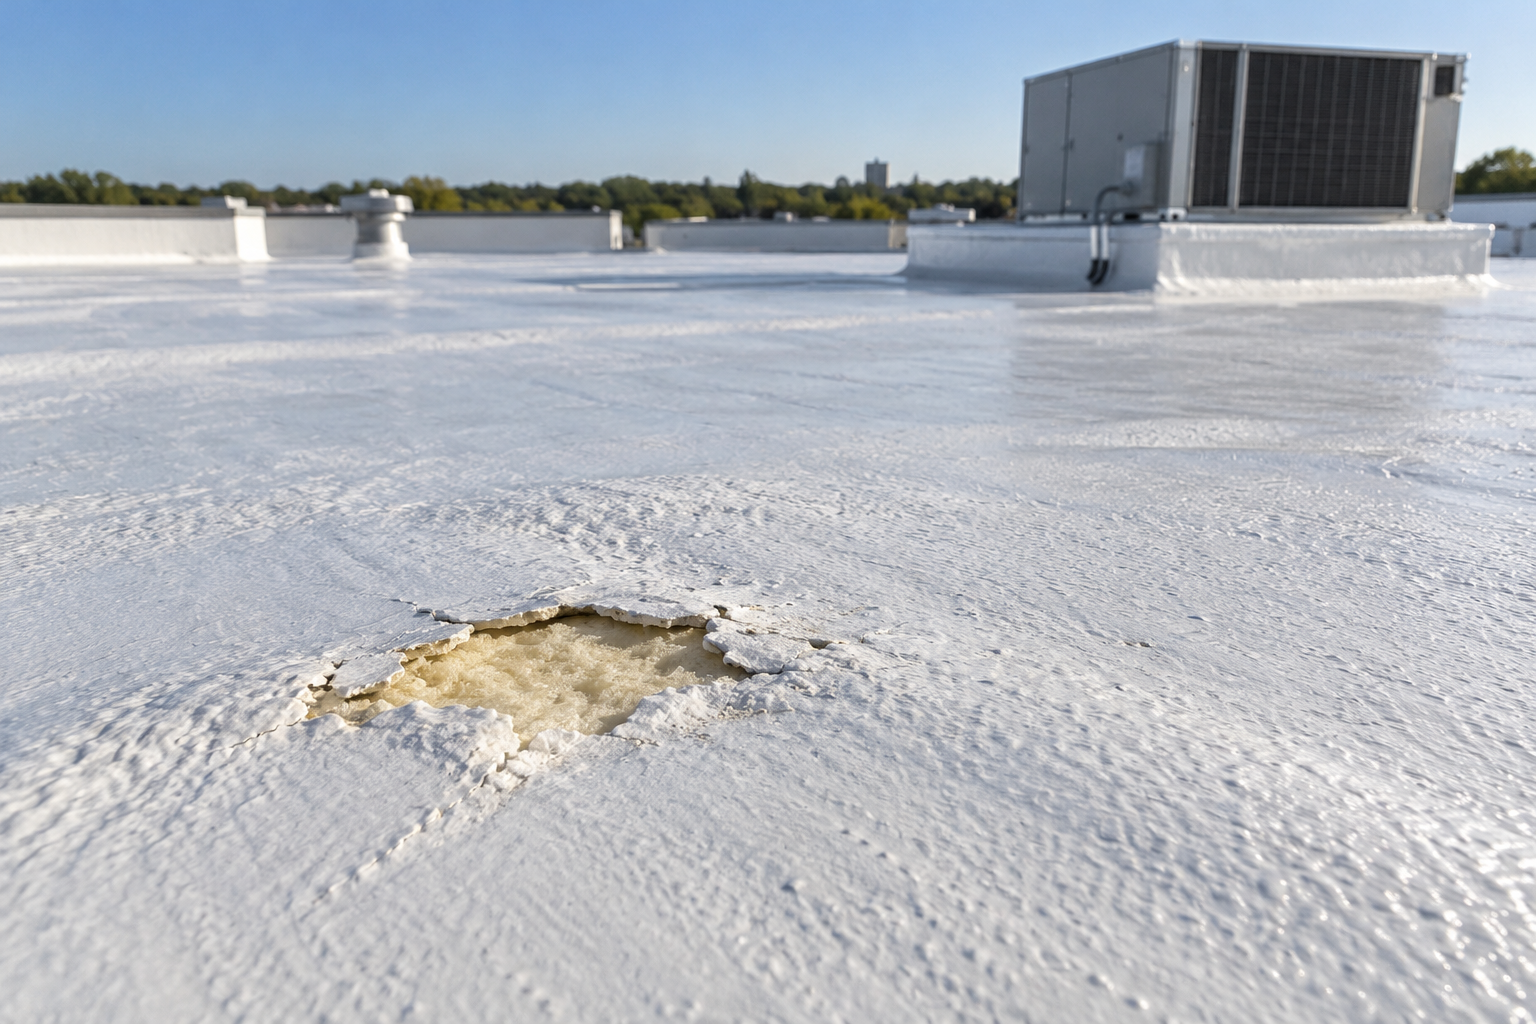
Some membranes lift during a gust and settle after pressure drops. The surface may look mostly normal while attachments, seams, or perimeter details have been stressed. Investigation should consider the assembly and the wind path, not only visible openings.
Step 10: Separate Storm Effects From Prior Conditions
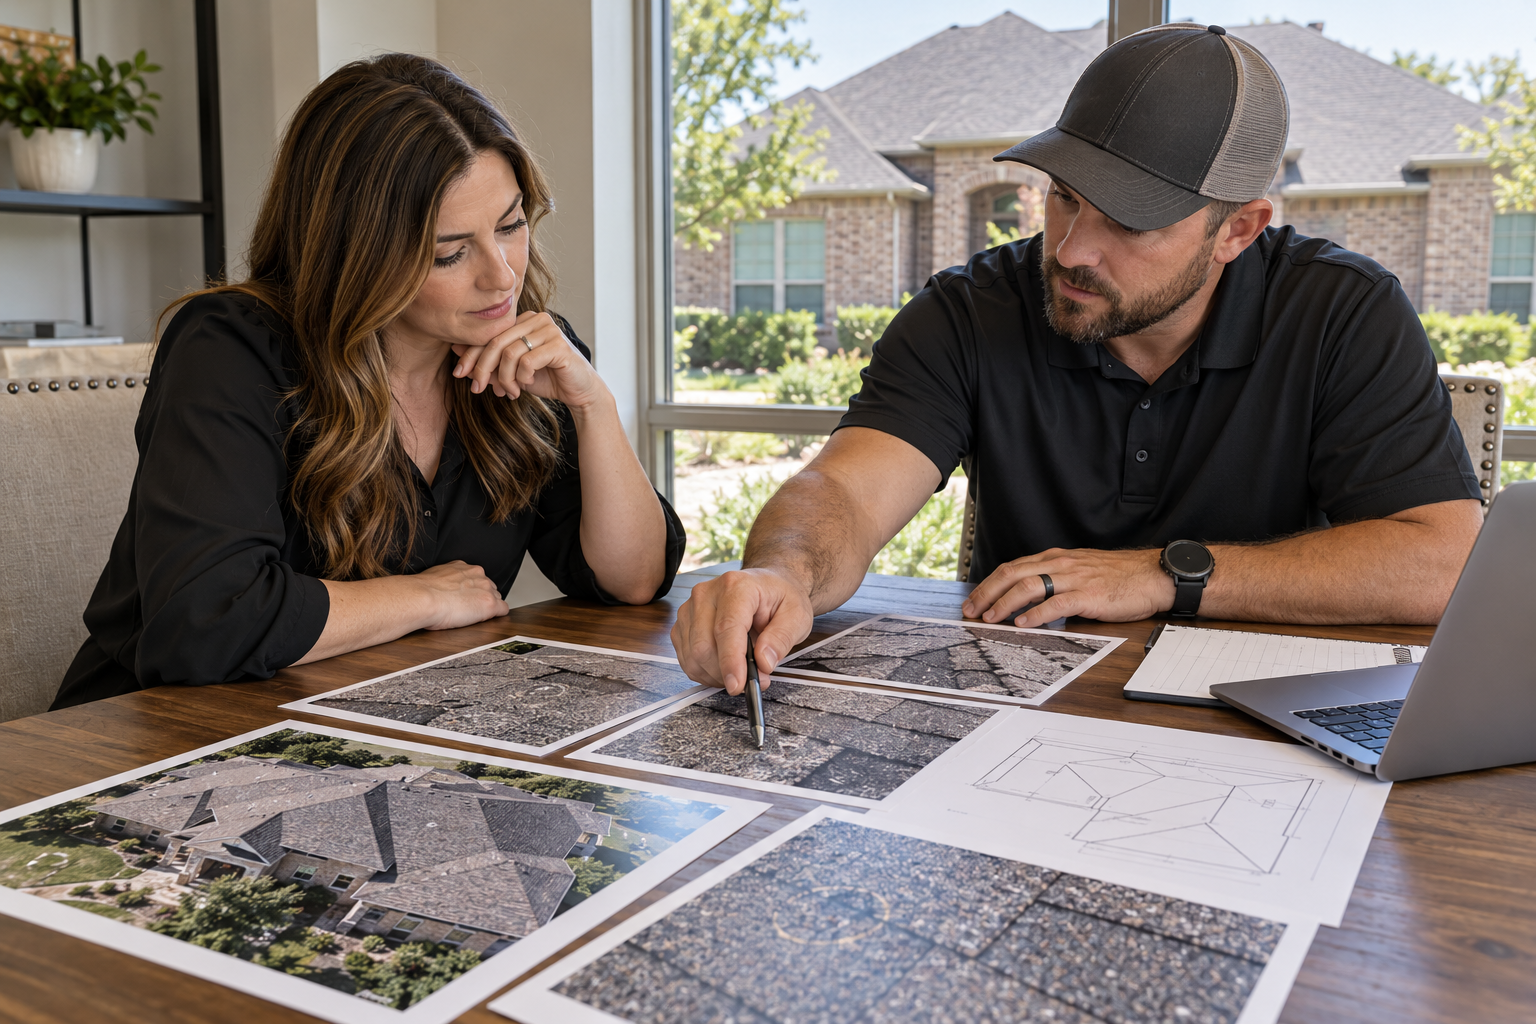
A reliable claim record acknowledges pre-existing conditions. Gather installation documents, warranties, prior inspections, maintenance logs, leak reports, repair invoices, photographs, moisture surveys, and earlier claims.
Compare the same locations before and after the storm. Ask:
Was the edge metal previously secure?
Was the seam previously open or patched?
Were leaks reported in the same interior area?
Was insulation known to be wet?
Did rooftop equipment work disturb the membrane?
Were drainage or ponding issues documented?
Was the roof near the end of serviceability?
An old roof can sustain new wind damage, but age and deterioration can affect repairability, valuation, and coverage. A new leak after a storm does not by itself prove the roof opening occurred during that storm. The evidence should describe both recent change and longstanding condition.
Step 11: Address Aging Gravel-Surfaced BUR Carefully
Aging built-up roofs with gravel surfacing create a significant documentation problem. Gravel can conceal the membrane, splits, blisters, deteriorated flashings, old patches, displaced surfacing, and moisture-related conditions. Ordinary photographs may show a uniform gravel field without revealing the state of the waterproofing below.
Wind can scour or redistribute gravel, expose membrane, damage flashing, and move loose material toward drains or off the building. At the same time, widespread aging may make it difficult to distinguish a new wind-created failure from long-term deterioration without records and targeted investigation.
For a gravel BUR, document:
pre-loss gravel distribution and photographs;
areas of scour, piles, and displaced aggregate;
exposed membrane and flashing conditions;
mapped patch and leak history;
moisture survey results;
authorized test cuts and assembly findings;
deck and insulation condition;
blocked drainage and loose-material hazards;
age, number of layers, and installation evidence; and
realistic repair or replacement planning.
Do not describe gravel as proof that the roof is protected or sound. It may obscure the evidence needed for maintenance, underwriting, and claim evaluation. Some carriers scrutinize or restrict older gravel-surfaced BUR systems. An inspection or replacement cannot guarantee insurance renewal or better terms; the insurer makes that decision.
When the roof is old, repeatedly leaking, broadly wet, heavily patched, or too concealed for reliable evaluation, replacement may offer a more responsible long-term path than repeated temporary repairs. The decision should follow physical investigation, design review, code analysis, operational planning, and consultation with insurance professionals.
Step 12: Investigate Moisture and Concealed Damage
Surface damage is only part of the roof assembly. Water may travel through insulation, along deck flutes, around penetrations, or beneath a membrane before appearing indoors.
Moisture investigation may use visual review, infrared thermography, electrical capacitance or impedance equipment, nuclear scanning, test cuts, or interior observations. Each method has limits based on the roof type, ballast, weather, insulation, deck, and operator technique.
The report should identify the method, conditions, equipment, grid or route, anomalies, verification locations, and limitations. An anomaly is not automatically proof of storm-created moisture. Test cuts should be authorized, mapped, photographed, described layer by layer, and permanently repaired.
If decking or structure may be compromised, engage an appropriate engineer. A roofer's condition report is not a structural certification.
Step 13: Preserve Damaged Materials
Ask the insurer or adjuster before discarding displaced metal, membrane, panels, fasteners, or other damaged components when practical. Label retained samples with building, location, date, and collector.
Emergency conditions may require immediate removal. In that case, photograph the component in place, during removal, and after removal. Record dimensions, attachment, substrate, corrosion, fracture, deformation, and disposal reason. Preserve representative samples when safe and authorized.
Maintain chain-of-custody notes for important samples. Store them securely so their origin remains clear.
Step 14: Report the Claim Accurately
Follow policy instructions for notice. Provide the insured name, policy number, property, reported date and type of event, observed damage, emergency actions, and contact person. Avoid unsupported conclusions.
Record the claim number, adjuster contact, submission confirmation, and requested documents. Calendar all deadlines. Keep the original report and every later revision.
Prompt notice can be important, but filing a claim is not a guarantee of coverage or payment. The carrier will investigate and apply the policy.
Step 15: Coordinate the Carrier Inspection
Prepare safe access, roof plans, keys, escorts, and affected interior areas. Have pre-loss records, emergency invoices, photographs, and the contractor's inspection available.
Keep a list of attendees and inspected locations. Record samples taken, tests performed, and follow-up requested. A roofing contractor may point out construction details and documented conditions but should not act as a public adjuster for a property on which it may perform roofing work.
After the inspection, request the carrier's written scope, estimate, depreciation, deductible application, and coverage explanation. Direct policy disputes to the insurer, a properly licensed public adjuster, or an attorney as appropriate.
Step 16: Determine Repair, Restoration, or Replacement Scope
Localized repair may be practical when damage is limited, surrounding materials remain serviceable, wet components can be removed, and a compatible, code-compliant detail can be integrated.
Restoration may be considered when the existing roof is a suitable substrate, moisture is limited, attachment is sound, repairs can correct defects, and the selected system meets manufacturer and project requirements. A coating should not be used to hide wet insulation, unstable attachment, or failing details.
Replacement becomes more likely when wind damage is widespread, attachment is broadly compromised, decking is unsafe, insulation is extensively wet, materials cannot be reliably repaired, prior failures are numerous, or the roof is near the end of serviceability. An aging gravel BUR with concealed condition and repeated leaks may strengthen the case for planned replacement as a building decision, independent of what insurance ultimately covers.
The scope should identify tear-off or recover limits, deck work, insulation, drainage, perimeters, penetrations, curbs, equipment coordination, code, wind-uplift design, permits, safety, phasing, interior protection, and warranties.
Step 17: Compare Estimates Line by Line
The carrier estimate and contractor proposal serve different purposes. Compare:
roof area and measurements;
material and assembly;
removal quantities;
wet insulation and deck allowances;
edge metal and flashing;
penetrations and equipment;
drainage;
labor, access, lifts, cranes, and staging;
debris and disposal;
code-required items;
taxes, overhead, and other line items;
temporary work; and
exclusions and assumptions.
A total-price difference does not explain the cause. Identify missing quantities, different specifications, or different assumptions. The contractor can support construction facts; the insurer decides which costs are covered.
Step 18: Understand ACV, RCV, and Depreciation
Actual cash value generally reflects replacement cost minus depreciation. Replacement cost coverage may allow eligible depreciation to be recovered after work is completed and required evidence is submitted, depending on the policy.
Ask which valuation applies to the roof, whether a roof schedule or endorsement changes it, how age was established, how depreciation was calculated, what amount may be recoverable, and what deadline and documentation apply.
Illustrative example only: accepted replacement cost of $600,000 minus $180,000 depreciation equals $420,000 ACV before a deductible. Limits, exclusions, coinsurance, prior payments, taxes, actual spending, and other terms can change the result.
Do not authorize work based on assumed recoverable depreciation. Obtain the carrier's written explanation.
Step 19: Handle Supplements With Evidence
Hidden conditions or omitted scope may emerge after the initial estimate. A supplement can present additional measurements, photographs, invoices, test results, code information, or construction details for carrier consideration.
Before covering newly exposed conditions, photograph and map them, record quantities, and notify the relevant parties. Preserve removed material when appropriate. Ask whether reinspection is needed.
A supplement is not guaranteed payment. Separate owner-directed upgrades and uncovered maintenance from the claimed scope.
Step 20: Plan Operations and Business Continuity
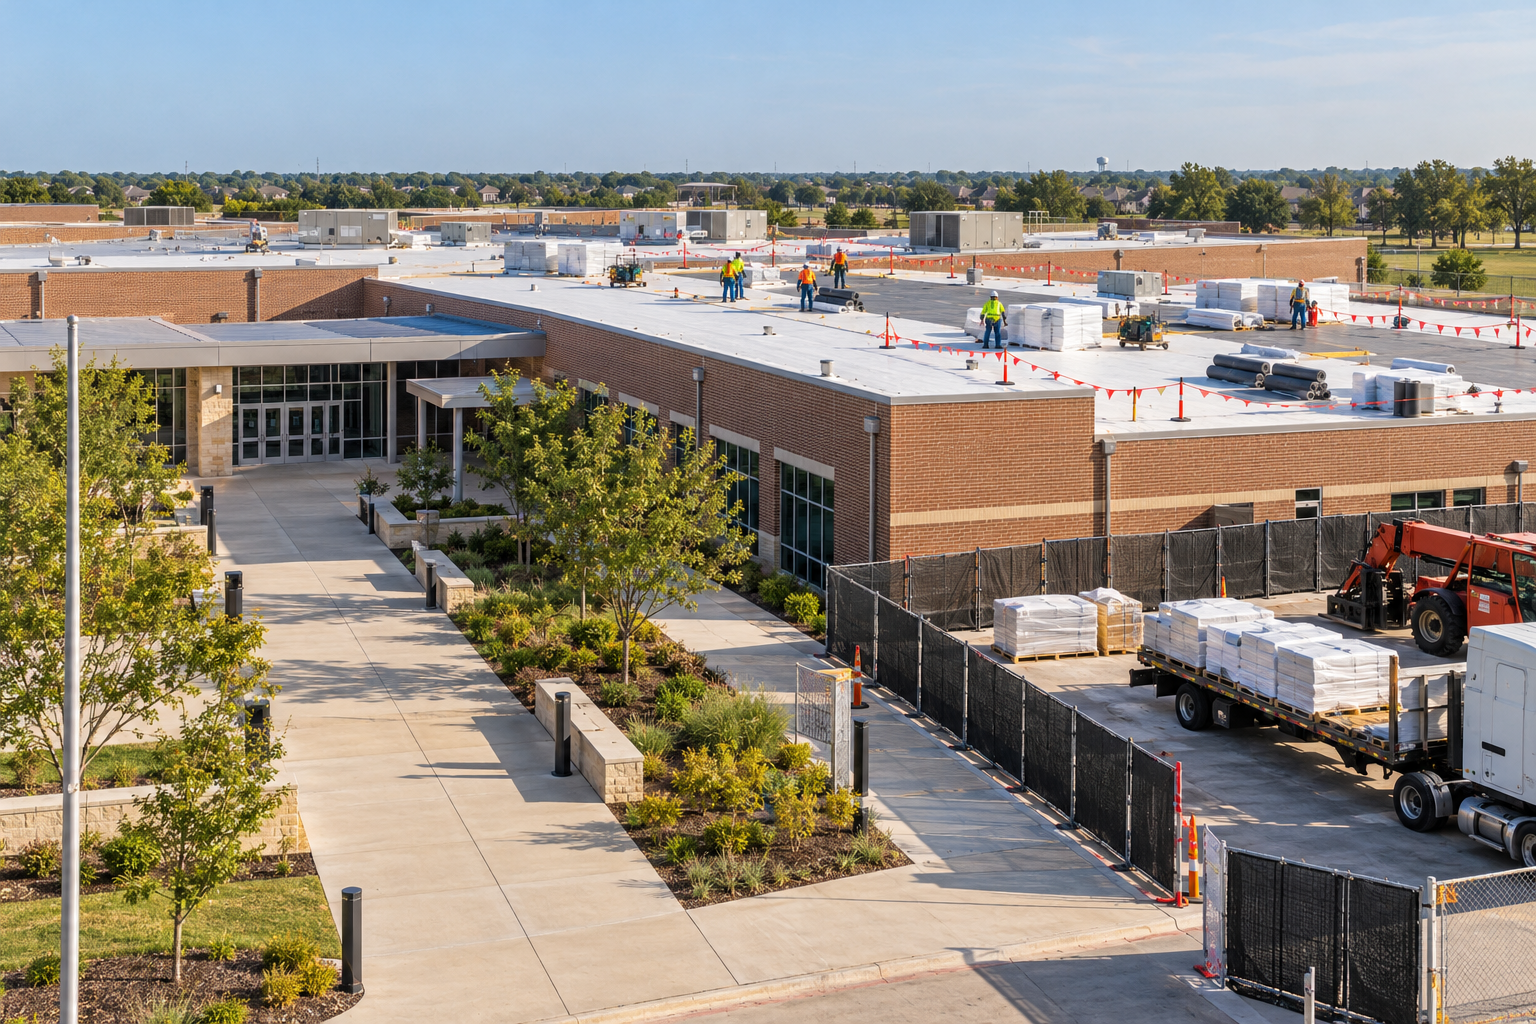
Commercial roofing work affects occupants, tenants, inventory, equipment, deliveries, customers, and emergency access. Develop a phasing plan with daily watertight limits, weather monitoring, interior protection, communication, noise and odor controls, access routes, and shutdown coordination.
Identify critical areas such as data rooms, electrical rooms, production lines, food or pharmaceutical storage, healthcare space, kitchens, and high-value inventory. Coordinate HVAC, electrical, plumbing, solar, communications, and fire-protection trades.
Keep business-income and extra-expense records separately. A roofing contractor can document work impacts but does not determine insurance coverage for business interruption.
Step 21: Execute Permanent Work Under a Clear Contract
The agreement should identify parties, building, scope, specifications, price or pricing method, allowances, payment schedule, deductible responsibility, permits, schedule, weather delays, change orders, protection, cleanup, warranties, and closeout.
Texas contracts involving insurance proceeds must comply with applicable law, including deductible requirements. Never sign a blank agreement or rely on a verbal promise that insurance will pay everything.
Confirm contractor insurance, qualifications, safety program, manufacturer requirements, and experience with the selected commercial system.
Step 22: Document Construction and Closeout
Create a daily record of weather, personnel, work areas, removed materials, exposed conditions, moisture, deck repairs, photographs, quantities, deliveries, temporary tie-ins, and inspections.
At completion, collect:
final scope and invoice;
change orders;
before, during, and after photographs;
permits and approvals;
product and warranty documents;
roof plan and repaired-area map;
test and inspection reports;
proof of deductible and payments;
lien releases when appropriate;
maintenance requirements; and
emergency and warranty contacts.
Submit documents required by the insurer within applicable deadlines. Retain the complete file for future claims, underwriting, sale, and maintenance.
Step 23: Build a Stronger Pre-Loss Program
After the incident, improve readiness. Schedule baseline roof inspections, map roof sections, maintain drainage, control rooftop access, record other trades, close out repairs, and preserve photographs. Review insurance terms before renewal.
Pay particular attention to perimeters, corners, edge metal, seams, penetrations, rooftop units, and older repairs. These areas often reveal early vulnerability.
If an aging gravel-surfaced BUR remains in service, do not rely on surface appearance. Establish a documented inspection and testing plan and develop a replacement budget before hidden deterioration or insurance restrictions force an emergency decision.
Common Wind-Claim Mistakes
Avoid these errors:
allowing unsafe roof access;
photographing only close-ups without locations;
discarding damaged materials too soon;
performing permanent alterations before documentation;
delaying reasonable mitigation;
assuming wind nearby proves roof damage;
assuming no leak means no damage;
calling every old defect storm-created;
keeping only the declarations page;
misunderstanding a percentage deductible;
accepting a deductible-waiver offer;
confusing a roofer with a public adjuster;
treating temporary patches as permanent;
coating over wet or unstable materials;
failing to track deadlines; and
discarding the claim and construction file after payment.
Frequently Asked Questions
Can wind damage a roof without removing material?
Yes. Wind can stress attachments, seams, fasteners, perimeters, and flashing. Some displaced materials settle after the gust. A qualified inspection is needed.
Should I wait for a leak before inspecting?
No. A compromised roof may not leak during the first storm. Prompt inspection can identify safety and watertightness concerns before another event.
Does every loose seam prove wind damage?
No. Installation, aging, thermal movement, maintenance, and prior damage can create similar conditions. Review the physical pattern and pre-loss record.
Can Showtime Exteriors guarantee claim approval?
No. Showtime Exteriors can inspect, document physical conditions, propose a roofing scope, and perform authorized work. The insurer determines coverage and payment.
Can a contractor waive the deductible?
No. Texas law prohibits a contractor from waiving, rebating, absorbing, or helping avoid a required property insurance deductible.
Is repair always preferable to replacement?
No. The correct approach depends on damage extent, surrounding condition, moisture, deck, attachment, compatibility, code, repairability, and service life.
Why is a gravel BUR difficult after wind?
Gravel can conceal the membrane, old patches, deterioration, and moisture while wind may redistribute the aggregate. Targeted investigation and strong pre-loss records become especially important.
Will replacing an old gravel roof improve insurance terms?
It may reduce physical uncertainty, but no result is guaranteed. The carrier decides eligibility, coverage, premium, and renewal.
How long should claim records be retained?
Ask insurance and legal advisers about the specific retention period. Do not discard policies, reports, images, invoices, or closeout records merely because the work is complete.
Final Wind Damage Claim Checklist
Confirm that you have:
protected occupants and restricted hazards;
recorded the event timeline;
photographed exterior, roof, interior, and collateral conditions;
documented emergency mitigation and receipts;
preserved damaged material when appropriate;
obtained the complete policy;
identified the wind deductible and valuation method;
reported according to policy requirements;
commissioned a mapped professional roof inspection;
reviewed pre-loss age, condition, repair, and moisture records;
disclosed inspection and testing limitations;
evaluated repair, restoration, and replacement options;
compared estimates line by line;
tracked carrier communications and deadlines;
documented concealed conditions and supplements;
coordinated operations and interior protection;
used a clear construction contract; and
preserved final invoices, permits, photographs, and warranties.
Schedule a Texas Commercial Roof Assessment
A wind damage claim is easier to manage when the building owner works from a clear record. Safety, documentation, temporary protection, policy review, professional inspection, and a complete construction scope should work together without blurring professional roles.
Showtime Exteriors helps commercial property owners across Texas and the Dallas–Fort Worth Metroplex inspect wind-damaged roofs, document physical conditions, stabilize openings, investigate moisture, and plan repair, restoration, recover, retrofit, or replacement work. Call 817-400-ROOF (7663) to schedule a roof assessment.
Related Showtime Exteriors Resources
What Evidence Do You Need for a Commercial Roof Wind-Damage Claim?
Texas Wind-Damaged Roof: What Property Owners Should Do Next
How Quickly Should You Address an Emergency Roof Tarp?
Can a Storm Roof Leak Be Repaired, or Is Replacement Necessary?
Why TPO Often Replaces Aging Gravel BUR Roofs
Authoritative External Resources
Texas Department of Insurance: Insurance and Your Roof
Texas Department of Insurance: What to Know About Deductibles
Texas Department of Insurance: Home Insurance Guide
Ready.gov: Recovering From Disaster
Ready.gov: Severe Wind and Tornado Toolkit
Editorial and insurance disclaimer: This content is general educational information. It is not an insurance-policy interpretation, legal opinion, engineering certification, public-adjusting service, or promise of claim approval, payment, renewal, premium reduction, or underwriting eligibility. Coverage and valuation depend on the issued policy and insurer's determination. Consult a licensed insurance professional or attorney about a specific policy or claim. Showtime Exteriors evaluates physical roof conditions and prepares or performs roofing work within its lawful role.
817-400-ROOF (7663) showtimeexteriors.com