



How to Document Hidden Hail Damage Before Filing a Claim
Learn how to document suspected hidden hail damage with inspection reports, original photos, roof records, testing, and repair receipts.

Your roof does not have to develop an immediate leak for a hailstorm to raise concerns. Some conditions are difficult to recognize from the ground, and questions about concealed materials may require professional investigation.
The most useful documentation records what can be observed, explains the findings, and identifies what remains uncertain. Calling a condition “hidden hail damage” does not establish its cause, age, extent, or insurance coverage.
Start by recording your observations, preserving original photographs, gathering earlier roof records, and arranging a professional inspection. Contact your insurer or agent promptly about reporting requirements; you do not need to wait until every document is collected.
Showtime Exteriors provides residential and commercial roofing services across North Texas. This guide explains how property owners can organize suspected hail damage documentation and prepare for an informed discussion about the roof.
What Does “Hidden Hail Damage” Mean?
Property owners often use this phrase for two different situations:
- Surface conditions that are difficult to see without closer inspection.
- Suspected damage within concealed layers of the roof assembly.
These require different assessment methods.
An inspector may be able to photograph an observable surface condition. Determining the condition of insulation, decking, or another concealed component may require additional investigation.
GAF’s hail damage guidance explains that not all hail effects are readily visible and recommends professional roof evaluation when damage is suspected. gaf.com
Describe the Evidence Precisely
Instead of writing “hail destroyed the roof,” record the specific observation:
“New ceiling stain discovered in the northwest office after Tuesday’s storm.”
That statement establishes what you observed without assuming the source or extent of the problem.
Step 1: Create a Property and Event Record
Begin with a short factual timeline.
Include:
- Property address.
- Owner or property manager.
- Approximate storm date, if known.
- What you personally observed.
- Date the concern was discovered.
- Reported interior symptoms.
- Temporary protection already performed.
- People who inspected or worked on the roof afterward.
Separate Storm Date From Discovery Date
You may discover a condition several days after a storm. Record both dates rather than treating them as interchangeable.
If you are uncertain which event caused a condition, say so. An accurate timeline is more useful than an unsupported date.
Record Earlier Problems
List known leaks, previous patches, drainage concerns, and recent rooftop equipment work.
Existing problems do not automatically explain every new condition. However, omitting them makes the roof’s history harder to evaluate.
Step 2: Photograph What You Can Observe Safely
Leave rooftop access to appropriately equipped professionals.
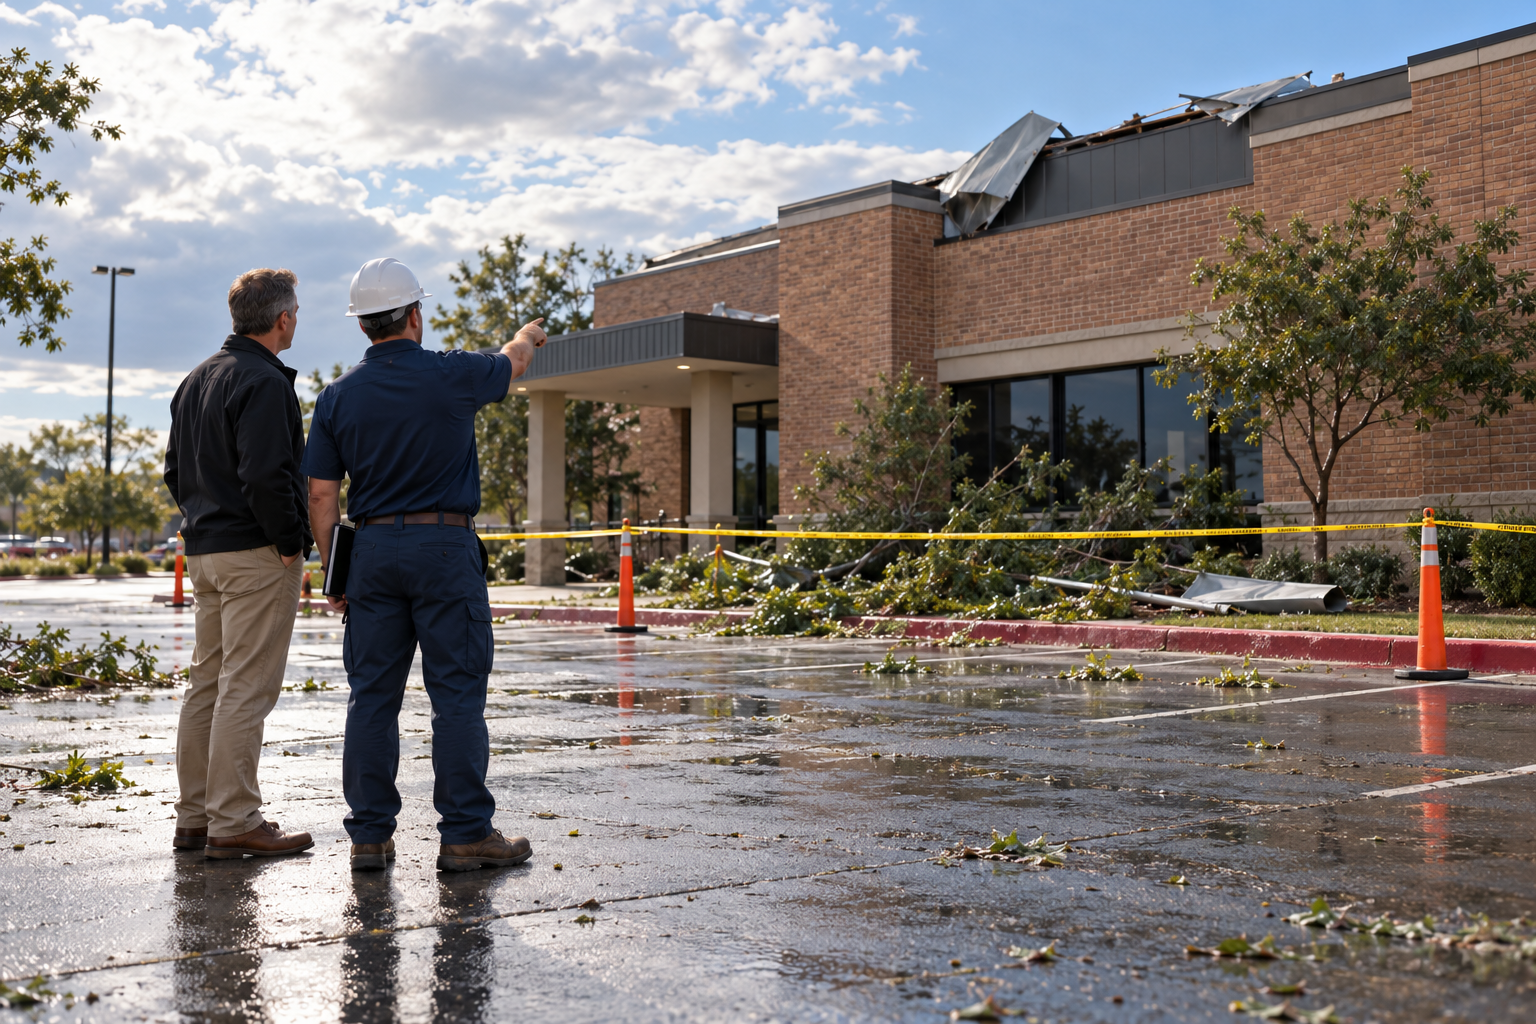
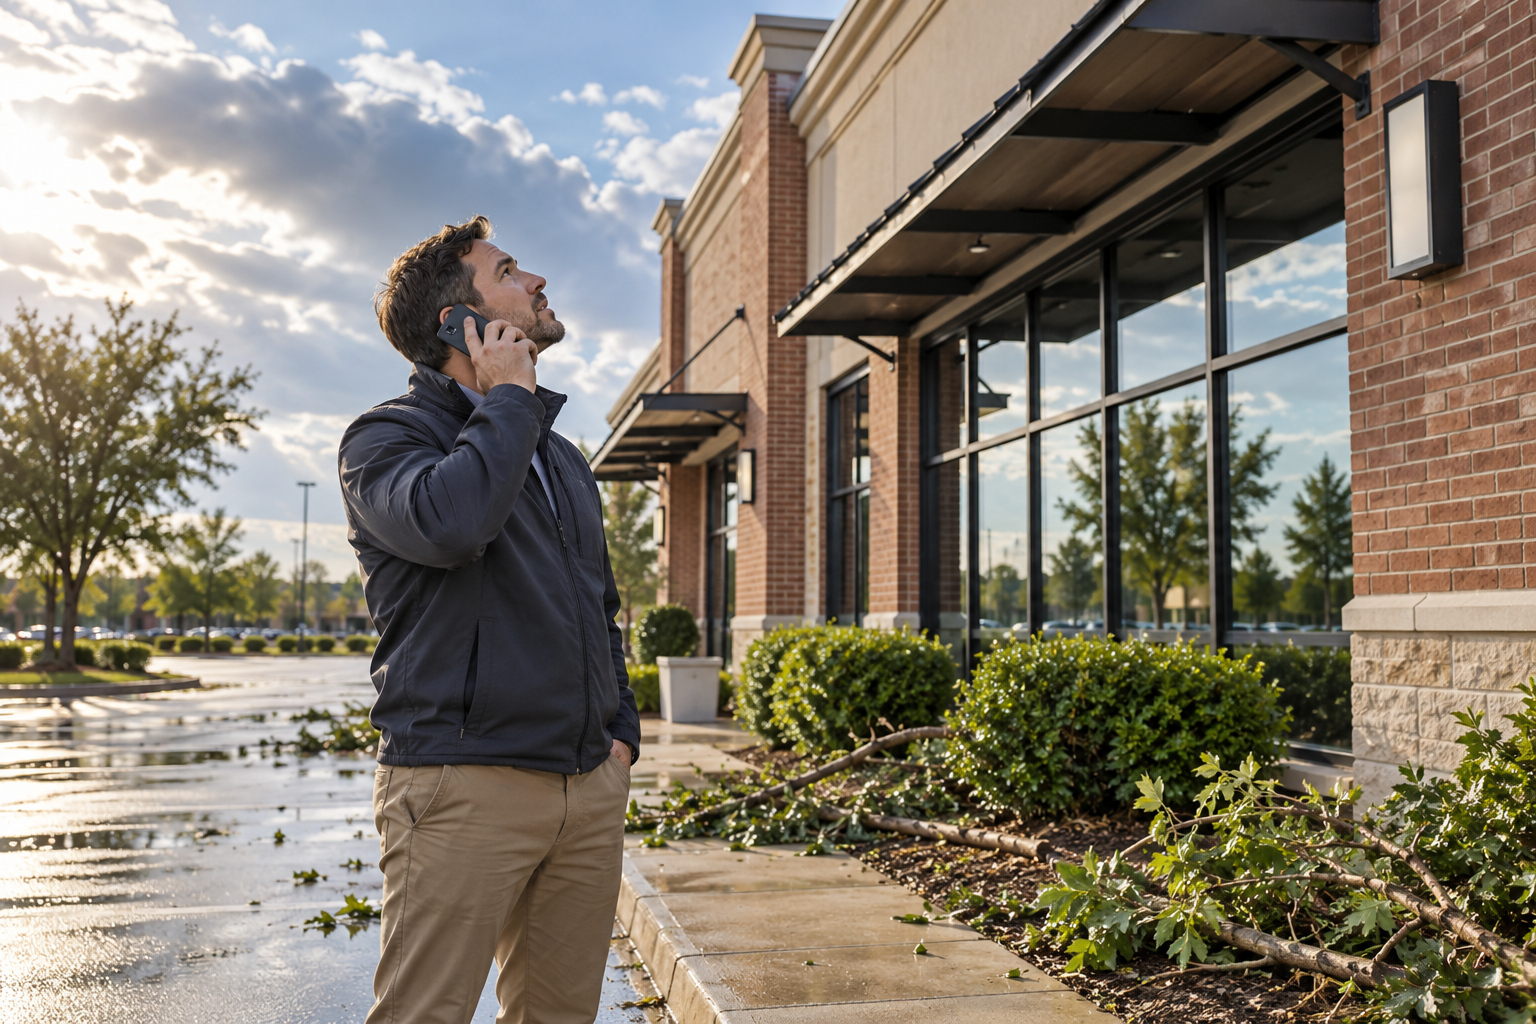
From safe ground-level or accessible interior locations, photograph visible changes such as damaged exterior components, debris, water entry, or affected belongings.
GAF’s storm damage documentation resources recommend photographing visible storm effects from a safe vantage point, including exterior damage and interior water intrusion. gaf.com
Take Overview and Detail Photographs
A useful sequence moves from the building to the specific concern:
- The property or room.
- The affected elevation or interior area.
- The individual condition.
- A closer view where safely possible.
A close-up without context can be difficult to locate later.
Preserve Original Files
Keep original photographs and videos with their available file information.
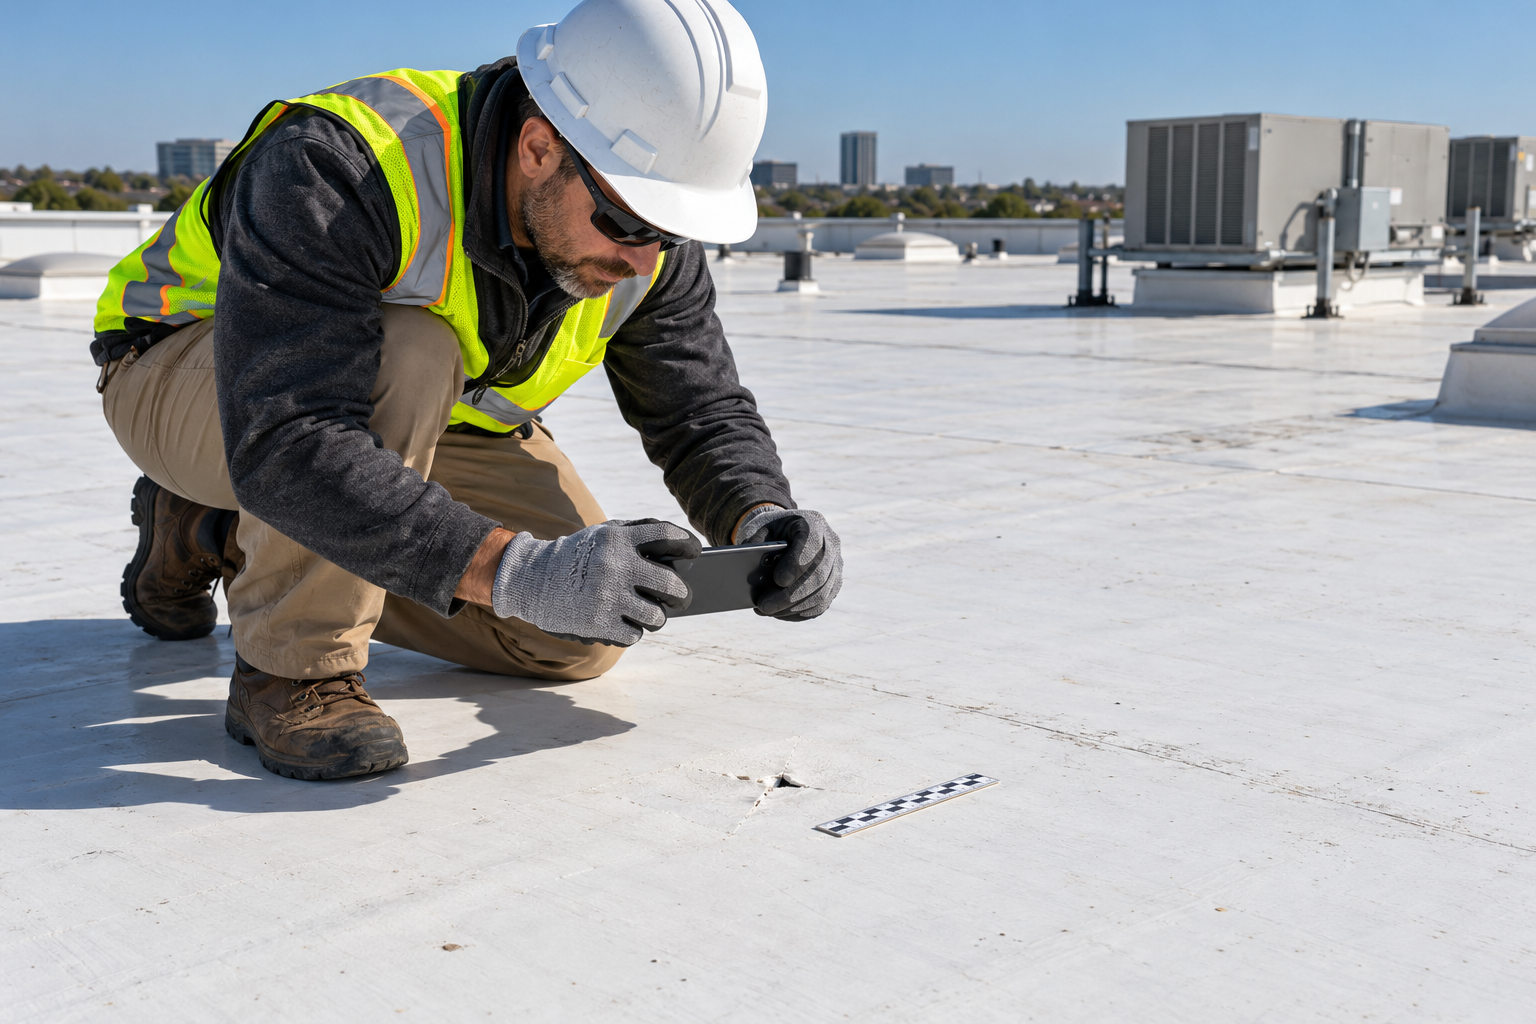
If you make annotated copies, retain the originals separately. Labels and arrows can help explain a location, but they should not obscure or alter the underlying condition.
Use actual property photographs in the claim record.
Step 3: Gather Records From Before the Storm
Earlier records can help establish roof history and provide comparison points.
Look for:
- Installation invoices.
- Roof-system specifications.
- Warranty documents.
- Maintenance logs.
- Earlier inspection reports.
- Repair receipts.
- Property purchase inspection records.
- Photographs taken before the event.
- Rooftop equipment service records.
Identify Different Roof Sections
A building may have multiple roof ages, materials, or additions.
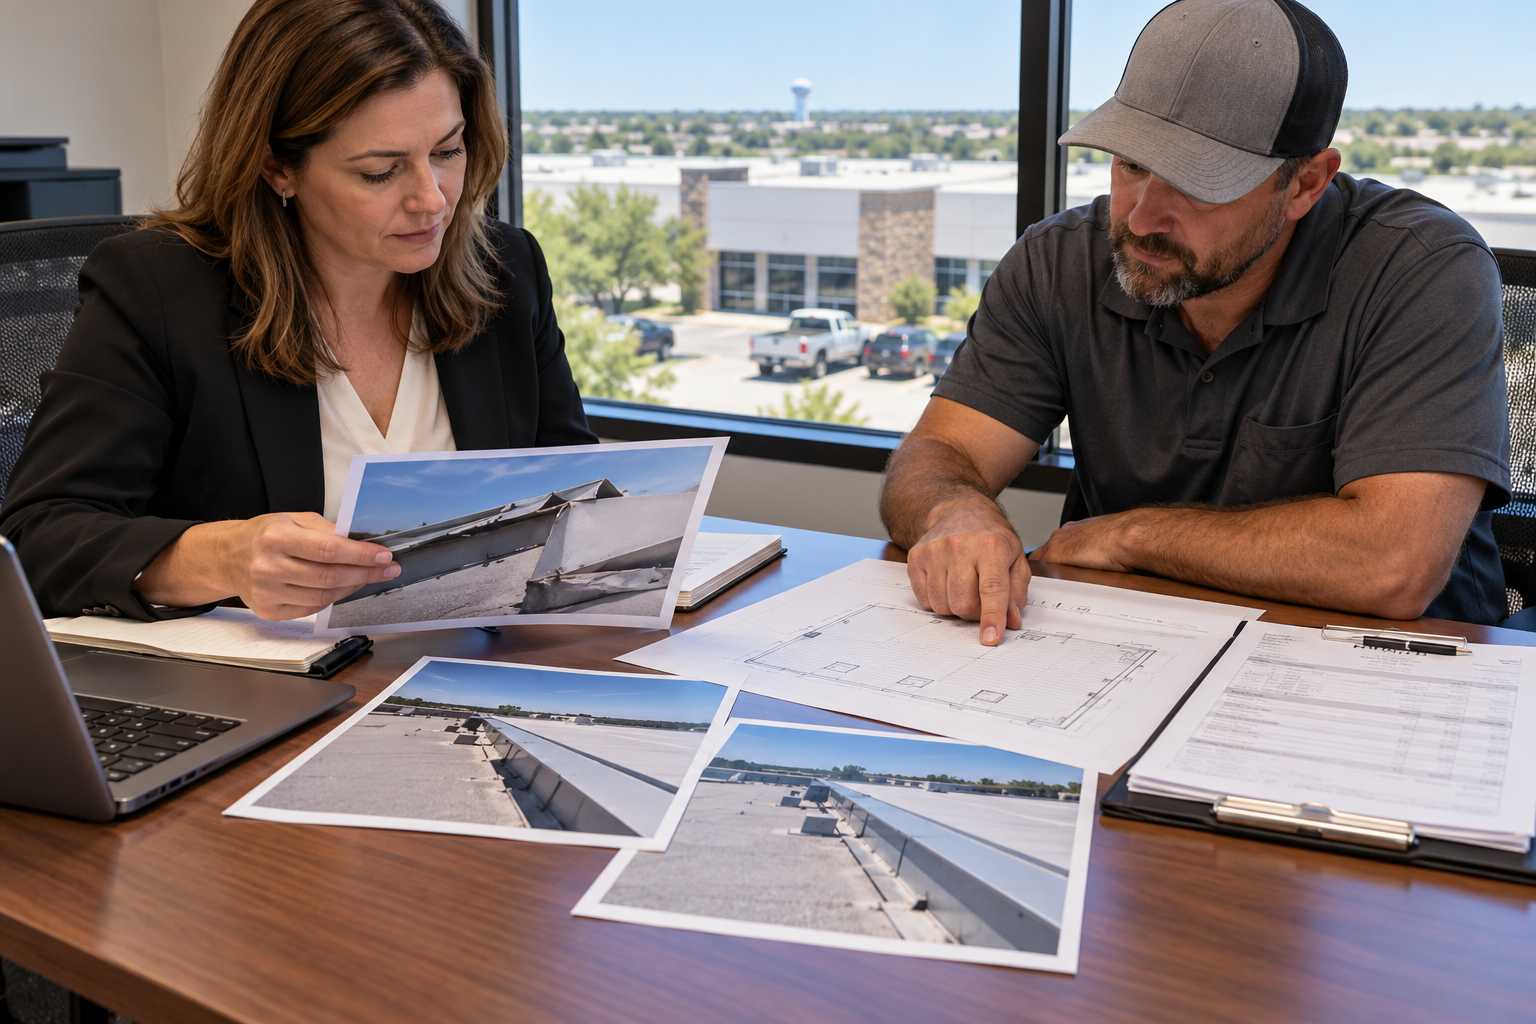
Mark those sections on an available roof plan or ask the contractor to prepare a simple location reference. This helps prevent findings from one area being mistakenly applied to the whole property.
Showtime Exteriors’ guide to commercial roof inspection report evidence explains how roof plans, history, photographs, and limitations contribute to a useful record.
Step 4: Request a Documented Professional Inspection
Explain that you need findings you can understand and retain.
The contractor should identify the installed roof system, examine accessible areas, review your concerns, and describe any limitations.
Ask the report to distinguish:
- Direct observations.
- Information supplied by the owner.
- Test results, if applicable.
- Professional conclusions.
- Unresolved questions.
Ask About Alternative Explanations
Weathering, foot traffic, equipment servicing, installation conditions, and previous repairs can create conditions that require interpretation.
A useful assessment explains why a finding is considered significant and whether other explanations remain possible.
Do Not Treat Every Surface Mark as Proof
GAF’s technical guidance on hail effects on asphalt shingles discusses observations such as indentations, fractures, and localized granule loss. These observations require evaluation in context. documents.gaf.com
Ask the inspector to explain the pattern, location, and significance of the findings rather than relying on a single photograph.
Step 5: Document Findings by Location
Each significant finding should be tied to a roof area or building location.
A practical inspection entry might identify:
- Roof section.
- Nearby feature.
- Photograph numbers.
- Observed condition.
- Recommended action.
- Inspection limitation.
Example of a Useful Entry
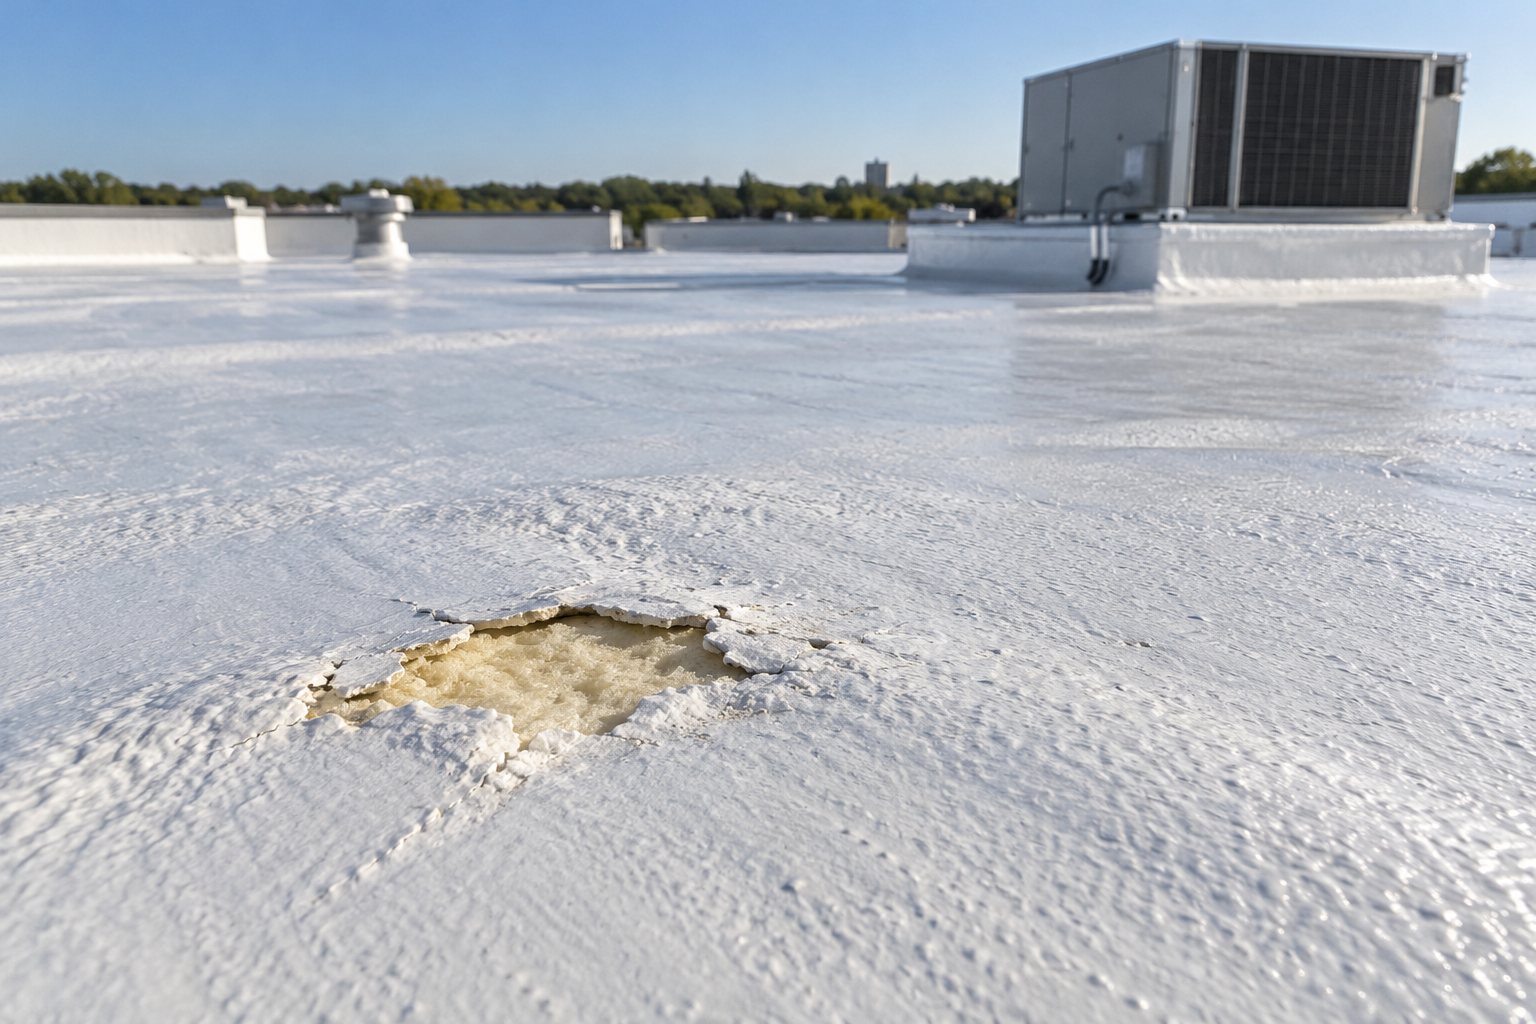
“East roof section, beside the mechanical curb: localized membrane opening visible in photographs 14–16. Surrounding assembly requires evaluation before a permanent repair scope is finalized.”
This identifies the condition and uncertainty without assigning an unsupported cause.
Include Areas With No Relevant Findings
Ask which sections were inspected and whether notable conditions were absent in those areas.
A balanced report is easier to interpret than a collection of close-ups selected without a record of the overall inspection.
Step 6: Investigate Concealed Conditions When Justified
Questions about concealed materials should lead to a defined investigation.
Depending on the roof and findings, the contractor may recommend additional testing or consultation with a roofing consultant, manufacturer, or engineer.
Before authorizing it, ask:
- What question will the investigation answer?
- What method is proposed?
- Which areas will be examined?
- What are the method’s limitations?
- Will roofing materials be disturbed?
- How will disturbed areas be restored?
- What documentation will be provided?
Moisture Findings Do Not Establish Cause by Themselves
Evidence of moisture does not automatically identify when it entered or which event caused it.
The investigation should connect findings with the roof’s condition, history, reported symptoms, and other available evidence.
Coordinate Before Destructive Testing
If samples or openings are proposed, discuss authorization and evidence handling with the relevant parties before work begins.
Avoid removing or discarding potentially relevant materials without an agreed process.
Step 7: Record Interior Effects Separately
Photograph reported water entry and affected interior areas, even if the roof source remains uncertain.
Record the room, date discovered, weather conditions when noticed, and any actions taken.
For commercial buildings, document operational effects factually. Examples include an area temporarily closed, inventory relocated, or equipment assessed by another trade.
Avoid Assuming the Stain Is Directly Below the Source
The roof investigation should establish the relationship between interior symptoms and exterior findings where possible.
A ceiling stain alone does not determine the entry point, date, or cause.
Homeowners can also review Showtime Exteriors’ guide to evidence for a residential roof claim when assembling their records.
Step 8: Preserve Temporary Repair Documentation
Necessary protection and careful documentation can occur together.
When safe and practical, request photographs before, during, and after temporary work.
Keep:
- Contractor name and contact information.
- Date of work.
- Description of the measure.
- Areas addressed.
- Receipts and invoices.
- Remaining limitations.
- Recommended permanent work.
Showtime Exteriors’ article on emergency roof tarp follow-up explains why temporary protection needs further evaluation.
Do Not Delay Urgent Protection for Perfect Photographs
Tell the contractor about immediate interior risks. Record what was reasonably possible and ask the crew to document the work it performs.
Step 9: Obtain a Defined Repair Estimate
The estimate should explain how the proposed construction addresses the documented conditions.
Look for:
- Specific repair locations.
- Quantities or measurements.
- Materials and methods.
- Preparation and removal work.
- Treatment of surrounding details.
- Exclusions.
- Additional investigation, if needed.
- Procedure for concealed conditions.
- Warranty information.
An estimate states proposed work and cost. It does not independently establish insurance coverage.
GAF’s roof insurance claims guide discusses documentation and obtaining a detailed roofing estimate as part of the process. GAF
Step 10: Organize the Evidence Package
Use a simple structure that makes documents easy to locate.
FolderSuggested contentsProperty and timelineAddress, contacts, event and discovery datesOriginal photographsUnedited images and videosRoof historyInstallation, maintenance, repairs, warrantiesInspectionReport, roof plan, labeled photographsTestingScope, authorization, methods, findingsTemporary protectionWork descriptions, photographs, invoicesProposed repairsEstimates and supporting specificationsCorrespondenceInsurer and contractor communications
Use consistent dates and document names. Keep a backup of the original files.
Contact Your Insurer Before the File Is Complete
“Before filing a claim” should not be interpreted as a reason to postpone reporting a suspected loss.
Contact your insurer or agent promptly about the policy’s requirements and ask which documents can be submitted afterward.
The Insurance Information Institute’s guide to filing a homeowners claim explains contacting the insurer, preparing information for the adjuster, and documenting damage. Commercial owners should follow their own policy and insurer’s process. Triple-I®
Ask about deadlines, inspections, evidence preservation, and how to provide additional findings.
Keep Roofing Findings and Coverage Decisions Clear
A roofing contractor evaluates physical conditions and proposes construction work. Coverage depends on the policy and the insurer’s review.
Avoid assuming that a manufacturer rating, neighboring roof replacement, or contractor opinion guarantees a covered loss.
Provide accurate documentation and direct coverage questions to your insurer or appropriately qualified adviser.
Common Documentation Mistakes
Assigning a Cause Too Early
Record what was found and let the investigation support any conclusion about cause.
Submitting Close-Ups Without Locations
Connect detail photographs to overview images and a roof plan.
Omitting Previous Repairs
Include earlier work so the roof’s history can be evaluated accurately.
Treating Moisture as Proof of Hail Damage
Moisture findings require interpretation alongside other evidence.
Discarding Relevant Materials
Coordinate preservation and handling before removal when practical.
Waiting for a Complete Report Before Reporting the Concern
Ask your insurer about requirements promptly and supplement the record as information becomes available.
Frequently Asked Questions
Can hail damage exist without a leak?
Yes, an active leak is not required for a roof to warrant assessment. However, suspected damage still needs evaluation.
Can photographs prove concealed damage?
Photographs can document visible conditions. Concealed components may require additional investigation.
Does granule loss automatically mean hail damage?
No. Granule loss needs context, including location, pattern, roof condition, and other possible causes.
Should I collect a roofing sample myself?
No. Discuss any sampling with the contractor and relevant parties so authorization, documentation, and restoration are addressed.
What if the cause remains uncertain?
Ask the report to state that uncertainty and identify whether further investigation would help.
Can Showtime Exteriors guarantee claim approval?
No. Roofing documentation can support an assessment, but it does not guarantee insurance coverage or approval.
Arrange a Roof Assessment in North Texas
Useful documentation begins with accurate observations, original records, and a professional assessment that explains both findings and limitations.
Showtime Exteriors offers commercial roofing assessments and residential and commercial roofing services throughout North Texas.
Call 817-400-ROOF (7663) or contact Showtime Exteriors to discuss suspected hail damage and roof inspection documentation.