



How to Document a Wind-Damaged Roof Before Filing a Claim
Document wind roof damage with original photos, inspection reports, repair records, and a clear timeline. A practical guide for Texas property owners.

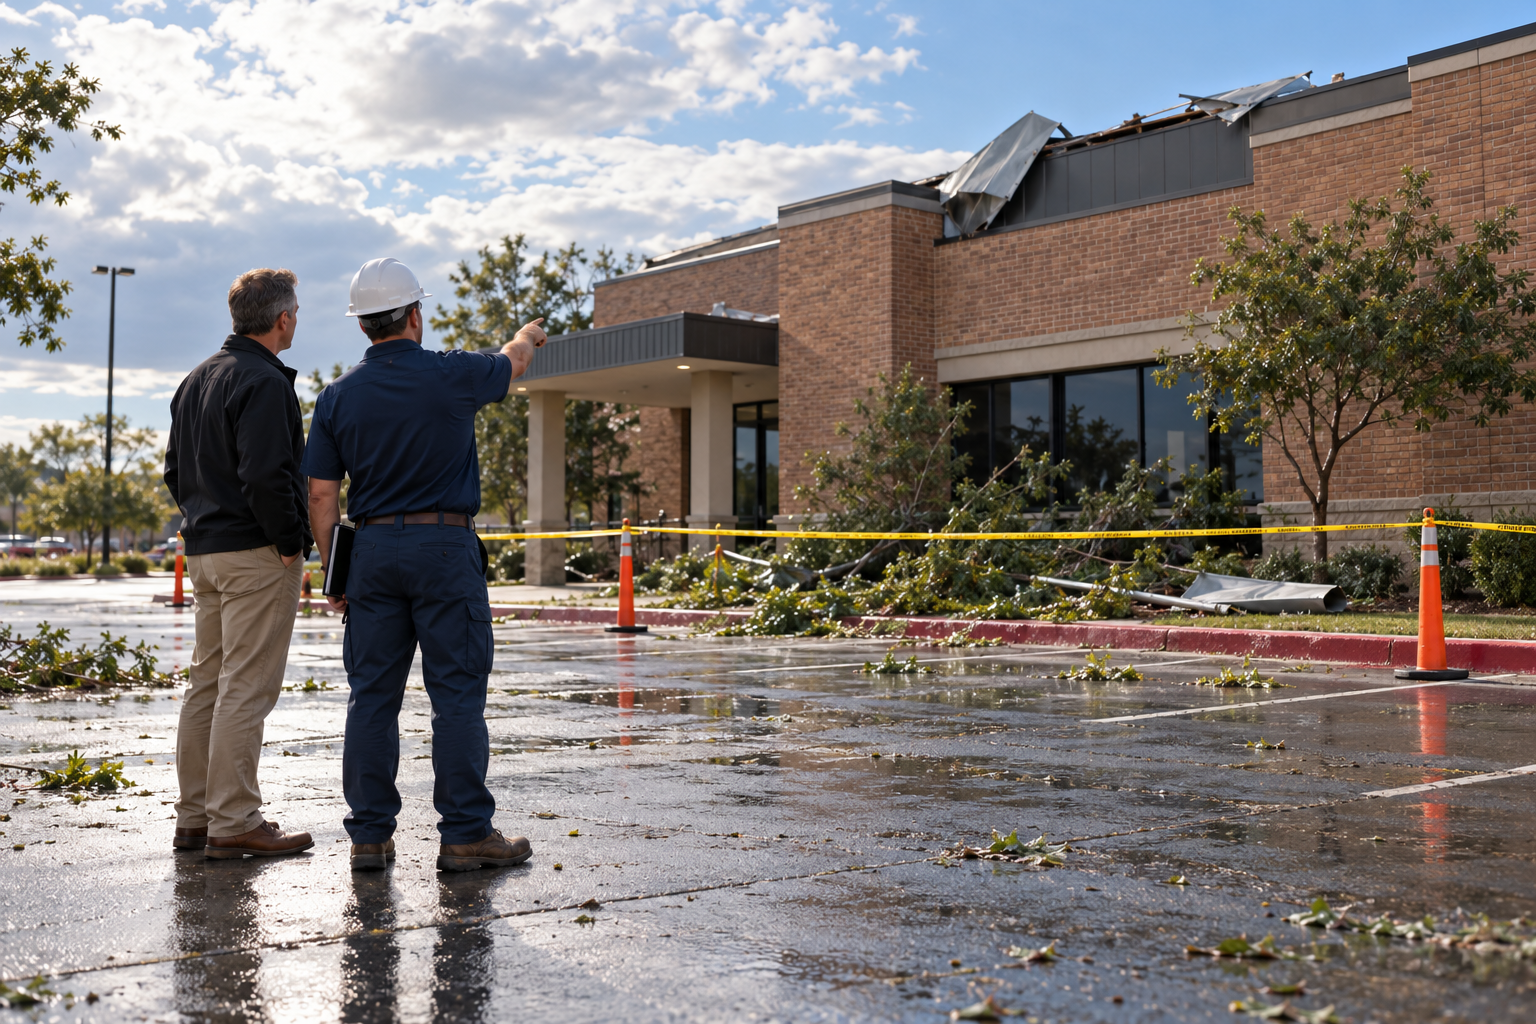
After a strong windstorm, you may find shingles in the yard, loose roof-edge metal, damaged flashing, or a new ceiling stain. Before deciding what repairs are necessary, create a clear record of the property’s condition.
Document what you can observe safely, preserve original photographs, gather earlier roof records, and arrange a professional inspection. Contact your insurer or agent promptly about reporting requirements rather than waiting for a complete evidence package.
Good documentation connects each finding to a location and explains what is known, what is suspected, and what remains uncertain. It should help someone who has never visited the property understand the reported problem.
Showtime Exteriors provides residential and commercial roofing services throughout North Texas. This guide explains how owners can organize wind damage documentation and prepare for inspection, repair planning, and insurance communication.
Start With Safety and Urgent Protection
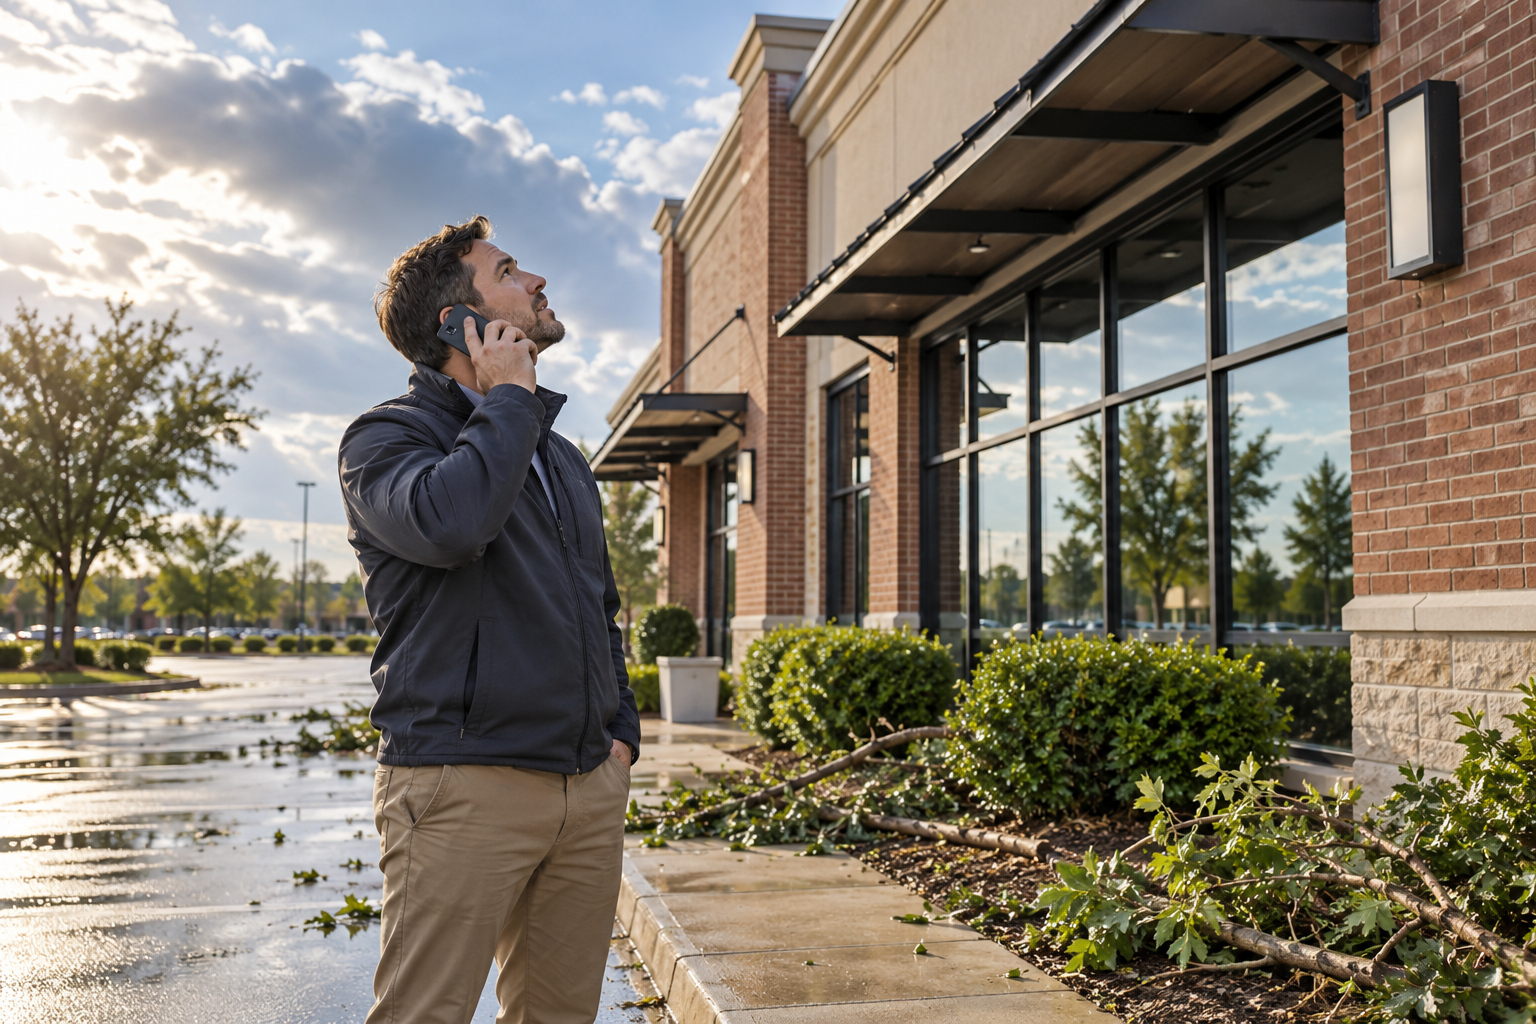
Do not climb onto a damaged roof to obtain photographs. Loose materials, wet surfaces, debris, and damaged decking can create hazards.
If the building shows signs of instability or water is affecting electrical equipment, keep people clear and seek appropriate emergency assistance.
Once conditions permit, document visible changes from safe locations and contact a qualified roofing professional.
GAF’s storm damage resources recommend photographing physical damage, debris, and interior water intrusion from a safe vantage point. gaf.com
Do Not Delay Necessary Protection
When water is entering or roofing materials are exposed, explain the situation when requesting assistance.
Ask the contractor to document temporary work before, during, and after installation where practical. An incomplete photograph collection should not delay action needed to address an urgent condition.
Step 1: Write a Factual Timeline
Begin with a short record that distinguishes the storm from the discovery of damage.
Include:
- Property address.
- Approximate storm date and time, if known.
- What you personally observed.
- When damage or water entry was discovered.
- Affected rooms or roof sections.
- Temporary work already performed.
- People who inspected or accessed the roof afterward.
Use Precise Descriptions
“Two shingle pieces found beside the west driveway on Friday morning” records an observation.
“Friday’s wind destroyed the west roof” makes a broader conclusion that requires supporting evidence.
You can report suspected wind damage while remaining clear about what has actually been established.
Include Earlier Problems
Record known leaks, previous patches, drainage issues, and recent rooftop equipment work.
That history helps the inspector evaluate whether observed conditions are new, preexisting, or uncertain.
Step 2: Photograph the Property Before Conditions Change
When safe, take photographs before cleanup or temporary repairs alter the visible condition.
Aim for an organized sequence:
- Overall property view.
- Affected building elevation.
- Relevant roof section or interior area.
- Individual condition.
- Close-up detail where safely accessible.
Preserve Context
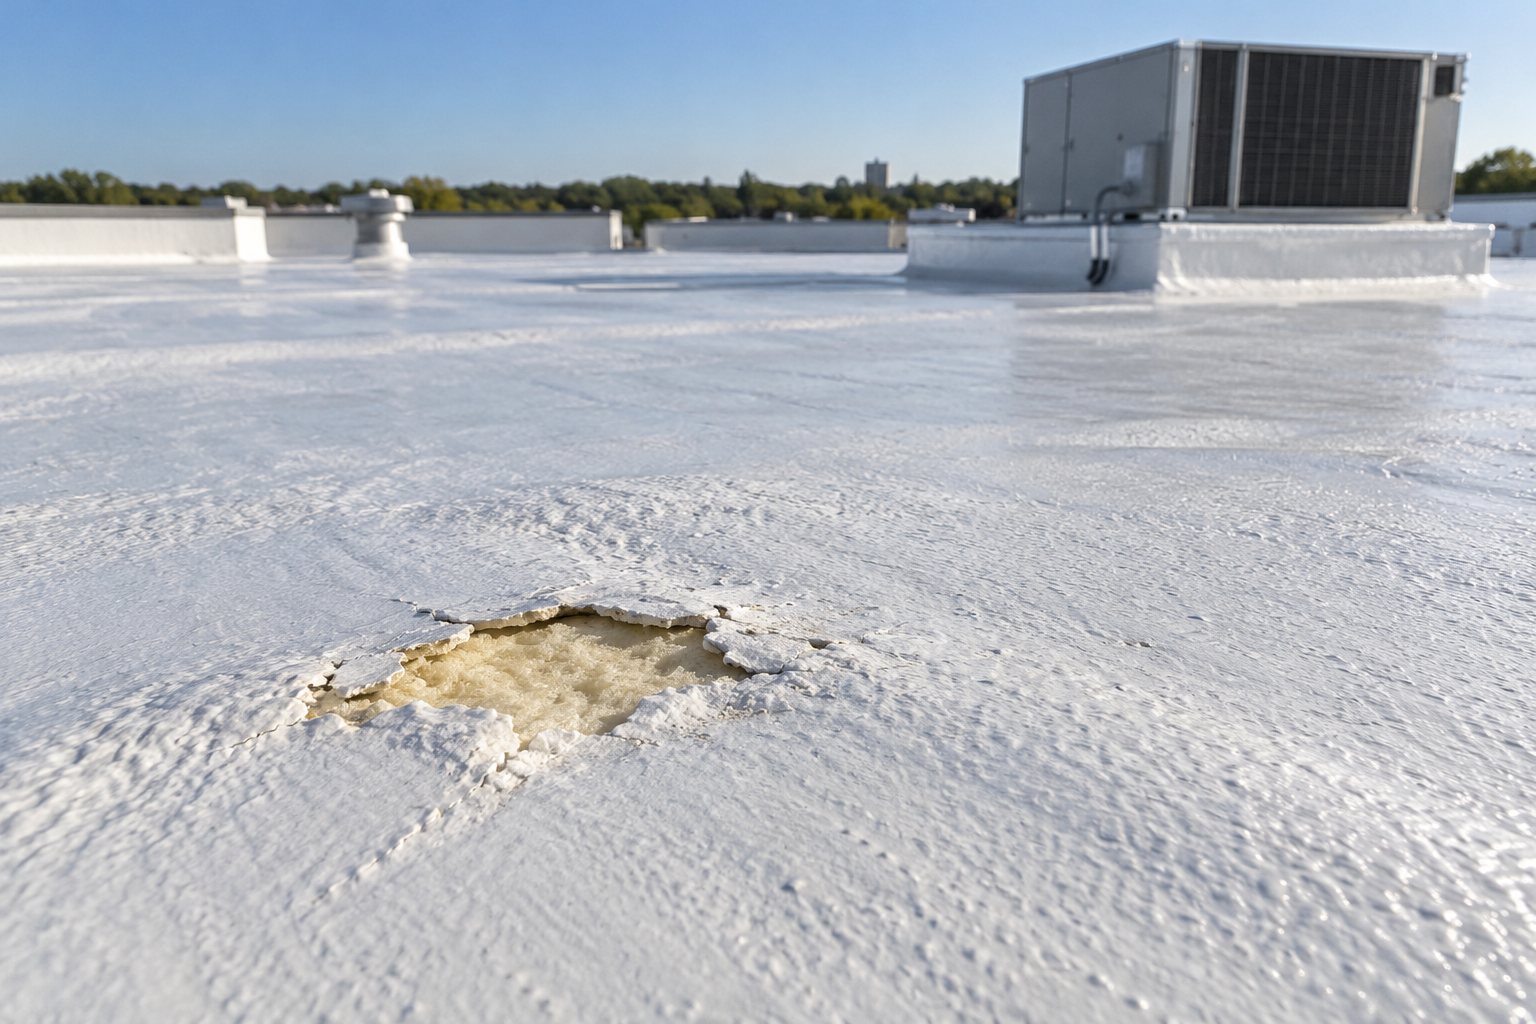
A close-up can show a torn material or bent component, but it may not establish where it belongs.
Connect detail photographs to wider images and, where available, a roof plan.
Keep Original Files
Retain original photographs and videos. If you add arrows or labels, make separate copies.
Avoid filters, object removal, or other edits that change the appearance of the condition. Keep any available date and file information.
Step 3: Record Visible Exterior Changes
From the ground, note conditions such as:
- Missing roofing materials.
- Shingle pieces or metal on the property.
- Displaced flashing.
- Loose perimeter components.
- Debris resting on the roof.
- Damaged gutters or downspouts.
- Changes around skylights or penetrations.
GAF’s guide to shingles displaced by wind discusses photographing visible damage and reviewing the roof with a professional. gaf.com
Do Not Manipulate Materials for Photographs
Do not lift shingles, pull loose metal, or create openings to demonstrate a concern.
Ask the inspector to evaluate the roof using methods appropriate to the material and document any disturbance necessary for further investigation.
Record Debris Without Assuming Its Origin
If a roofing fragment is found on the property, photograph its location.
Where the material came from may require confirmation, particularly when nearby buildings also experienced damage.
Step 4: Document Interior Symptoms
Photograph water entry, ceiling stains, wet materials, and affected belongings or equipment from safe areas.
For each location, record:
- Room or unit.
- Date discovered.
- Whether water was actively entering.
- Weather conditions when observed.
- Changes over time.
- Protective actions taken.
A Stain Does Not Establish the Entry Point
An interior symptom should guide the investigation rather than determine the diagnosis.
The contractor should explain whether the roof findings connect to the reported water entry and identify uncertainty where that connection is unresolved.
Commercial Owners Should Record Operational Effects
Document facts such as an aisle closed, inventory relocated, or equipment removed from service.
Keep related invoices and service reports. Direct questions about business income or other insurance coverage to your insurer or agent.
Step 5: Gather Roof History
Earlier records help establish what was installed and what conditions had previously been documented.
Collect available:
- Installation invoices.
- Roof specifications.
- Warranty documents.
- Maintenance logs.
- Prior inspection reports.
- Repair receipts.
- Earlier photographs.
- Equipment service records.
Identify Separate Roof Sections
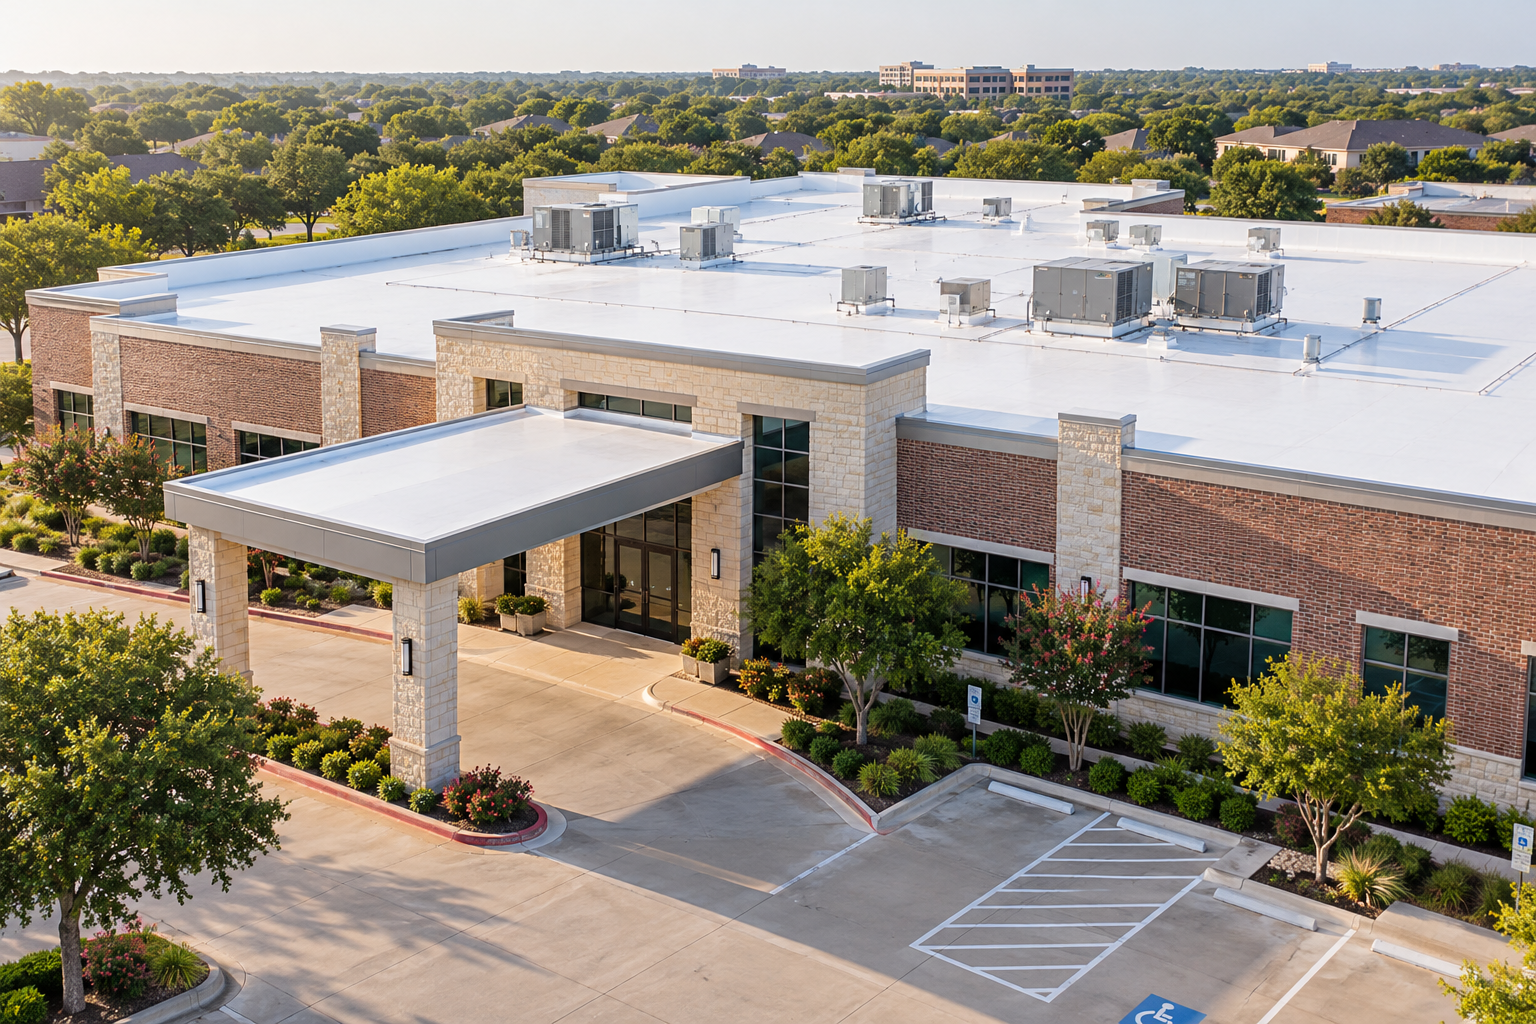
Commercial properties may have additions, different materials, or roof sections installed in different years.
Use a roof plan or simple location reference to distinguish these areas.
Showtime Exteriors’ guide to commercial roof inspection documentation explains how history, labeled photographs, and roof plans support a useful assessment.
Step 6: Arrange a Professional Inspection
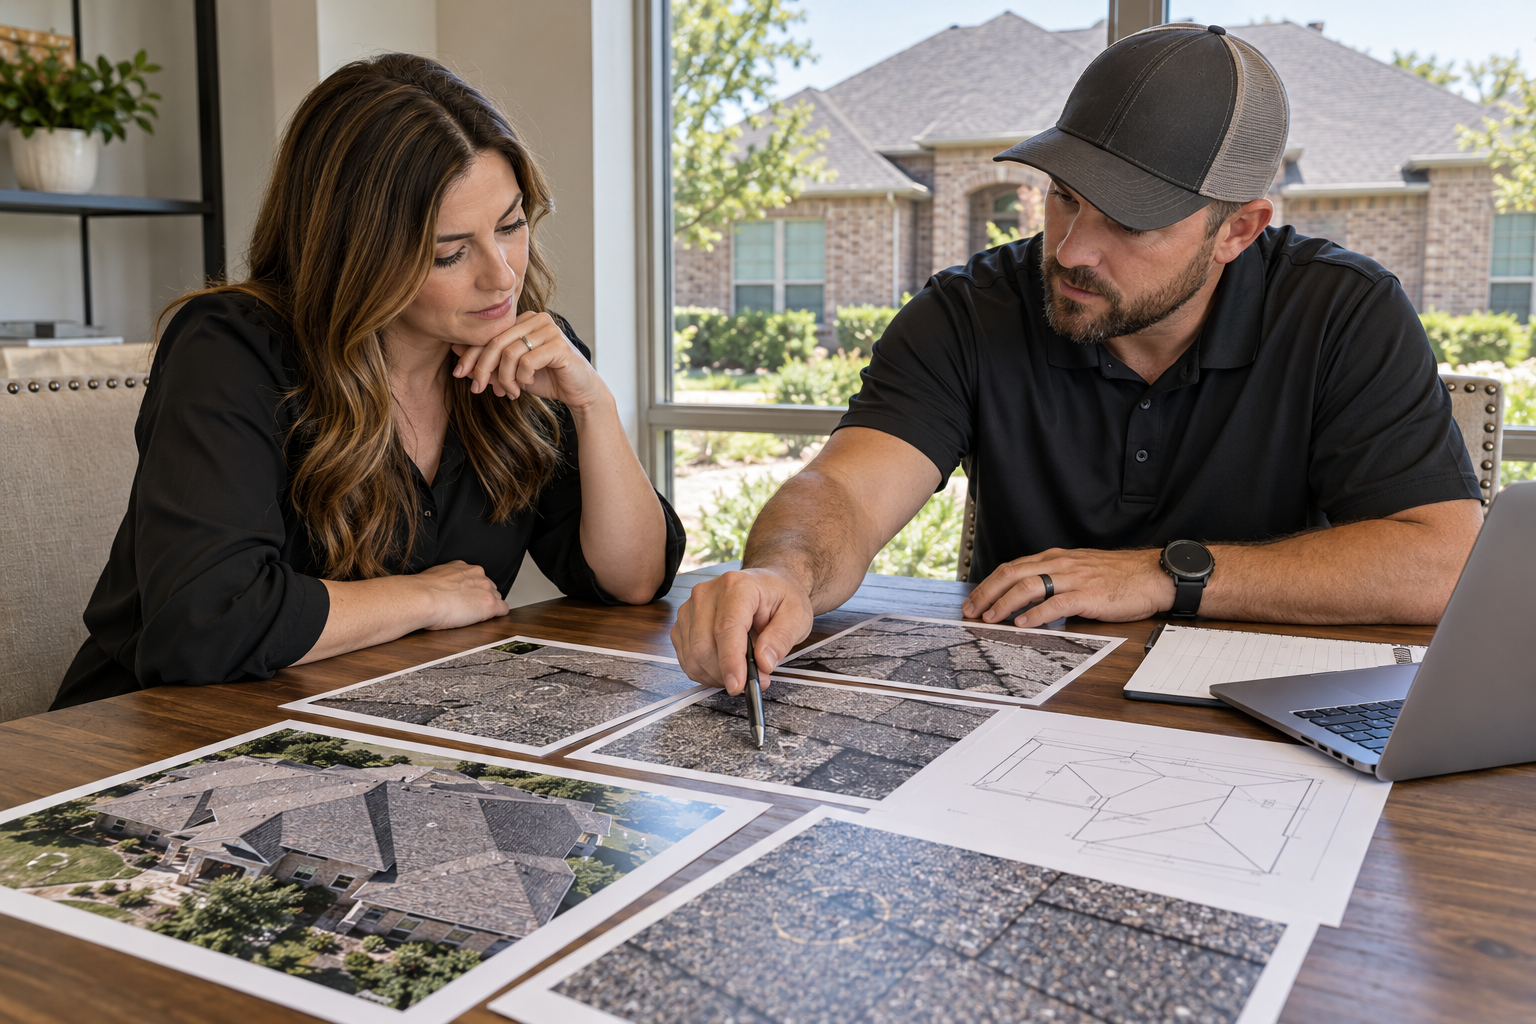
Explain that you need written findings and photographs suitable for your property records.
The contractor should identify the roofing system, review the reported concerns, inspect accessible areas, and record limitations.
Ask for Findings by Location
A useful report identifies the roof section, nearby feature, observed condition, and related photograph numbers.
For example:
“North roof section near the loading area: displaced perimeter metal visible in photographs 12–15. Adjacent roofing and attachment details require further evaluation.”
This establishes the observation without claiming more than the inspection supports.
Distinguish Different Types of Evidence
The report should separate:
- Direct observations.
- Owner-reported history.
- Test results.
- Professional conclusions.
- Unresolved questions.
GAF’s technical guidance on shingle damage associated with wind events provides manufacturer context for evaluating wind-related conditions. Interpretation should account for the actual roof and findings. Google Docs
Step 7: Document Less Obvious Concerns Carefully
Some findings require closer evaluation than a ground-level photograph provides.
Ask the contractor to explain what makes each condition significant, which alternative explanations were considered, and whether further investigation is necessary.
An Unsealed Shingle Is Not a Complete Diagnosis
If an inspector identifies an unsealed or displaced shingle, ask how the finding was evaluated and what supports the conclusion.
Avoid treating every loose component as proof of a particular storm date or cause.
Commercial Roofs Require System-Specific Review
For commercial properties, ask about accessible seams, flashing, perimeter details, penetrations, and equipment curbs.
The report should identify whether concerns are isolated or repeated across multiple areas.
Showtime Exteriors’ commercial roofing services include assessment and project planning for North Texas buildings.
Step 8: Coordinate Any Additional Investigation
If concealed conditions remain uncertain, ask what additional work would help resolve them.
Before authorizing testing or openings, clarify:
- Purpose.
- Method.
- Locations.
- Cost.
- Limitations.
- Restoration of disturbed areas.
- Documentation and material handling.
Where an insurer or another professional needs to examine evidence, coordinate before destructive work where practical.
Do Not Assume Moisture Establishes Wind Damage
Moisture findings may help define affected areas. They do not independently establish when water entered or which event caused it.
The assessment should connect testing with roof history, physical observations, and reported symptoms.
Step 9: Preserve Temporary Repair Records
Keep a separate record of emergency protection.
Request:
- Date of work.
- Contractor information.
- Photographs.
- Description of the measure.
- Areas addressed.
- Invoice.
- Remaining limitations.
- Permanent repair recommendations.
Showtime Exteriors’ guide to emergency roof tarp follow-up explains why temporary work should remain part of the roof’s service history.
The Insurance Information Institute’s homeowners claim guidance recommends photographing damage, taking reasonable protective steps, and keeping records of temporary repairs. Triple-I®
Step 10: Request a Defined Repair Estimate
The proposed construction should connect to the documented conditions.
Look for:
- Repair locations.
- Measurements or quantities.
- Materials.
- Preparation and removal.
- Flashing and transition details.
- Exclusions.
- Concealed-condition procedures.
- Warranty information.
Showtime Exteriors’ article on addressing a wind-damaged roof provides additional considerations for inspection and response planning.
Ask Why the Scope Is Appropriate
If replacement is recommended, ask why a limited repair would be inadequate.
If repair is recommended, ask what it is expected to resolve and what remains outside the scope.
A clear estimate supports construction planning. It does not guarantee insurance approval.
Organize the Claim Documentation
Use a consistent folder structure so documents can be located easily.
FolderContentsProperty and timelineAddress, contacts, event and discovery datesOriginal photographsUnedited images and videosRoof historyInstallation, maintenance, repairs, warrantiesInspectionReport, roof plan, labeled photographsFurther investigationAuthorizations, methods, findingsTemporary workProtection records and invoicesEstimatesProposed repair scopesCorrespondenceInsurer and contractor communications
Keep a backup of the original files and preserve revised reports as separate versions.
Contact Your Insurer Promptly
The phrase “before filing a claim” should not encourage waiting while documentation is assembled.
Ask your insurer or agent about reporting requirements, deadlines, inspections, and how to submit additional information later.
GAF’s roof insurance claims guide discusses documentation and the role of photographs and estimates in the process. Your policy and insurer’s instructions determine the requirements for your situation. GAF
Keep Coverage Questions Separate From Construction Findings
A contractor can document roof conditions and propose work. Coverage, deductibles, exclusions, and payment depend on the policy and claim review.
The Insurance Information Institute’s explanation of the claims payment process describes how estimates, inspections, and payments can develop as a claim progresses. Confirm the details that apply to your policy directly with the insurer. Triple-I®
Common Documentation Mistakes
Submitting Detail Photos Without Locations
Include overview photographs and location labels.
Assigning an Unsupported Storm Date
Record the discovery date and explain what is known about the event.
Omitting Previous Repairs
Provide relevant history so new findings can be evaluated in context.
Altering Conditions Before They Are Recorded
Document before necessary work where safe and practical, and ask the contractor to photograph its work.
Discarding Potentially Relevant Materials
Discuss evidence preservation before removal when practical.
Waiting for Every Document Before Reporting the Concern
Contact the insurer promptly and ask how to supplement the file.
Frequently Asked Questions
Do missing shingles prove wind damage?
They establish a visible condition requiring assessment. Cause, timing, and repair scope still need evaluation.
Should I climb onto the roof for photographs?
Leave roof access to qualified professionals. Record what you can safely observe from the ground or accessible interior areas.
Can I file before receiving the inspection report?
Ask your insurer about reporting requirements. You may be able to provide supporting documents afterward.
Does a repair estimate establish coverage?
No. It describes proposed construction and cost.
What if damage is discovered during repairs?
Ask the contractor to document the finding and follow the agreed authorization and communication process.
What if the cause remains uncertain?
The report should state the uncertainty and identify whether additional investigation would help.
Request Wind Damage Roof Documentation in North Texas
A useful record connects original photographs, roof history, inspection findings, and proposed work. It helps everyone understand the property’s condition and the questions still needing answers.
Showtime Exteriors provides roofing inspection, repair, and replacement services across North Texas.
Call 817-400-ROOF (7663) or contact Showtime Exteriors to discuss a wind damage roof assessment and documentation.