



Roof Inspection Report: A Step-by-Step Guide for Texas Property Owners
How to request, understand, verify, and use a commercial roof inspection report for maintenance, budgeting, storm response, and insurance communication
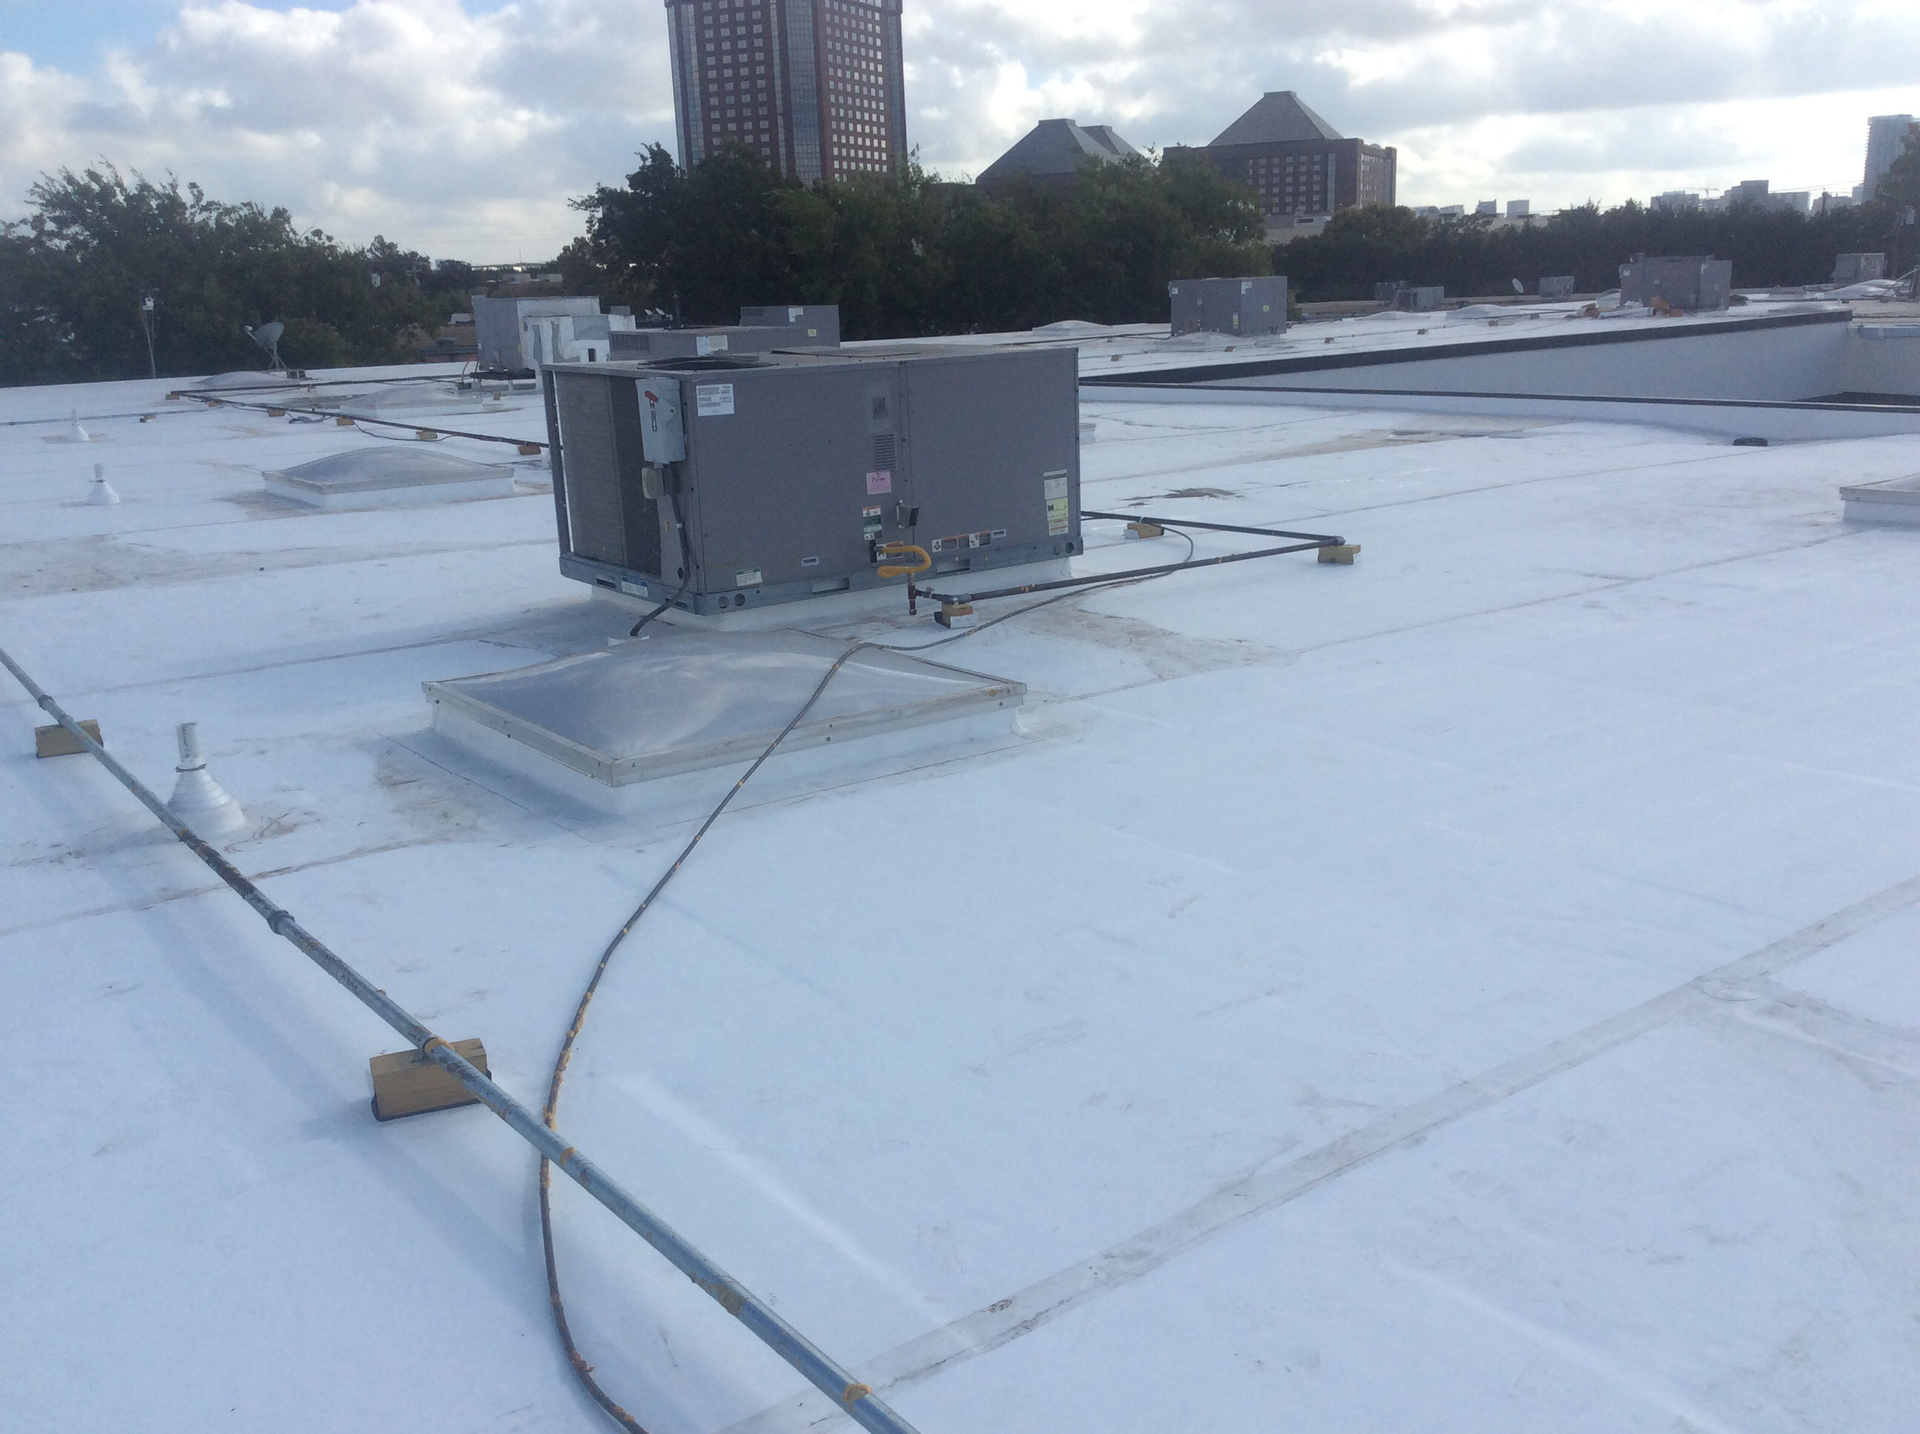
Quick answer: A useful commercial roof inspection report should identify the property and inspection purpose, describe the roof system and accessible construction, map roof areas, document observed conditions with location-based photographs, explain inspection limitations, distinguish urgent issues from routine maintenance, and recommend practical next steps. When moisture, attachment, deck condition, storm damage, or remaining service life cannot be determined visually, the report should say so and recommend appropriate additional investigation.
For Texas property owners, a roof report can serve several purposes. It may support routine maintenance, capital planning, a property transaction, insurance renewal, storm documentation, leak investigation, warranty compliance, repair prioritization, or replacement planning. The report should be tailored to that purpose. A two-page visual summary may be adequate for a preliminary maintenance visit but inadequate for a disputed storm claim, underwriting request, or multimillion-dollar replacement decision.
Showtime Exteriors evaluates commercial roofing systems across Texas and the Dallas–Fort Worth Metroplex. The company documents physical conditions, recommends roofing work within its role, and can provide repair, restoration, recover, retrofit, or replacement scopes. An inspection report is not an insurance coverage decision, structural engineering opinion, code certification, warranty determination, or guarantee unless qualified professionals explicitly provide those services in writing.
Why a roof inspection report matters in Texas
Texas commercial roofs face intense ultraviolet exposure, high surface temperatures, rapid temperature changes, hail, straight-line winds, tornadoes, debris, heavy rain, and periods of drought. Roof traffic, equipment service, drainage problems, and previous repairs add human and operational risks. A roof can appear generally intact from the ground while having defects at seams, perimeters, flashings, drains, penetrations, equipment curbs, or concealed layers.
A written report creates a record of what was observed on a specific date. That baseline helps owners compare changes after a storm, verify whether repairs were completed, plan maintenance, and explain roof condition to managers, lenders, buyers, tenants, manufacturers, contractors, and insurance professionals. Without a baseline, later disagreements may center on whether a defect was new, old, repaired, recurring, or never documented.
The report also helps separate evidence from assumptions. A stain below a roof does not by itself prove the entry point. Water can travel along deck flutes, insulation joints, structural members, conduits, or interior finishes. Hail marks on metal equipment do not automatically prove that every roof area is functionally damaged. Conversely, a roof without obvious punctures can still contain wet insulation or failed details. Clear reporting states observations, reasoning, limitations, and next steps without overstating certainty.
Step 1: Define why the inspection is being performed
Begin by writing the purpose. Is this a routine annual inspection, a pre-renewal condition assessment, a post-storm inspection, an active leak investigation, a due-diligence review, a warranty inspection, or preparation for repair or replacement? The purpose determines the needed detail, testing, participants, safety planning, schedule, and deliverables.
A maintenance report should help the owner prioritize work and establish a repeatable record. An insurance-renewal report may need roof age, material, condition, repair history, remaining service-life discussion, overview photographs, close-ups, and completed-correction evidence. A storm report should establish event timing, observed damage patterns, affected locations, interior effects, emergency actions, and pre-existing conditions when known. A replacement-planning report may require cores, deck investigation, moisture mapping, pullout testing, measurements, drainage analysis, and preliminary assembly options.
Ask who will use the report. A facility manager needs actionable repair locations. An asset manager may need budget categories and risk priorities. An insurer may request dates, photographs, invoices, permits, or certifications. A manufacturer may require specific inspection forms. A buyer may want remaining-life context and deferred-maintenance exposure. Aligning the scope before the visit prevents a generic report that answers the wrong question.
Step 2: Gather records before anyone goes onto the roof
Existing documentation gives the inspector context and reduces unnecessary guesswork. Gather available roof plans, construction drawings, specifications, warranties, installation dates, invoices, permits, repair proposals, leak logs, maintenance records, photographs, previous inspection reports, moisture surveys, storm dates, claim correspondence, equipment replacement records, and tenant complaints.
Create a simple chronology. Note original installation, recover or replacement dates, major repairs, known storm events, recurring leak areas, interior renovations, equipment installations, warranty work, and ownership changes. A report is more useful when it can compare current observations with a reliable history. If records are incomplete, state that rather than filling gaps with assumptions.
Collect building information as well: address, roof access, operating hours, restricted areas, interior sensitivity, hazardous processes, roof height, deck type if known, rooftop equipment, security requirements, fall-protection provisions, and the contact authorized to approve testing. Hospitals, schools, food facilities, data centers, warehouses, retail centers, multifamily properties, and industrial plants have different operational constraints.
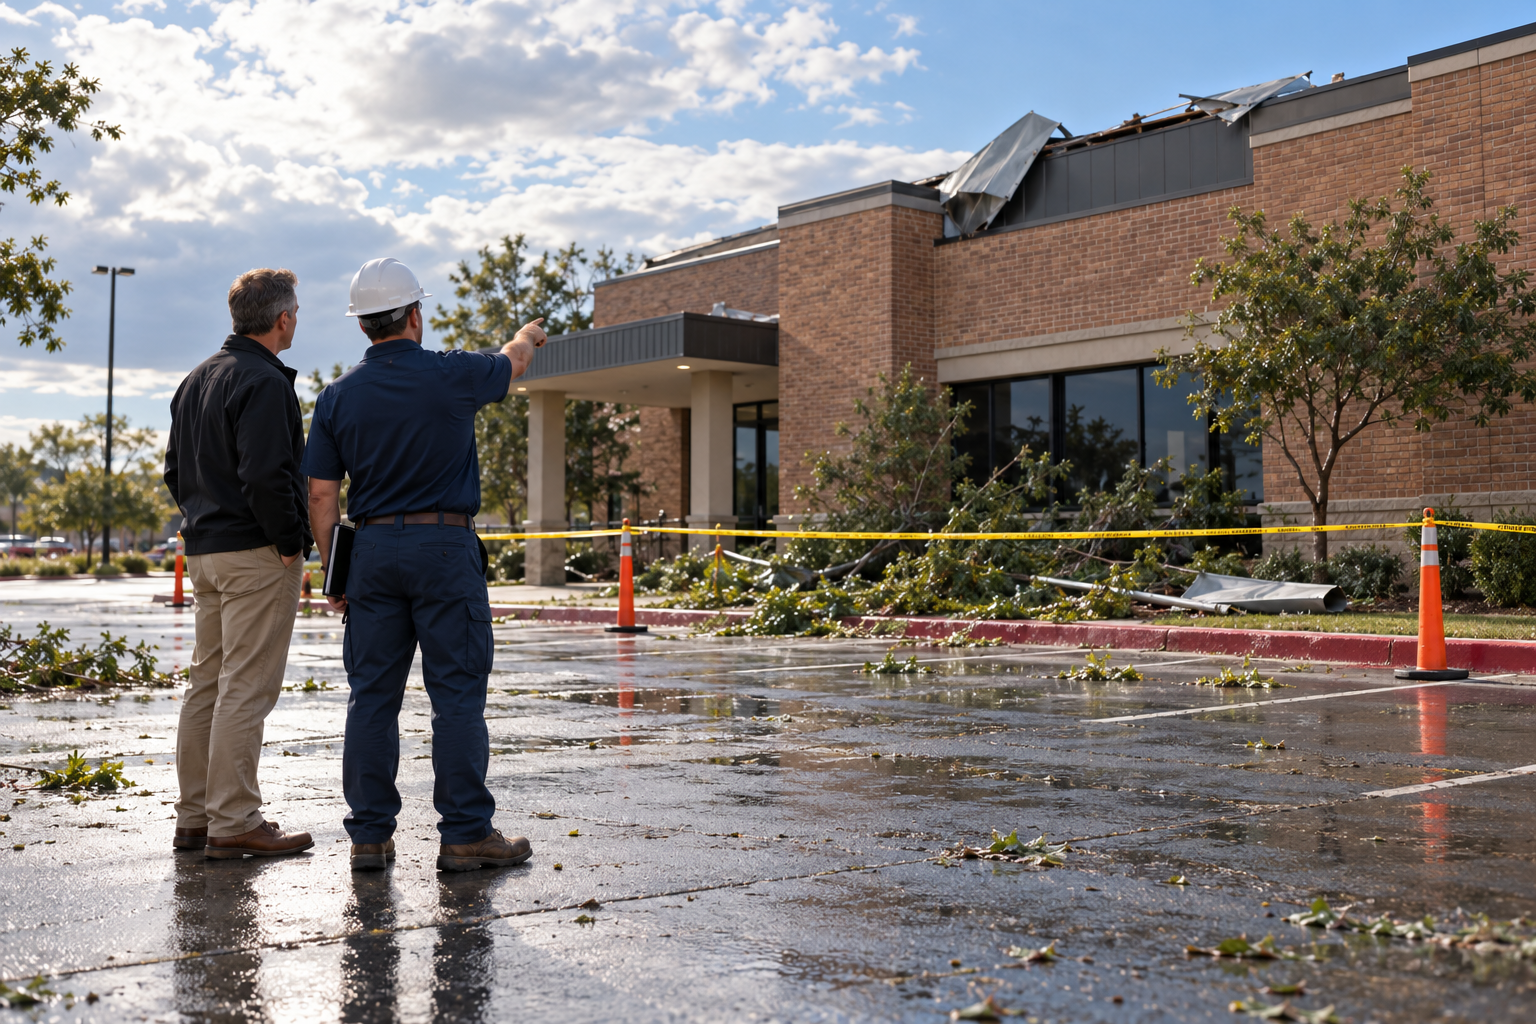
For storm inspections, preserve time-sensitive evidence. Save weather alerts, photographs, videos, security footage, maintenance calls, tenant messages, emergency invoices, receipts, temporary-repair records, and damaged materials when safe and appropriate. Do not delay emergency measures needed to protect people or reduce additional damage, but photograph conditions before alteration when safely possible.
Step 3: Establish a safe inspection plan
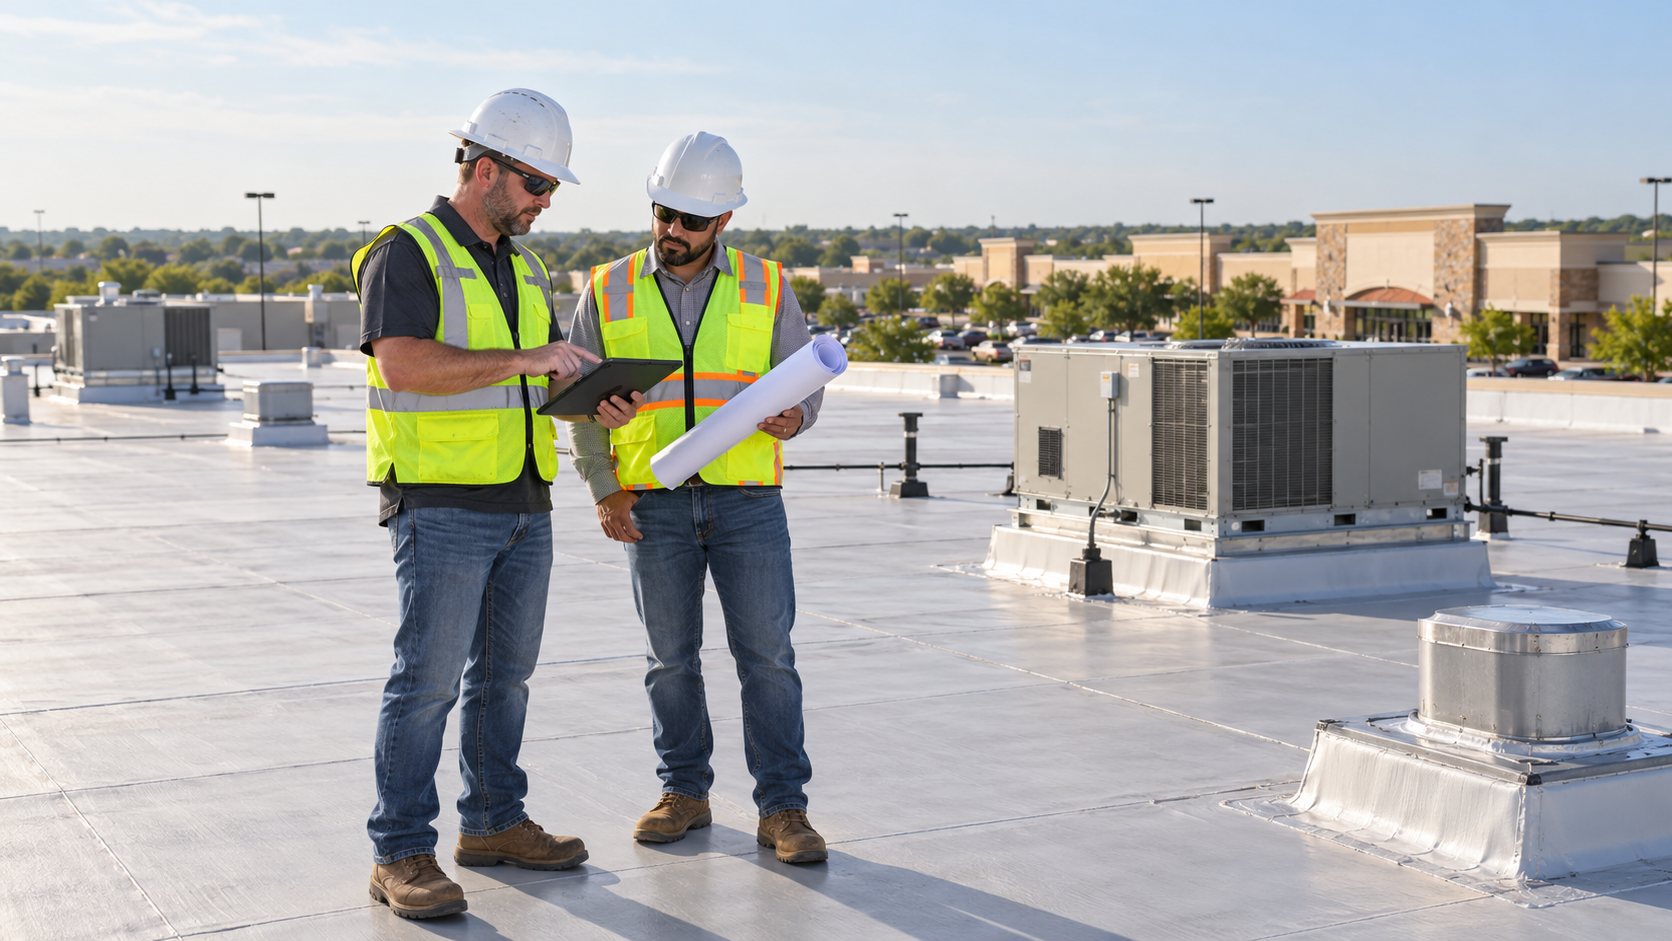
Roof inspection involves falls, fragile surfaces, skylights, openings, electrical hazards, hot surfaces, unstable materials, weather, chemicals, equipment, and access risks. The inspector or employer should determine applicable safety requirements and select appropriate controls. Property owners should not climb onto a commercial roof simply to collect photos if they lack training, authorization, and safe access.
The plan should address ladders, roof hatches, guardrails, warning lines, personal fall protection, controlled areas, skylights, fragile deck, wet or icy surfaces, lightning, wind, heat stress, equipment exhaust, electrical lines, and restricted zones. Inspection after tornado, fire, tree impact, or structural movement may require emergency personnel, structural professionals, or remote observation before roof access.
Drones and pole cameras can provide useful overviews and reach some unsafe or inaccessible areas, but they do not replace hands-on examination, probing, seam checks, moisture investigation, or subsurface testing. The report should distinguish areas observed directly, observed remotely, and not observed. Safety limitations are legitimate; hiding them is not.
Step 4: Identify and map every roof area
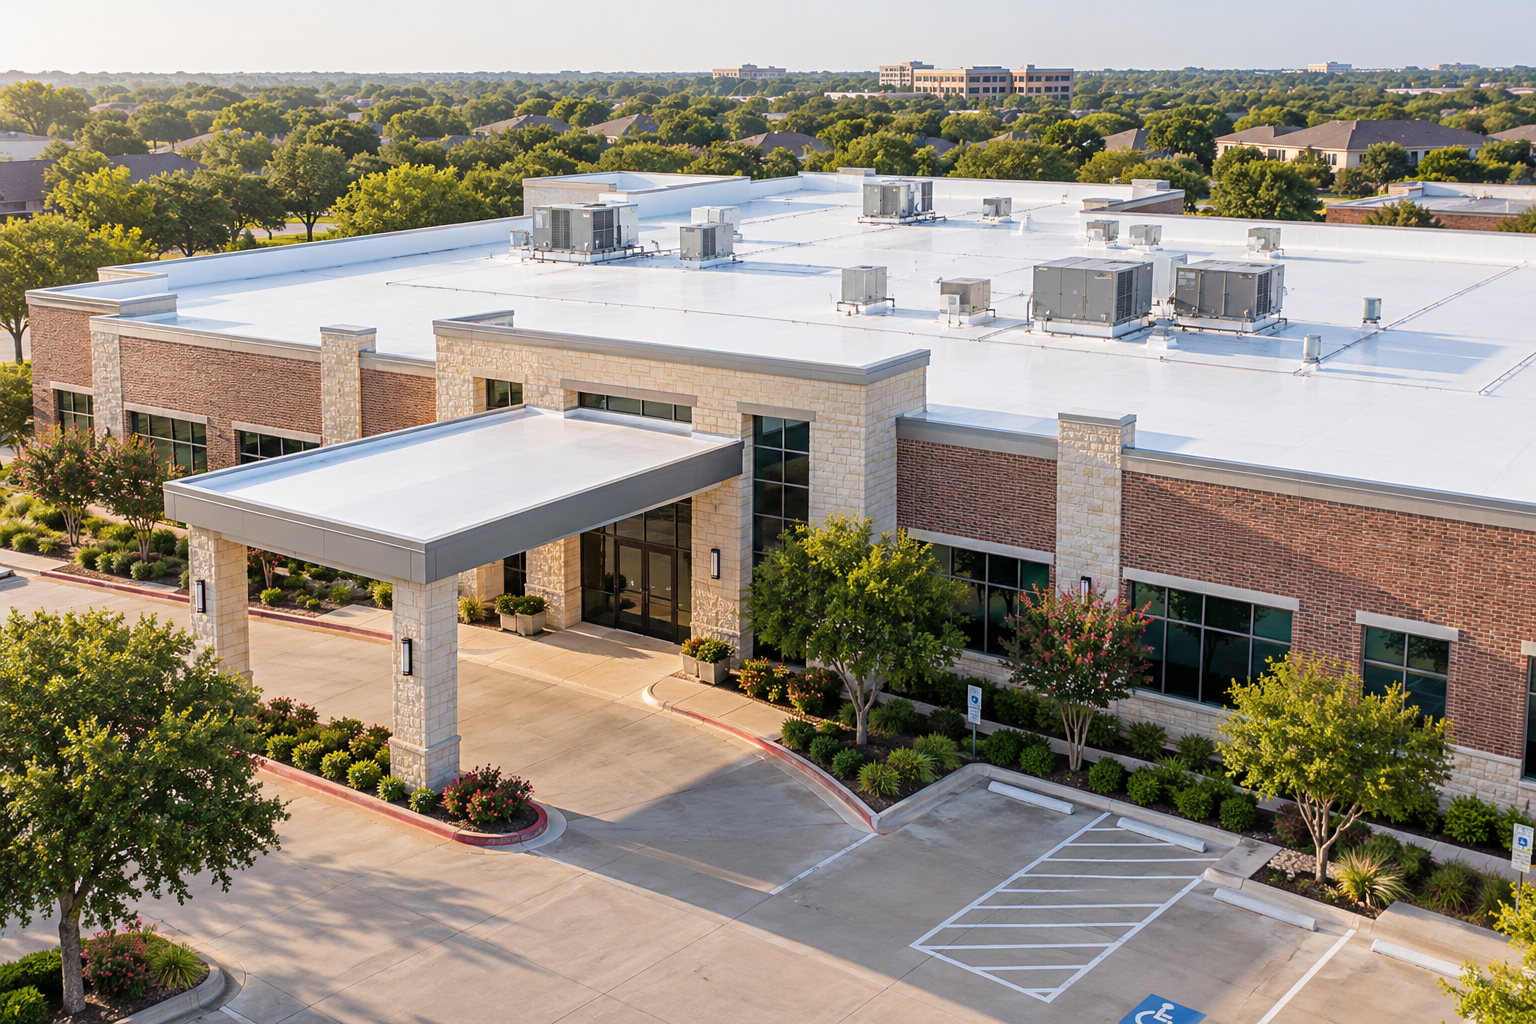
Commercial buildings often have more than one roof. An addition may have TPO while the original building has built-up roofing. A canopy may be metal, a mechanical penthouse may have modified bitumen, and a lower roof may have coating over an older system. Each area should receive a unique designation such as Roof A, Roof B, or Lower West Roof.
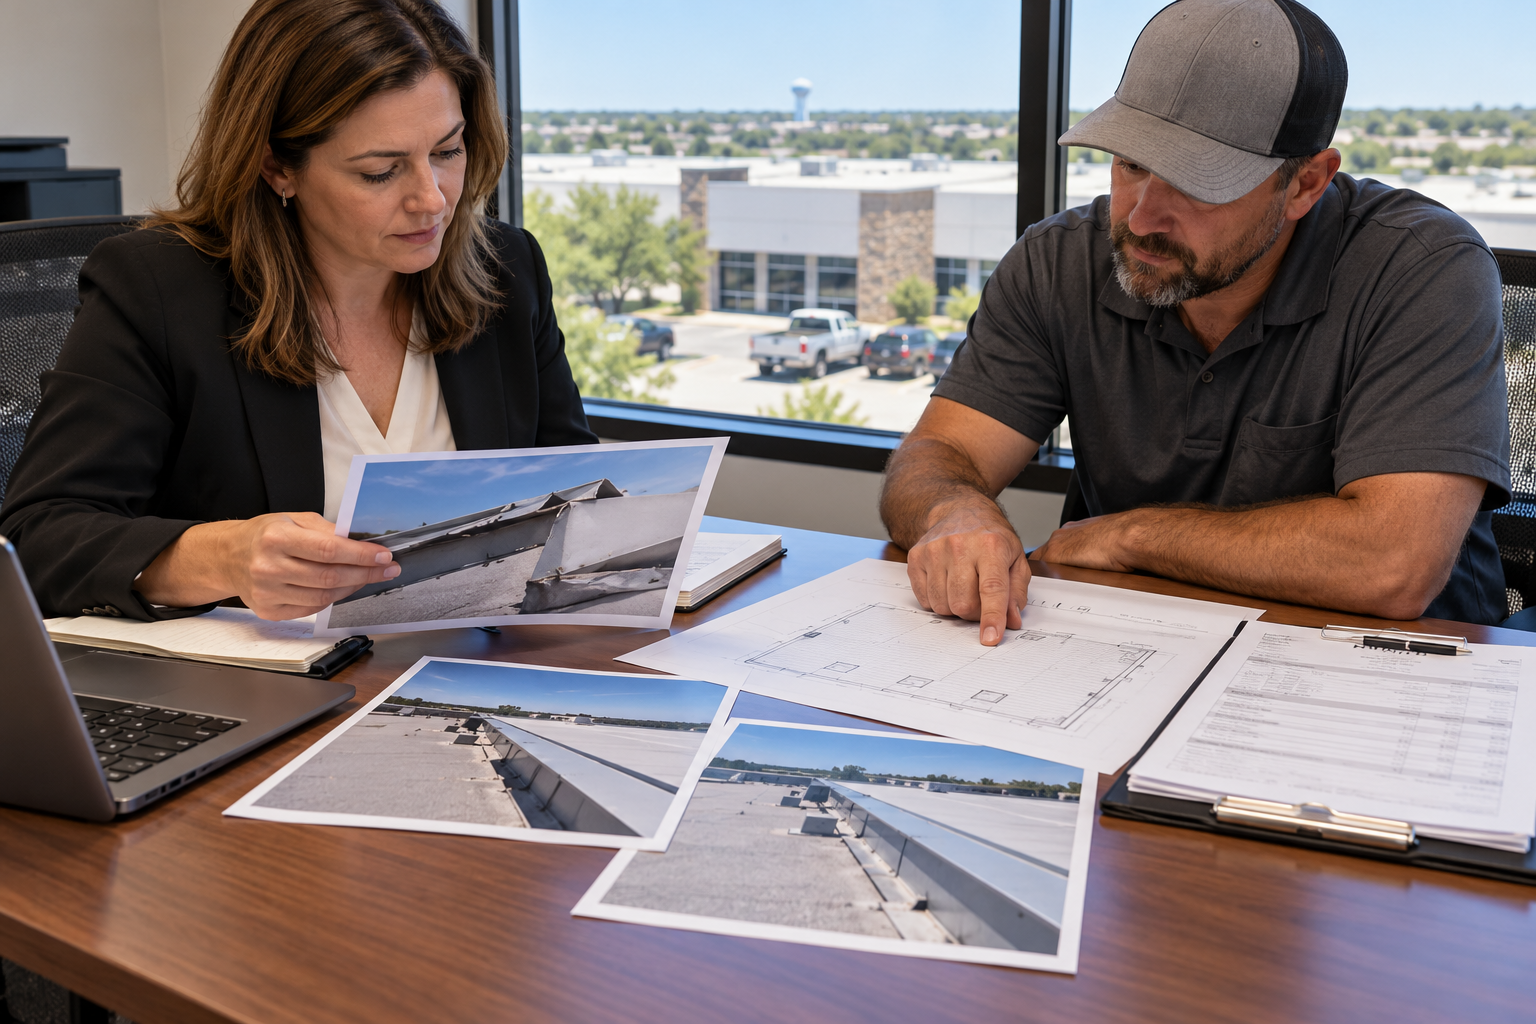
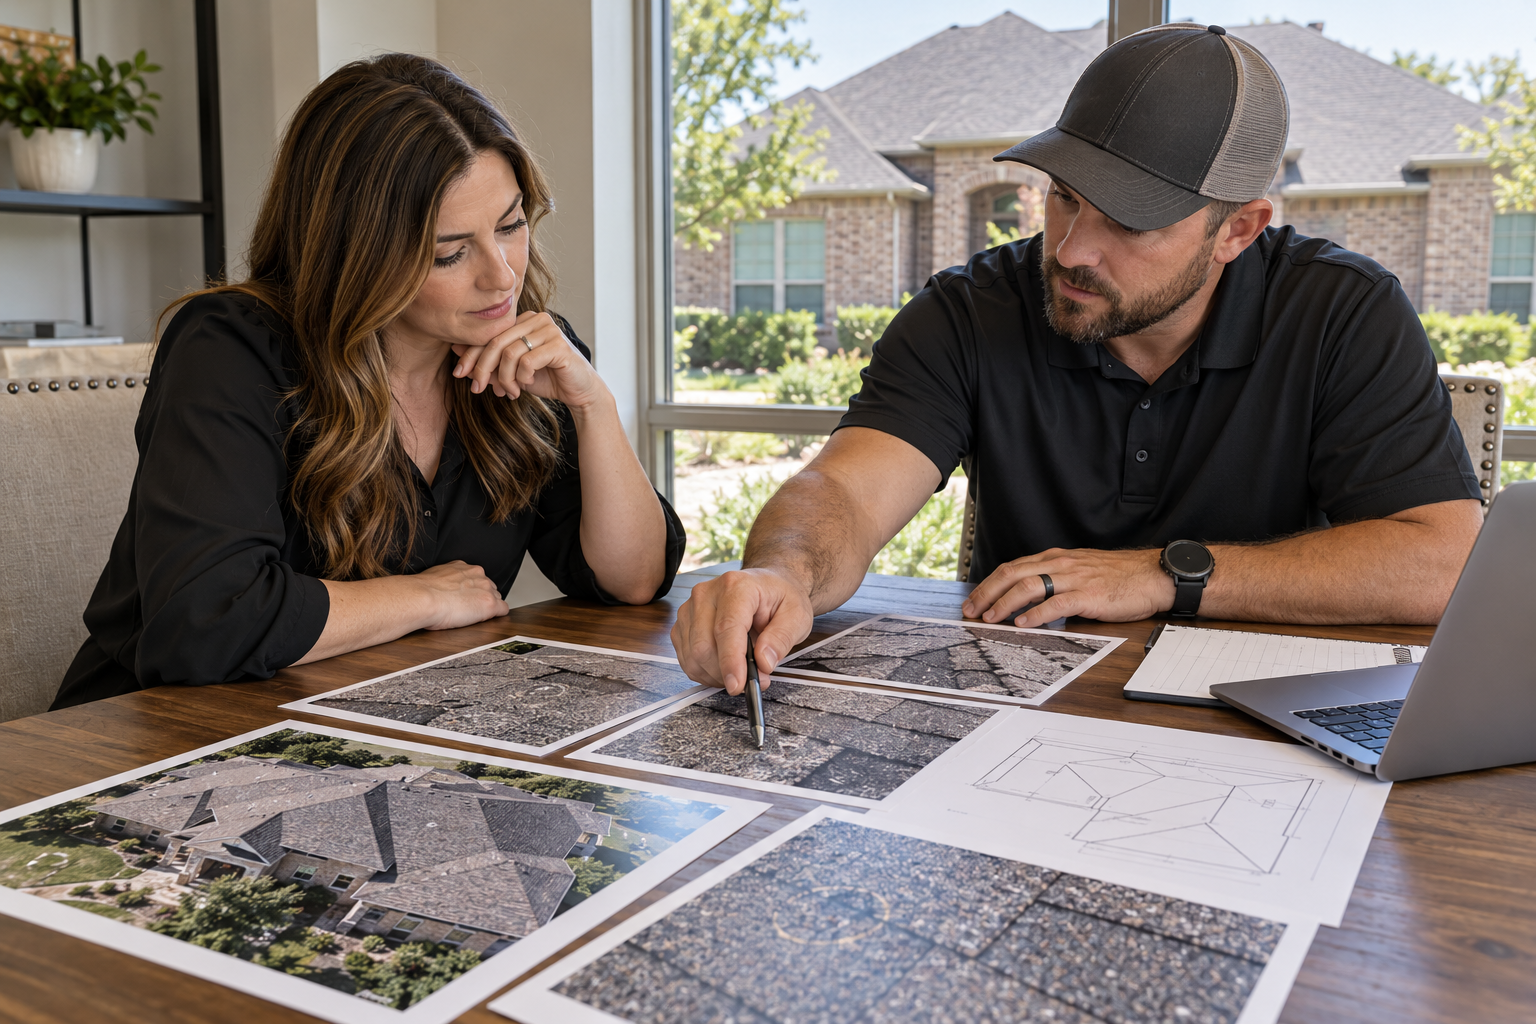
The report should include an aerial image, drawing, or roof plan showing boundaries, north direction, dimensions or approximate scale, drains, scuppers, overflows, walls, edges, hatches, equipment, penetrations, expansion joints, and inspection findings. Photograph numbers and condition markers should correspond to this plan. A close-up of a defect is far more useful when the reader knows exactly where it is.
Measure the roof sufficiently for the inspection purpose. Replacement planning may require accurate field dimensions, flashing heights, perimeter lengths, penetrations, drains, curbs, elevation changes, and transitions. Maintenance reporting may use approximate quantities with clear labels. Never present an unverified aerial estimate as a final construction measurement.
Step 5: Identify the existing roof assembly
Record visible roof material, surfacing, color, approximate age when supported, attachment clues, substrate, insulation, cover board, flashing method, coatings, repairs, and number of roof areas. Common Texas commercial systems include TPO, PVC, EPDM, modified bitumen, built-up roofing, standing-seam and exposed-fastener metal, spray polyurethane foam, and acrylic, silicone, urethane, or fabric-reinforced coatings.
Visual identification has limits. A white surface could be TPO, PVC, coated EPDM, coated modified bitumen, or spray foam with coating. A smooth black membrane may be EPDM or another material. Core samples, repair openings, records, manufacturer markings, laboratory analysis, or knowledgeable review may be needed. The report should distinguish confirmed construction from probable construction.
The assembly below the surface matters. Insulation type, layers, thickness, cover board, vapor or air-control layers, deck, attachment, and moisture affect performance and repair choices. A surface-only description is inadequate when the owner is deciding between restoration, recover, and replacement.
Step 6: Document overall roof-field condition
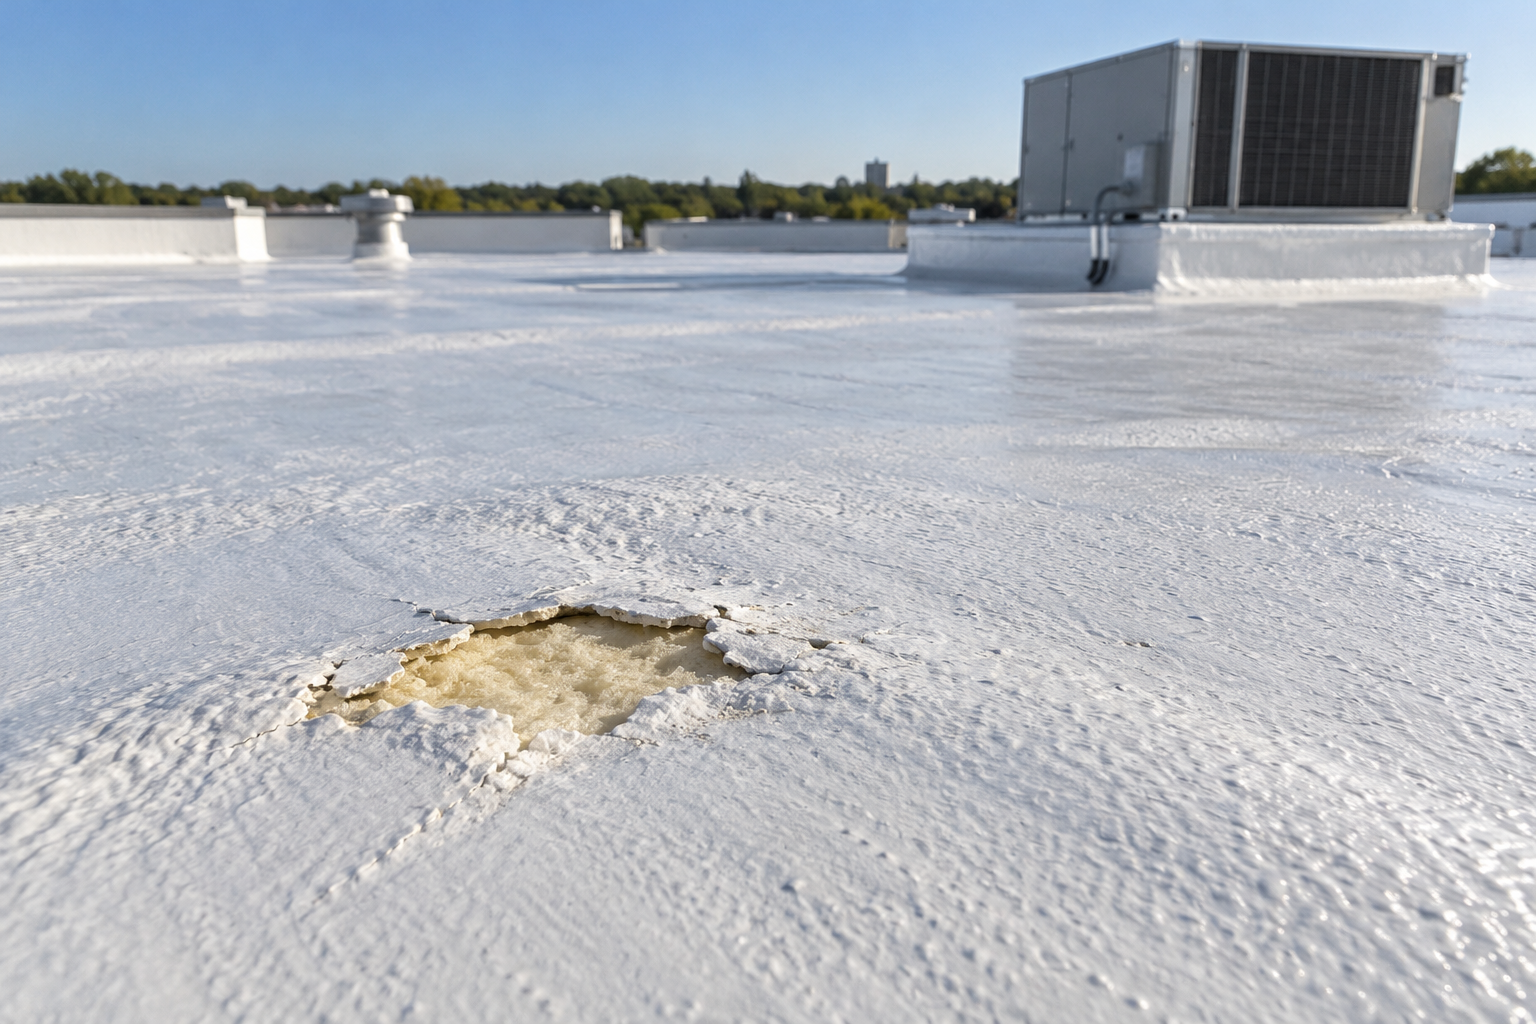
Begin with overview photographs from multiple directions. Record general surface condition, weathering, cleanliness, drainage patterns, traffic paths, repairs, coating wear, membrane wrinkles, blisters, splits, cracks, punctures, open seams, exposed reinforcement, displaced materials, corrosion, and biological growth. Include a scale or measurement when size matters.
Avoid photographing only defects. Overview images establish context and show unaffected areas. A balanced report documents both serviceable and deficient conditions. This improves credibility and helps readers understand whether a problem is isolated, repeated, widespread, or concentrated around one roof feature.
Use consistent condition terms. “Observed,” “not observed,” “accessible,” “not accessible,” “appears,” and “requires further investigation” are clearer than dramatic language unsupported by evidence. If the report assigns condition grades, define the scale. One contractor’s “poor” may differ from another’s unless criteria are stated.
Step 7: Inspect seams, flashings, penetrations, and transitions
Most commercial roofs are more complex at details than in the open field. Inspect membrane seams, laps, patches, base flashings, parapet walls, counterflashing, termination bars, curbs, pipes, conduits, pitch pockets, skylights, hatches, drains, scuppers, expansion joints, equipment supports, sleepers, walk pads, and transitions between roof types or elevations.
Look for open laps, incomplete welds, loose termination, deteriorated sealant, cracks, fishmouths, wrinkles, unsupported flashing, membrane bridging, punctures, fastener back-out, coating splits, corrosion, failed pitch-pocket filler, and incompatible repairs. Document the defect and the surrounding condition. A photograph cropped too tightly may hide the pathway or make location impossible to confirm.
Mechanical equipment deserves attention. Condensate, grease, exhaust, vibration, service traffic, dropped screws, removed panels, and new penetrations can damage roofing. The report should note apparent trade damage without assigning responsibility unless evidence supports the conclusion.
Step 8: Evaluate drainage and ponding water
Map primary drains, scuppers, gutters, downspouts, overflows, crickets, saddles, sumps, and low areas. Record debris, blocked strainers, displaced components, sealant failure, corrosion, damaged clamping rings, high drain elevations, and staining that suggests recurring ponding. Note when the inspection occurred relative to rainfall because a dry-day visit cannot always confirm drainage behavior.
Ponding can result from clogged drains, compressed insulation, inadequate slope, structural deflection, settlement, poor repairs, added equipment, or changes to drainage. Cleaning may solve a blockage, while chronic low areas may require tapered insulation, drain modification, structural review, or replacement planning. The report should not promise that coating alone will correct drainage.
Interior drainage components may also need evaluation. Leaking drain bowls, pipes, connections, or condensation can mimic membrane leaks. Coordinate with plumbing, mechanical, or structural professionals when the evidence falls outside roofing scope.
Step 9: Inspect perimeters, corners, and wind-sensitive areas
Wind suction commonly concentrates at roof corners and perimeters. Inspect edge metal, copings, fascia, gravel stops, gutters, cleats, joints, fasteners, sealant, wood blocking, membrane terminations, wall transitions, and evidence of movement. Record loose, lifted, missing, corroded, or poorly secured components.
In the roof field, look for billowing, wrinkles, displaced insulation, loose membrane, fastener stress, attachment patterns, open seams, and repairs associated with previous wind events. Equipment screens, signs, panels, filters, tools, and debris can become wind-borne hazards. Note unsecured items and visible damage to rooftop equipment.
A visual inspection cannot confirm the wind-uplift capacity of an existing assembly. Design review, tested assembly information, deck pullout testing, attachment investigation, or engineering may be needed. The report should not claim a wind rating without evidence.
Step 10: Address hail and impact evidence carefully
Texas hail inspections require disciplined documentation. Record storm date when known, roof temperature and weather at inspection, roof material, age information, impact patterns, affected components, and comparison areas. Photograph membrane, metal, vents, equipment, skylights, drains, walls, and soft metal where relevant.
Different materials show impact differently. Hail may puncture or fracture a membrane, bruise underlying insulation, displace coating, crack skylights, dent metal, damage equipment fins, or leave no functional damage in a particular area. Age-related cracks, traffic damage, blisters, mechanical punctures, and manufacturing texture can be mistaken for hail. The inspector should explain observations and limitations rather than equating every circular mark with covered damage.
Core samples, test cuts, manufacturer consultation, or engineering may be necessary when impact effects are concealed or disputed. Testing locations should be mapped, photographed, repaired, and documented. The carrier decides whether observed conditions fall within policy coverage.
Step 11: Investigate moisture when the decision requires it
Water can enter through roofing defects, walls, equipment, plumbing, condensation, or interior processes. Surface appearance alone cannot reliably determine the extent of wet insulation. When repair boundaries, recover eligibility, replacement scope, energy performance, or insurance evidence depend on moisture, additional investigation may be appropriate.
Methods can include infrared thermography, electrical capacitance, nuclear scanning, probes, core samples, and test cuts. Each method has strengths and limitations. Infrared results depend on suitable weather, roof construction, thermal conditions, and interpretation. Scans indicate anomalies that may require verification; they do not automatically prove water or identify its source.
The report should name the method, equipment, date, conditions, roof areas, grid or scan pattern, limitations, anomalies, verification points, sample construction, and repair of test locations. Wet areas should be mapped and quantified as accurately as the method permits. If no moisture testing occurred, say so.
Step 12: Give aging gravel BUR special scrutiny
Built-up roofs with gravel surfacing present a central problem for accurate inspection. Gravel can conceal membrane condition, splits, blisters, cracks, patches, exposed felts, displaced surfacing, impact marks, moisture patterns, and drainage. Loose or uneven aggregate also makes systematic surface examination difficult.
The report should not praise gravel merely because it was historically used as surfacing. On an aging commercial roof, concealed condition can complicate maintenance, budgeting, moisture investigation, and insurance underwriting. Carriers may ask about age, leaks, unknown wetness, repairs, and replacement plans. A report should state what could and could not be observed beneath the gravel.
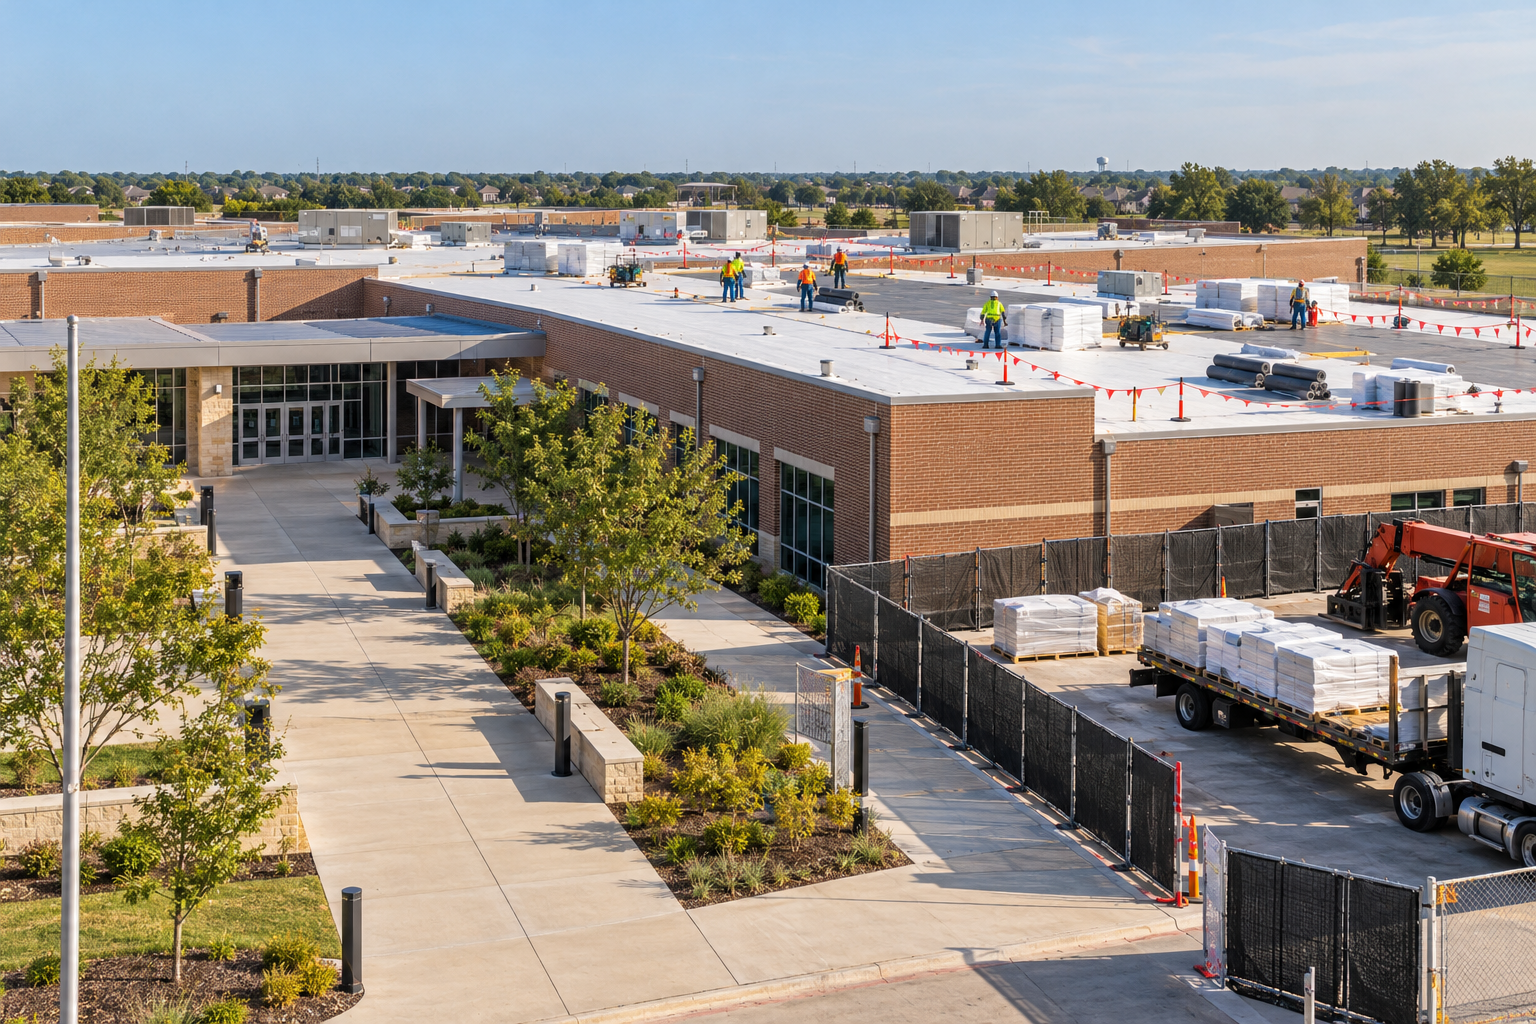
Investigation may require controlled gravel displacement, core sampling, moisture scanning, test cuts, deck evaluation, and review of roof history. The inspector should avoid creating damage or leaving membrane exposed. If widespread uncertainty remains, the report may recommend replacement or a more inspectable recover system rather than implying that a cosmetic repair resolves the risk.
Step 13: Connect exterior observations with interior evidence
Inspect accessible ceilings, walls, deck underside, structural members, roof drains, equipment, and stored contents where leaks or damage are reported. Document stains, active dripping, wet materials, corrosion, damaged insulation, mold-like growth, electrical exposure, and operational impact. Do not identify mold or structural safety beyond qualification; recommend appropriate specialists.
Map interior observations to the roof plan. The apparent ceiling location may not align with the entry point because water travels. Record when the condition was first noticed, weather at the time, whether it recurs, and whether equipment or plumbing was operating. Moisture meters and selective openings may help trace pathways.
Protect privacy and business operations. Avoid photographing confidential records, patients, students, customers, security systems, or proprietary processes unless required and authorized. Report distribution should be controlled when it contains sensitive building information.
Step 14: Separate findings by urgency and consequence
A useful report prioritizes action. Emergency conditions may include active water entry near electrical systems, open roof areas, loose edge metal, unstable debris, severe structural concern, fire damage, or conditions threatening occupants. These require immediate safety coordination and temporary protection by qualified parties.
Near-term repairs may include open seams, punctures, failed flashing, blocked drains, deteriorated sealant, loose fasteners, exposed reinforcement, damaged coating, or localized wet materials. Planned maintenance may include cleaning, minor sealant renewal, walk-pad correction, debris removal, and monitoring. Capital-planning items may include widespread deterioration, recurring failures, extensive wetness, obsolete assemblies, inadequate drainage, poor attachment, or roofs approaching the end of responsible service.
Priority should consider likelihood and consequence, not appearance alone. A small opening above critical electrical equipment may have greater operational risk than a larger cosmetic defect over an unused area. The report should state the reasoning behind categories and note any assumptions.
Step 15: Recommend repair, restoration, recover, or replacement
Recommendations should connect directly to evidence. Repair may be appropriate for isolated defects when surrounding materials remain serviceable and dry. Restoration may fit a compatible, stable roof with manageable repairs and acceptable drainage. Recover may add a new roof over a prepared existing system when code, layer count, weight, moisture, attachment, compatibility, drainage, and manufacturer requirements permit it. Replacement removes defined layers and exposes the deck for correction.
Avoid recommendations based only on age. A younger roof with systemic attachment failure may require major work, while an older roof with disciplined maintenance may remain repairable. Age still matters for material condition, warranty, availability, underwriting, and capital planning, but it should be combined with observed evidence.
The report should identify additional design needs. Replacement planning may require wind design, drainage calculations, structural review, energy-code analysis, hazardous-material testing, manufacturer approval, permit review, and coordination with mechanical, electrical, plumbing, or lightning-protection trades.
Step 16: Build a photo log that another person can follow
Every photograph should have a number, roof-area designation, location, direction when useful, subject, and concise observation. Include overviews, midrange context, and close-ups. Use a ruler, tape, coin, chalk mark, or other scale when appropriate without obscuring the condition.
Organize photographs in the report rather than attaching hundreds of unlabeled images. A reader should be able to move from the roof plan to a numbered marker, then to the corresponding photograph and recommendation. Preserve original files and metadata when storm timing or claim evidence matters.
Do not alter images in a way that changes evidence. Basic brightness, crop, arrows, and labels may improve explanation if the original remains available. Clearly identify annotations. Avoid dramatic filters, AI modifications, or compression that removes detail from evidence photographs.
Step 17: State limitations and unanswered questions
Every inspection has boundaries. Weather, wet surfaces, unsafe areas, locked access, active operations, roof construction, gravel surfacing, equipment, stored materials, snow, debris, coatings, and lack of destructive testing may limit observation. The report should state date, weather, access, areas inspected, methods, and exclusions.
Examples include: no core cuts authorized; underside of deck concealed; insulation thickness unverified; roof age based on owner records; drains not flow-tested; attachment not tested; hazardous materials not evaluated; structural capacity not assessed; manufacturer warranty status unconfirmed; and policy coverage not reviewed.
Limitations do not make a report weak. They make it honest. The next-step section should explain which unanswered questions matter and how they can be resolved.
Step 18: Include quantities, budget structure, and scope assumptions
When the report supports repairs or capital planning, estimate quantities carefully. Record square feet of affected membrane or coating, linear feet of seams or flashing, counts of drains, penetrations, curbs, fasteners, patches, and edge metal. Label approximate quantities and distinguish them from final field measurements.
Preliminary budgets should state inclusions and exclusions. Concealed deck replacement, wet insulation beyond mapped areas, hazardous materials, structural work, permits, design, after-hours work, equipment removal, interior protection, and difficult access may require allowances or unit prices. A low number without scope definition is not reliable planning.
The inspection report and construction proposal may be separate documents. If a proposal follows, it should reference the report but verify current conditions before work. Time, storms, leaks, and other trades can change the roof after inspection.
Step 19: Use the report correctly for insurance communication
Provide factual documentation: roof type, age source, observed condition, measurements, photographs, moisture findings, repairs, invoices, permits, warranties, and completion records. Ask the agent or carrier which items it requires and obtain requests in writing.
Texas law limits a contractor who performs the work from acting as a public insurance adjuster on the same claim. Showtime Exteriors can inspect roofing, document physical conditions, recommend and price roofing work, and perform authorized repairs. It should not interpret policy language, negotiate coverage as the owner’s adjuster, waive deductibles, or guarantee payment.
Property owners should consult licensed insurance or legal professionals for policy rights, deductibles, exclusions, actual cash value, replacement cost value, depreciation, deadlines, disputes, and coverage questions. The report supports communication; it does not decide the claim.
Step 20: Verify repairs and update the baseline
After work, obtain completion photographs, quantities, invoices, product information, warranties, permits or inspections when applicable, and a summary of deviations from the original scope. Confirm that drains are open, debris is removed, penetrations are sealed, temporary materials are addressed, and repaired areas are mapped.
A follow-up inspection should verify completed corrections without implying that inaccessible work was observed. If wet insulation or deck was removed, photograph conditions before new materials cover them. Preserve a final roof plan showing repairs, new equipment, walk paths, drains, and warranty boundaries.
Set the next inspection date and maintenance responsibilities. A report creates value when it leads to action and becomes part of a continuing record, not when it disappears into an email folder.
Roof inspection report checklist
Property name, address, owner contact, inspection date, weather, and report purpose
Inspector identity, company, role, participants, methods, safety and access limitations
Roof-area names, plan, north direction, dimensions, drainage, equipment and penetrations
Roof material, visible construction, age source, warranties, repairs and known history
Overview photographs and location-based close-ups with consistent numbering
Roof field, seams, flashings, walls, curbs, penetrations, drains, scuppers, edges and equipment
Hail, wind, debris, heat, traffic, corrosion, ponding, coating and maintenance observations
Interior evidence tied to exterior locations where accessible and relevant
Moisture, adhesion, cores, test cuts, pull tests or other investigation—and their limitations
Urgent, near-term, maintenance and capital-planning priorities
Repair, restoration, recover or replacement rationale
Quantities, assumptions, additional testing and professional-review needs
Insurance-related documents without coverage or payment guarantees
Completion verification, closeout records and recommended next inspection
Frequently asked questions
How long should a commercial roof inspection report be?
Length depends on purpose and complexity. A useful report is long enough to document the roof areas, evidence, limitations, priorities, and next steps. A simple maintenance roof may need fewer pages than a multi-building storm or replacement assessment.
Should every report include moisture testing?
No. Moisture testing should be used when it affects the decision and the method is appropriate. If recover eligibility, replacement quantities, concealed damage, or leak extent is uncertain, additional investigation may be important.
Can a drone replace a roof inspector?
No. Drone images are valuable for overviews and unsafe areas but cannot reliably probe seams, test adhesion, verify moisture, examine subsurface construction, or complete many hands-on evaluations.
Does a roof report prove insurance coverage?
No. It documents physical observations and work recommendations. The insurance carrier determines coverage and payment under the policy.
Should the inspector estimate remaining roof life?
The report may discuss a planning horizon based on condition, material, repairs, maintenance, and exposure, but it should state uncertainty. No visual inspection can guarantee an exact failure date.
What if the report has photographs but no roof map?
Ask for locations. Close-ups without context are difficult to verify, price, repair, or compare later. A simple annotated aerial image can greatly improve usefulness.
Can an aging gravel BUR receive an accurate visual inspection?
Only within limitations. Gravel conceals significant membrane condition. Controlled displacement, moisture investigation, cores, test cuts, and records may be needed. The report should not claim certainty where surfacing blocks observation.
When should the roof be reinspected?
Follow professional, manufacturer, warranty, and insurer requirements. Many owners use planned periodic inspections plus event-driven inspection after significant hail, wind, tornado, debris, or leak events.
Who should receive the report?
Distribute it to authorized property, facility, risk, asset, and project personnel as needed. Share with insurance, legal, manufacturer, lender, buyer, or tenant representatives only according to the owner’s purpose and confidentiality needs.
What should happen immediately after receiving the report?
Address life-safety and active-water-entry concerns, clarify unanswered questions, approve near-term repairs, establish budgets, confirm insurer requests, and schedule verification. Do not let the report replace the work it recommends.
The bottom line
A strong commercial roof inspection report turns a rooftop visit into an organized decision record. It identifies the roof, maps conditions, connects photographs to locations, explains limitations, prioritizes risk, and defines next steps. It avoids unsupported certainty and makes clear when moisture testing, attachment investigation, engineering, insurance advice, or other expertise is needed.
For aging gravel-surfaced BUR, documentation must be especially careful. Gravel can conceal defects, moisture, and repairs, which can complicate maintenance and underwriting. The report should not frame gravel as an advantage or imply that unseen conditions are acceptable. Investigation and a plan for a more inspectable system may be necessary.
Showtime Exteriors serves commercial property owners across Texas and the Dallas–Fort Worth Metroplex. To schedule a commercial roof inspection and receive a building-specific report and recommendation, call 817-400-ROOF (7663).
Helpful Showtime Exteriors resources
Evidence needed for a commercial roof inspection report
Commercial roof inspection for insurance renewal
Evidence for a commercial roof wind-damage claim
Commercial BUR roof insurance non-renewal in Texas
Questions to ask before starting a roof insurance claim
Independent resources
Texas Department of Insurance: Help after a storm
Texas Department of Insurance: Roofing and insurance—know the law
OSHA: Duty to have fall protection
FEMA: Post-disaster building safety evaluation guidance
Ready.gov: Business continuity planning
Suggested excerpt: A reliable commercial roof inspection report maps conditions, explains limitations, prioritizes repairs, and provides evidence Texas owners can use for maintenance, budgeting, and insurance communication.
Editorial, technical, safety, and insurance disclaimer
This guide provides general educational information, not a structural engineering opinion, code certification, safety plan, warranty determination, legal advice, insurance advice, claim adjustment, scope guarantee, or promise of coverage. Buildings, roofs, policies, storms, methods, and conditions vary. Qualified professionals should evaluate project-specific needs. Showtime Exteriors documents observed roof conditions and performs authorized roofing work within its role; insurance carriers determine underwriting, coverage, premiums, renewal, and claim payment.
817-400-ROOF (7663) showtimeexteriors.com