



How to Document an Emergency Roof Tarp Before Filing a Claim
How to Document an Emergency Roof Tarp Before Filing a Claim

An emergency roof tarp can help protect a damaged building while permanent repairs are being evaluated. For a Texas commercial property owner, however, the documentation surrounding that temporary work can be just as important as the covering itself.
A photograph of a blue tarp shows that someone covered part of the roof. It does not explain what was underneath, why the work was necessary, who authorized it, what it cost, or what permanent work remains.
Document the roof’s condition before temporary work when it is safe, record what the contractor did, photograph the completed protection, and retain invoices and communications. Report damage promptly rather than waiting until your documentation package is perfect.
The Texas Department of Insurance recommends taking pictures and video, making temporary repairs to prevent further damage, keeping repair records and receipts, and contacting the insurer promptly after storm damage. tdi.texas.gov
This guide explains how to organize that information for a warehouse, retail center, restaurant, office building, apartment complex, or industrial facility. It focuses on documenting professional temporary roofing work—not installing a tarp yourself.
What an Emergency Roof Tarp Does
An emergency roof tarp is a temporary covering intended to reduce exposure at an affected roof area. Its suitability depends on the roof assembly, damage, weather conditions, and the protection method proposed by the contractor.
A tarp is not automatically the right solution for every commercial roof. Some conditions may require a compatible temporary membrane repair, a specialized covering, or another approach. Ask the roofing professional to explain why the proposed method fits the situation.
The documentation should describe the work accurately. If a contractor installed a temporary membrane patch rather than a tarp, the invoice and report should use that description.
Avoid treating temporary protection as evidence that the entire roof requires replacement. The permanent scope should follow an appropriate evaluation.
Also distinguish the covering from other emergency work. Interior water extraction, equipment protection, debris removal, and electrical evaluation may involve separate service providers and records. Keeping these activities distinct makes the project easier to understand.
Why Documentation Matters Before the Roof Is Covered
Once a covering is installed, the original condition may become difficult to see.
A reviewer looking at the completed tarp may not know whether it covers an opening, damaged flashing, displaced roofing, or an area selected because of an interior leak report. Before-work photographs and contractor observations help preserve that context.
The owner also needs a record for construction planning. A temporary measure may address the immediate exposure while leaving questions about adjacent roofing, concealed conditions, or permanent repairs.
Good documentation connects three stages: the condition observed, the action taken, and the remaining need.
It should also identify limits. If weather prevented a complete inspection, say so. If the contractor could not confirm the full extent of damage during the emergency visit, preserve that distinction.
A clear file supports later evaluation without pretending that an emergency response answered every question. It helps the property owner, contractor, insurer, and any authorized advisor work from the same factual record.
Start With Safety and Building Protection
Do not delay necessary protection to obtain a perfect photograph.
If water is entering an occupied space, ceiling materials appear unstable, or water is near electrical equipment, restrict access and seek appropriate professional assistance. Follow the building’s emergency procedures.
Roof documentation should be performed by people with suitable access arrangements, training, and safety measures. Employees should not climb onto a storm-damaged roof simply because a claim file needs images.
From a safe interior or ground-level location, record what you can observe. Photograph accessible damage, identify affected spaces, and note when the concern was discovered.
Tell the roofing contractor about hazards before arrival. These may include damaged skylights, restricted access, active equipment, or suspected structural concerns.
If an unsafe condition prevents before-work photography, document that limitation. A truthful explanation is more useful than a reconstructed image presented as an original record.
Safety and evidence preservation should be coordinated. They should not become competing tasks.
Do Not Wait to Report Damage Until Every Document Is Ready
The phrase “before filing a claim” can create the wrong impression if it suggests that you must finish the entire file first.
You may need to notify the insurer while inspection, protection, and documentation are still underway. TDI advises reporting property damage to the insurance company or agent as soon as possible. tdi.texas.gov
At the initial contact, explain what is known. Provide the property information, reported event, observed symptoms, and any urgent work being arranged.
Ask how additional documents should be submitted. Request the claim reference, contact information, and any instructions concerning temporary repairs or evidence preservation.
Keep a record of that conversation. Then supplement the file as photographs, reports, and invoices become available.
Avoid giving a definitive cause if it has not been established. “Water entered after the storm, and a contractor is evaluating the roof” is different from asserting that a specific event caused every observed condition.
Prompt notice and organized follow-up can proceed together.
Identify the Correct Property and Roof Area
Every document should identify where the work occurred.
Record the street address, building name or number, and relevant roof section. For a multi-building property, establish consistent labels before collecting photographs and invoices.
Use location descriptions that someone unfamiliar with the site can follow. “Building B, roof above the east loading area” is clearer than “the back roof.”
Where available, use a site plan or roof drawing to mark the temporary covering. An annotated copy can provide orientation without changing the original drawing.
Distinguish the affected area from the area covered. A contractor may cover a larger section to provide appropriate temporary protection. Those quantities should not be assumed to be identical.
Also identify adjacent features, such as rooftop equipment, roof transitions, or access points. These references help connect close-up photographs to the correct location.
Location accuracy becomes especially important if several contractors or inspectors visit the property at different times.
Build a Timeline of the Event and Response
Create a chronology while details are fresh.
Record the reported storm date, the first discovery of damage, the first interior leak report, the contractor’s arrival, installation of temporary protection, and any later adjustment or removal.
Include who provided each observation. A tenant’s report, a manager’s direct observation, and a contractor’s inspection finding are different kinds of information.
Keep the discovery date separate from the suspected date of damage. If the roof concern was noticed days after a storm, record both dates without pretending they are the same.
Preserve supporting messages, call logs, maintenance tickets, and service records. They can help clarify why emergency work was arranged.
If more than one weather event occurred, include that history. Do not select a storm date simply because it appears convenient for the claim.
An accurate timeline explains the sequence of events. It also helps distinguish the initial condition from changes that occurred after protection was installed.
Photograph the Roof Before Temporary Work
Ask the contractor to photograph accessible conditions before covering them, when doing so is safe and practical.
The photo set should show the general roof area and the specific condition being addressed. A close-up without orientation may leave a reviewer unable to locate the concern.
Request factual captions. “Observed opening near equipment curb” describes a condition. “Guaranteed covered storm damage” introduces a conclusion that the photograph cannot establish.
Include relevant surrounding conditions rather than documenting only the most dramatic detail. This gives the later evaluator context for understanding the area.
Keep photographs of prior repairs or other visible conditions when they relate to the work. Omitting them can make the record harder to interpret.
The emergency visit may not permit a complete roof inspection. The report should identify the area evaluated and any limitations.
Before-work photographs are a baseline. They preserve what could be observed at that time without claiming that the full cause or scope was already known.
Use Wide Views Location Views and Close Details
Organize photographs so the reader can move from the building to the specific observation.
A wide view establishes the roof section. A location view shows the condition relative to nearby features. A close detail records the issue being discussed.
Repeat that sequence for each materially different area.
For example, a photograph of a torn detail should be linked to a view showing its position on the roof. If the contractor records dimensions, the report should explain what was measured and how.
Avoid relying on a single image of the completed tarp. That image may not show why the protection was installed.
Where possible, use similar viewpoints for before-and-after photographs. This makes comparison easier and reduces uncertainty about whether the images depict the same place.
Do not manipulate the physical condition for a better picture. Documentation should record the observed state.
The goal is a traceable visual record, not an advertising collection.
Document Interior Conditions Separately
Interior records explain the building impact, while roof records explain the exterior observations and work.
Photograph accessible stains, drips, wet materials, and affected contents from safe positions. Record the room, tenant space, or operational area.
Note when each symptom was observed and whether it was active during the visit. An old stain and a new leak should not be described as the same condition without supporting information.
Ask the roofing professional whether the exterior findings have been connected to the interior symptom. If the source remains uncertain, the report should state that.
Maintain separate records for water-restoration work, inventory handling, equipment assessment, and other interior services.
Do not assume that a roof photograph establishes the extent of interior damage. Likewise, an interior stain does not automatically establish the exterior entry point.
Clear separation allows each professional to document the part of the problem they evaluated. The combined file can then explain the relationship where the evidence supports it.
Ask for a Written Emergency Work Description
A contractor’s verbal explanation should be followed by a written record.
Ask the description to identify the observed condition, temporary method, location, work date, and relevant limitations. It should also state what permanent evaluation or work remains.
For example, a report might explain that a temporary covering was installed over a specified area following observed damage and an interior water report. It should not label the entire roof irreparable unless that conclusion follows from an appropriate assessment.
The description should distinguish work performed from work proposed. If additional repairs were discussed but not completed, identify them separately.
Ask whether the contractor inspected other roof sections during the visit. Emergency work at one location should not be mistaken for a complete property assessment.
A written description is useful for both the owner and later reviewers. It reduces dependence on memory and makes the invoice easier to interpret.
Record Who Authorized the Work
Keep the authorization with the project file.
Identify the owner, manager, or other person who approved the emergency work, along with the date and agreed scope. For commercial properties, confirm that the person arranging work has the appropriate authority.
If approval occurred by phone because of urgency, retain a written follow-up describing what was authorized.
Clarify whether the authorization covers only temporary protection or includes permanent repairs. These commitments can have different financial and scheduling consequences.
Also document changes. If the contractor discovered that the original proposal would not address the condition, record what changed and who approved the additional work.
Do not assume that an insurer’s acknowledgment of a claim is authorization for any construction expense. Ask the insurer and review the applicable policy requirements.
Clear authorization protects the owner from uncertainty about obligations and helps the contractor understand the permitted scope.
It also provides a useful reference when reviewing the final invoice.
Document Materials and Quantities Accurately
Request enough detail to understand the temporary work.
The record may identify the type of covering, the area protected, supporting materials, and any additional temporary repair performed. Quantities should reflect what was actually used or measured.
Avoid adopting a rough estimate as a confirmed measurement. If a quantity is approximate, label it accordingly.
The contractor should explain any meaningful difference between the damaged area and the protected area. A larger covering may have a practical purpose, but the file should make that relationship understandable.
Do not convert the tarp’s dimensions directly into a permanent replacement quantity. The final construction scope requires its own evaluation.
If materials were changed during installation, update the record.
Accurate quantities support invoice review and project planning. They also help avoid disagreements caused by a description that says “entire roof tarped” when only one section received temporary protection.
Photograph the Completed Temporary Protection
After installation, ask for photographs showing the overall protected area and its location.
The completed-work photo set should establish what was installed and where. It should also record relevant surrounding details and any remaining concern identified by the contractor.
Ask for a description of the intended temporary purpose. Does the covering address a particular opening, protect an area awaiting evaluation, or support another interim measure?
Avoid treating an attractive photograph as proof that the system will remain effective for an unlimited period. The contractor should explain inspection and follow-up needs.
Record the installation date and the next planned action. If the contractor recommends a return visit after weather or before permanent work, include it.
The completed photographs belong beside the before-work records, not in a separate collection with no location references.
Together, they show the change between the original observation and the temporary response.
Preserve Original Files and Create Labeled Copies
Keep original photographs and videos in a dedicated folder.
Use copies for captions, arrows, or location labels. Preserve the original files so later reviewers can examine the source material where necessary.
Record who supplied the images and when. If a contractor sends compressed photographs through messaging, ask whether the original versions are available.
Do not rely solely on screenshots of photographs embedded in a report. They may be harder to examine and may omit useful file information.
Use a backup location so the project file does not depend on one employee’s phone or email account.
Simple filenames can help: building, roof area, date, and sequence number. Avoid labels that make unsupported cause or coverage claims.
If an image has been edited for visibility, explain the change and retain the unedited version.
The objective is a usable, honest record that remains understandable after personnel changes or a lengthy review.
Request an Itemized Invoice
An invoice should make the charge understandable.
Ask it to identify the service location, work date, contractor, and work performed. Where appropriate, request separate descriptions for materials, labor, equipment, mobilization, and follow-up work.
The appropriate level of detail depends on the service agreement. The owner should nevertheless be able to connect the charge to the documented activity.
Separate temporary roofing work from permanent construction. Also separate unrelated interior services if the same company provided several types of work.
Review the invoice for errors before submitting it. Check the building identification, quantities, dates, and payment status.
An itemized invoice is evidence of a charge. It does not guarantee that the insurer will reimburse the full amount.
If the contractor’s billing method differs from the estimate, ask for an explanation. Resolve factual discrepancies rather than forwarding confusing paperwork and hoping someone else can reconcile it.
Retain Proof of Payment and Outstanding Balances
Keep receipts, transaction confirmations, and relevant payment records.
An invoice may show what was billed without showing whether it was paid. If there is an outstanding balance, record it accurately rather than describing the charge as fully settled.
For a deposit, keep the agreement explaining how it will be applied. For multiple payments, connect each payment to the relevant invoice.
Use secure copies when sharing financial records. Provide the information needed to establish payment while avoiding unnecessary disclosure of account details.
If the contractor issues a credit or revised invoice, retain the sequence and identify the current version.
Do not create a receipt for payment that has not occurred or alter a financial record to support a claim.
A clear payment history helps the property owner manage the project and respond to requests for documentation. It also reduces confusion between estimated costs, billed costs, and amounts actually paid.
Keep a Record of Insurer Communications
Maintain a communication log for the claim.
Record the date, contact, method, topic, and any requested follow-up. Keep copies of emails, letters, submitted documents, and acknowledgment messages.
After a phone conversation, write a factual summary while the details are fresh. If an important instruction was given, ask for written confirmation.
Identify whether the instruction concerned temporary protection, inspection access, document submission, or permanent work. Avoid combining several different directions into a vague note that says “insurance approved.”
TDI recommends keeping a record of conversations with the insurer during the post-storm claim process. tdi.texas.gov
Also record what remains unanswered. A request for guidance that has not received a response should not be described as permission.
When sending new documents, include the claim number and a short description of the material. This helps the recipient connect the submission to the correct file.
What to Ask the Insurer About Temporary Work
Ask questions that clarify the process without assuming the answer.
How should urgent roofing work be documented? What photographs or reports are requested? Does the insurer need an inspection opportunity before material is removed? Where should invoices be submitted?
Ask whether there are relevant policy provisions concerning protective measures, expenses, notice, or evidence preservation.
For a commercial building, review the actual policy rather than adopting rules described for a homeowner’s claim. TDI’s commercial property guide explains that coverage forms and additional coverages vary. tdi.texas.gov
If work must proceed because of an immediate condition, communicate that urgency and preserve the available records.
Do not interpret a document request as a coverage decision. Likewise, receiving a claim number does not establish that every expense is accepted.
The purpose of these questions is to coordinate the response and identify the information needed for review.
Preserve Relevant Materials Without Delaying Protection
Ask the insurer or your qualified advisor how relevant removed materials should be handled.
TDI’s storm guidance advises retaining damaged items until the insurer gives permission to discard them. tdi.texas.gov
For roofing work, practical preservation may involve photographs, identified samples, or another agreed method. The appropriate approach depends on the condition and safety constraints.
Do not leave hazardous debris in an occupied area merely to preserve evidence. Coordinate a safe method of documenting and managing it.
If material must be removed, record the location, reason, date, and person performing the work. Where samples are retained, label and store them appropriately.
Also distinguish material removed during the initial emergency response from material removed during later permanent construction.
A traceable record helps explain what changed. It is especially useful when an inspector visits after the original condition has been covered or removed.
What If No Before-Work Photographs Exist?
Document the gap honestly.
Explain who performed the emergency work, when it occurred, what they observed, and why photographs were not taken. Ask the contractor for any available records, including field notes or images retained by the crew.
Review tenant messages, maintenance tickets, security footage, and accessible interior photographs. These may provide context, although they should not be presented as equivalent to a roof inspection.
Do not lift the covering yourself to recreate an original photograph. Any removal or adjustment should be planned by the appropriate professional.
If a later inspection occurs, label the findings with the actual inspection date. Do not backdate the report.
Missing photographs can limit the available evidence, but inventing or mislabeling records creates a more serious problem.
Build the best accurate file available and ask the insurer or authorized advisor what additional information would be useful.
Monitor the Covering and Record Changes
Temporary protection needs a follow-up plan.
Ask the contractor who will inspect it, when a return visit is recommended, and what symptoms should trigger another call. Avoid assigning employees to roof inspections outside their training or access arrangements.
Inside the building, record whether water intrusion continues or changes. Identify the location, date, and observed conditions.
If the temporary covering is adjusted, repaired, replaced, or removed, document the work as a new event. Keep photographs and invoices tied to that visit.
A second invoice should explain the reason for additional work. It should not appear as an unexplained duplicate of the first charge.
Do not assume that every later symptom means the tarp failed. The source may require further evaluation.
The monitoring record should describe observations and professional findings separately. This makes the history more useful when planning the permanent repair.
Keep Temporary Protection Separate From Permanent Repairs
A temporary covering is part of the response, not the final construction scope.
Ask for a separate assessment of permanent work. That proposal should identify the assembly, affected areas, repair approach, quantities, and known uncertainties.
Discuss inspection and evidence preservation before significant permanent removal. TDI advises communicating with the insurer before permanent repairs in its disaster guidance. Commercial owners should confirm the requirements of their own policy and situation. tdi.texas.gov
Do not delay urgent protection while waiting for a final replacement decision. Conversely, do not treat emergency authorization as permission for an entire roof replacement.
Keep the two scopes and financial obligations clear.
If permanent work begins in stages, document which areas were completed and when temporary protection was removed.
A well-organized record explains how the project moved from immediate protection to a justified construction solution.
Avoid Common Documentation Mistakes
Several avoidable mistakes make a file harder to review.
One is submitting only a tarp photograph, with no record of the original condition. Another is using vague invoices that do not identify the building or work date.
Conflicting location labels can also create problems. A photo caption referring to the north roof and an invoice referring to the west roof should be reconciled if they describe the same work.
Other mistakes include mixing permanent estimates with emergency invoices, losing original images, and calling an approximate quantity a confirmed measurement.
Unsupported statements about cause or insurance approval should be removed or clarified. Documentation should describe what is known and who established it.
Also avoid silently replacing old reports. Retain the history and explain corrections.
Before submission, ask whether a person unfamiliar with the property can follow the sequence. If the answer is no, improve the organization rather than simply adding more pages.
Organize a Clear Claim Documentation Package
A practical package begins with a brief index and chronology.
Arrange the documents in a sequence that follows the event and response. Use consistent property identification throughout.
RecordWhat it should establishInitial observationsWhat was reported and whenBefore-work photographsAccessible conditions before protectionContractor findingsObservations, locations, and limitationsWork authorizationWho approved the temporary scopeCompleted-work photographsWhat protection was installedInvoice and payment recordsCharges and payment statusCommunication logRequests, submissions, and responsesFollow-up recordsLater conditions and additional workPermanent proposalConstruction still being considered
Include a short explanation of any missing information. Remove duplicate copies that add no context, but preserve originals separately.
The package should be accurate and readable. Its usefulness comes from connecting each record to a specific activity or finding.
An Illustrative Commercial Property Example
Consider a warehouse manager who discovers water above a storage aisle after severe weather.
The manager restricts access to the affected area, records the discovery time, photographs accessible interior conditions, and contacts a roofing contractor. The insurer is notified while the response is underway.
The contractor documents an observed roof condition and installs appropriate temporary protection. The owner receives before-and-after photographs, a work description, and an invoice identifying the building and roof section.
A later visit evaluates the permanent scope. That report is kept separate from the emergency record, with references connecting the two.
This example does not establish how any particular claim will be decided. It shows how a property team can preserve the sequence without delaying protection or making unsupported conclusions.
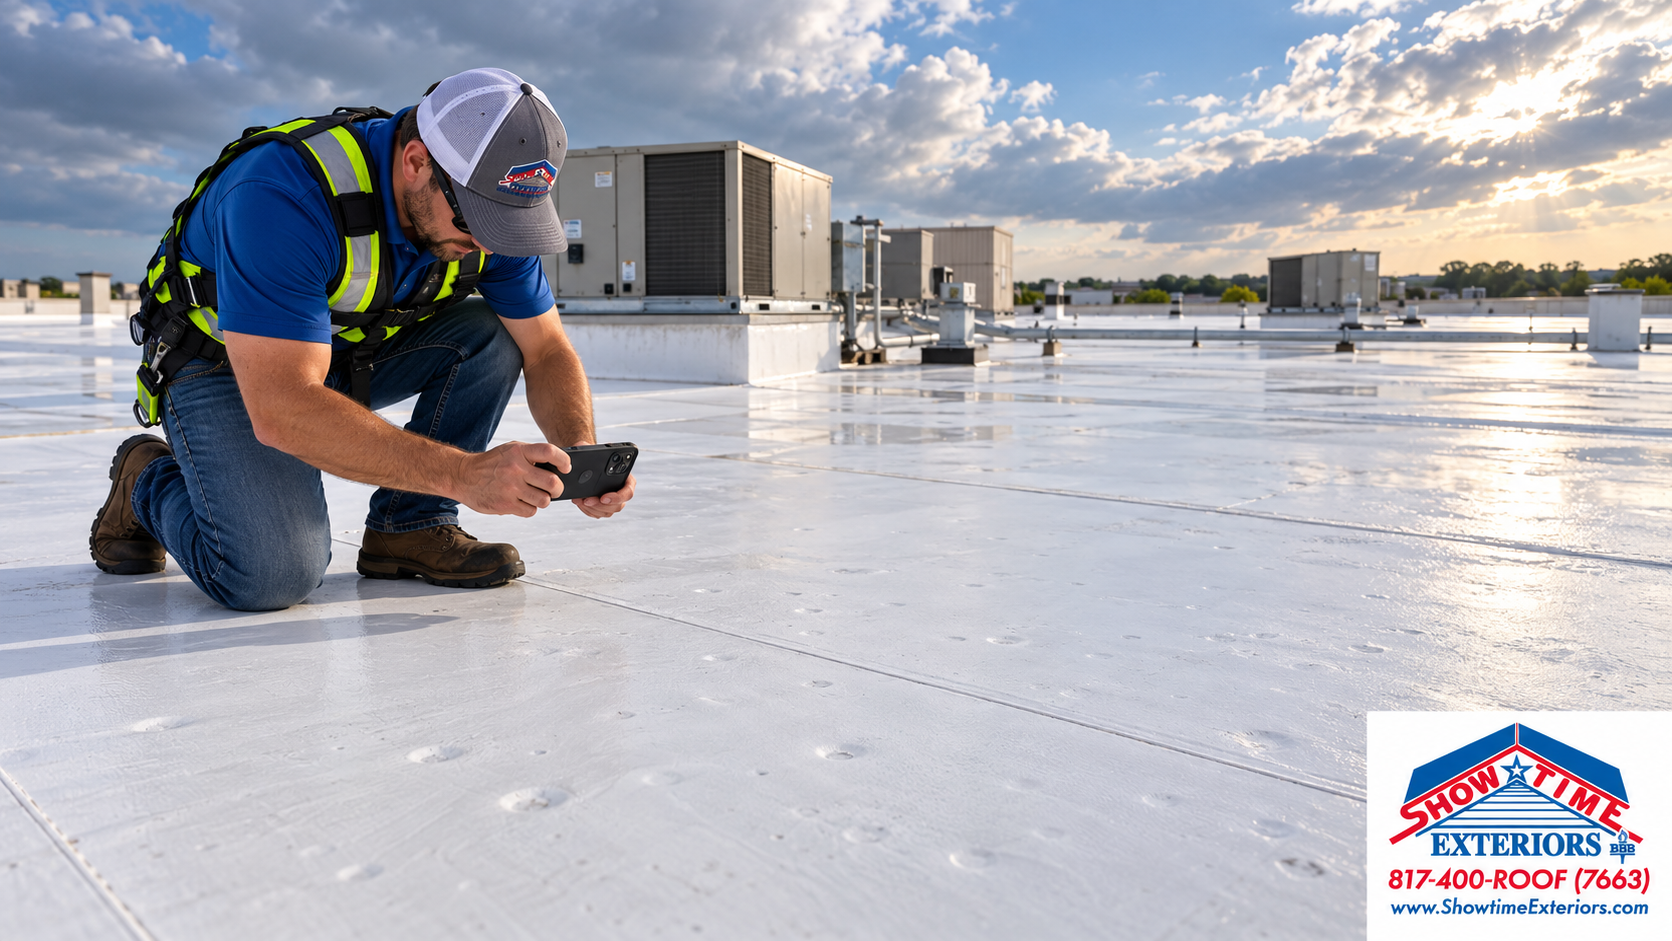
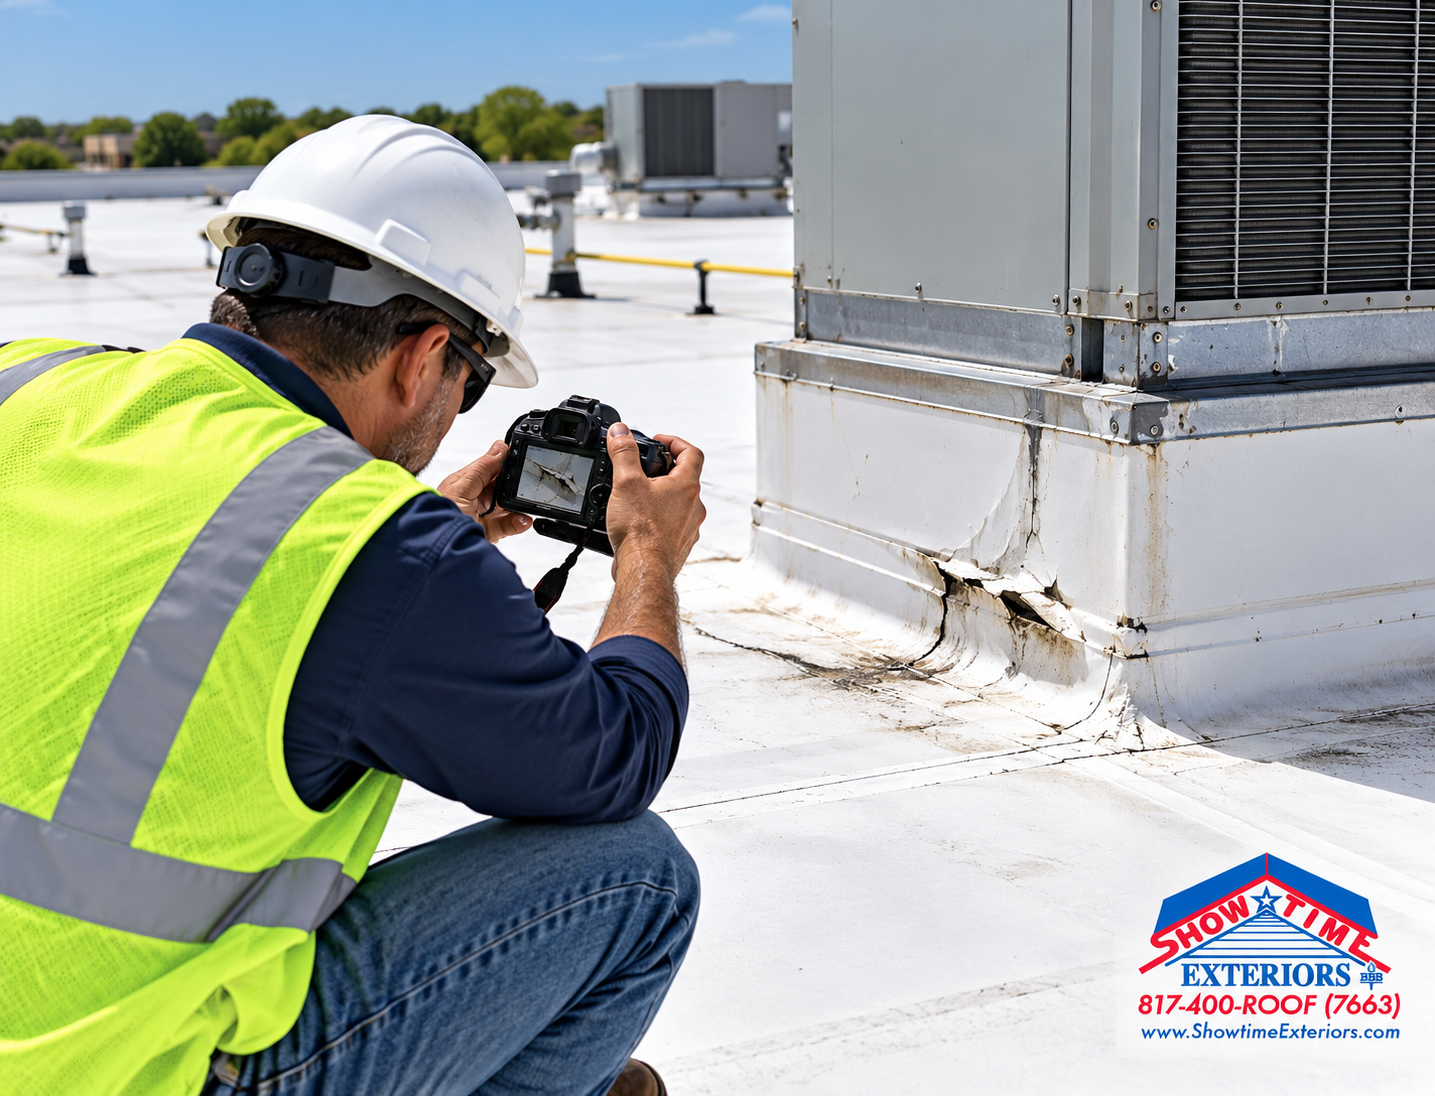
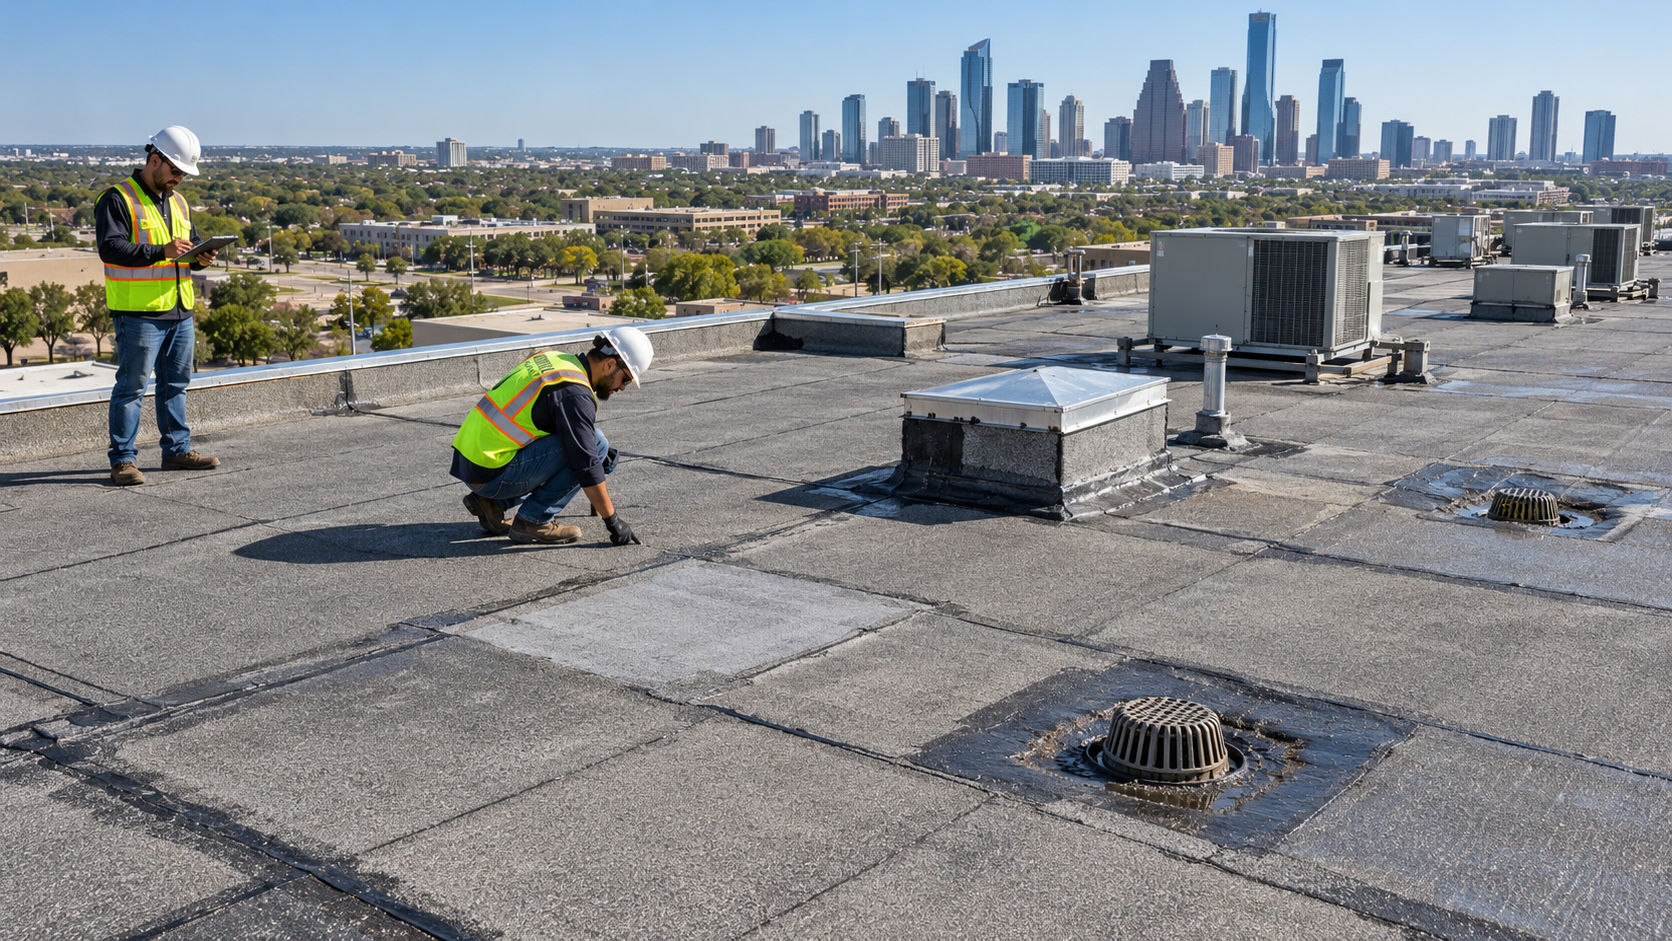
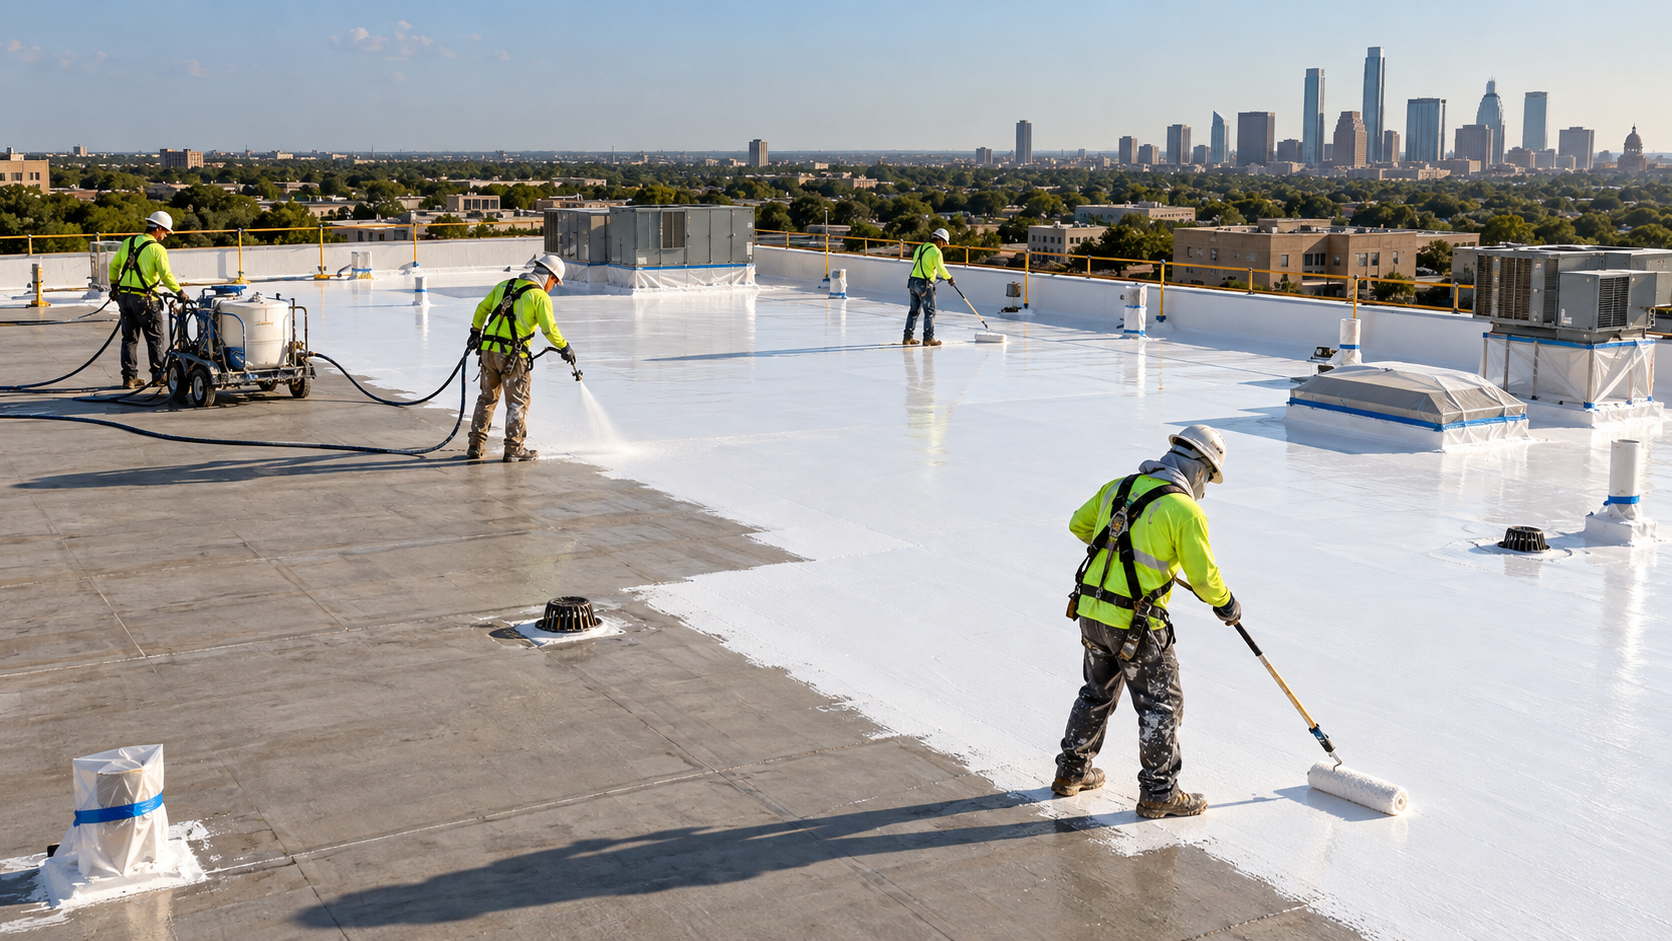
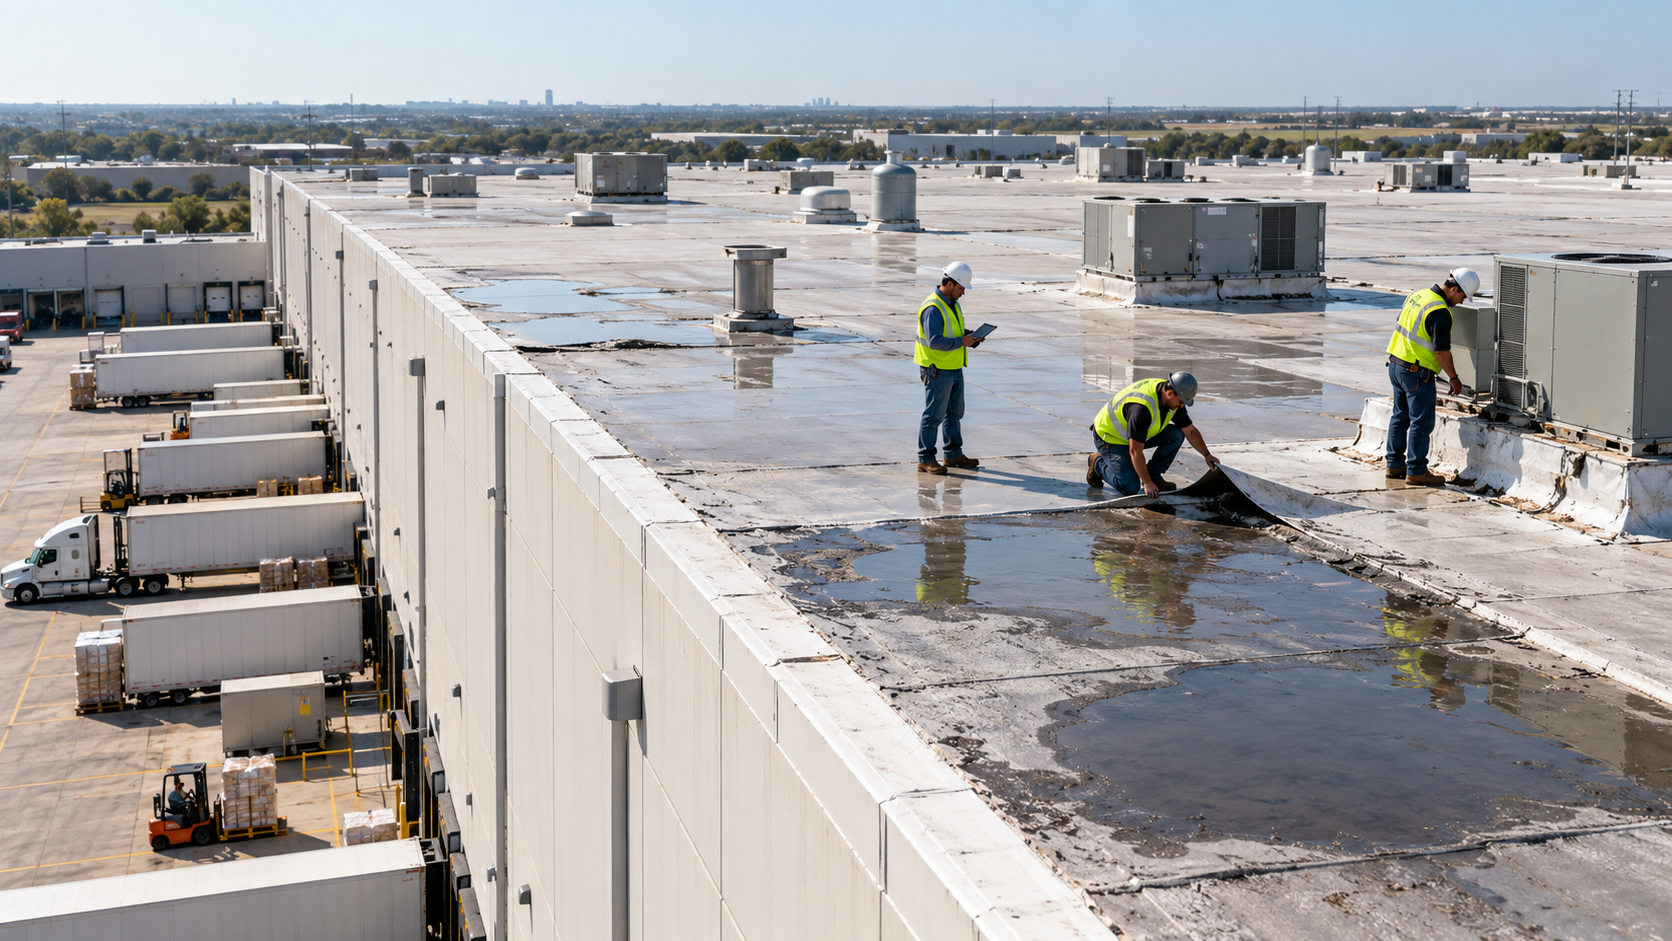
The two images accompanying this article are illustrative scenes, not evidence from an actual customer claim or instructions for tarp installation.
Understand the Roofing Contractor’s Role
A contractor can document roof conditions, describe completed construction work, and prepare a roofing estimate.
Insurance coverage decisions and claim representation involve separate responsibilities. Texas restricts contractors from acting as public adjusters on properties where they provide or may provide contracting services. tdi.texas.gov
Ask each professional to define their assignment. If you need policy interpretation, negotiation, or legal advice, consult an appropriately authorized professional.
Avoid relying on promises that a tarp invoice guarantees payment or that a contractor can secure a particular settlement.
A useful roofing record does not need those promises. It needs clear observations, traceable locations, accurate quantities, and a description of work.
Showtime Exteriors’ role in this discussion is commercial roofing evaluation and construction documentation. The insurer reviews coverage under the policy, and qualified advisors can address representation where needed.
Keeping these roles clear helps the owner ask the right person the right question.
Frequently Asked Questions
Should I wait for the adjuster before arranging emergency protection?
Do not leave an urgent condition unresolved simply to preserve an untouched roof. Contact the insurer promptly, document safely, and arrange appropriate professional protection. Ask how the insurer wants relevant evidence preserved.
Will insurance pay for the tarp?
That depends on the policy, circumstances, and expense review. Keep the records and ask the insurer to explain the applicable provisions. An invoice establishes a charge, not automatic reimbursement.
Can I remove the tarp for photographs?
Have the appropriate professional plan any removal or adjustment. Do not expose the building or create a safety risk just to obtain images.
What if another contractor installed the covering?
Request that contractor’s photographs, work description, invoice, and follow-up instructions. Give the next roofing evaluator the available records.
Does a large tarp mean the entire roof needs replacement?
The protected area and permanent repair scope are different measurements. Ask the contractor to explain each.
What should I do if the leak continues?
Record the new observation and contact the appropriate service provider promptly. Keep people and sensitive equipment away from hazardous conditions.
Get Help Documenting Your Commercial Roof
An emergency roof covering should come with a clear record of the condition, the work, and the next step.
Before-work photographs, accurate descriptions, itemized invoices, and follow-up records help property owners understand what occurred. They also provide useful information for construction planning and insurance review.
Contact Showtime Exteriors to discuss your commercial roof condition, temporary protection needs, and permanent repair options. Call 817-400-ROOF (7663) or visit showtimeexteriors.com.
Bring your existing photographs, contractor records, insurer communications, and roof history so the evaluation can begin with the information already available.