

Roof Claim Supplement: Step-by-Step Guide for Texas Property Owners
Learn how to prepare a roof claim supplement in Texas, document missing repair items, compare estimates, and submit an organized request for review.

The insurance estimate includes roofing material and labor. Your contractor’s proposal also includes damaged flashing, additional insulation, and work around rooftop equipment. The totals differ—and you need to understand why before construction begins.
A roof claim supplement is a request for an insurer to review additional information, omitted work, revised quantities, or costs associated with an existing roof claim. It should explain a specific difference and provide evidence supporting the requested change.
For Texas property owners, the strongest starting point is an organized record: what was observed, where it was found, how it affects the proposed repairs, and which estimate items need another look.
Showtime Exteriors provides commercial roofing services that help owners understand roof conditions and develop a documented construction scope. Insurance coverage and payment decisions remain with the insurer under the applicable policy.
What Is a Roof Claim Supplement?
A roof claim supplement generally addresses information that was missing, incomplete, or unavailable when the insurer prepared its initial estimate.
For example, the first inspection might identify damage to a roof covering without establishing whether the insulation beneath it is wet. A later investigation may produce additional evidence that changes the proposed construction scope.
A supplement can also address a straightforward estimating difference, such as an incorrect roof area or an omitted flashing detail.
However, a higher contractor estimate does not automatically establish that the insurer owes more. The request must connect the additional work to documented conditions and explain why it belongs in the proposed repair.
Before preparing your submission, review these questions to ask before starting a roof claim supplement.
Step 1: Identify Exactly What Needs Review
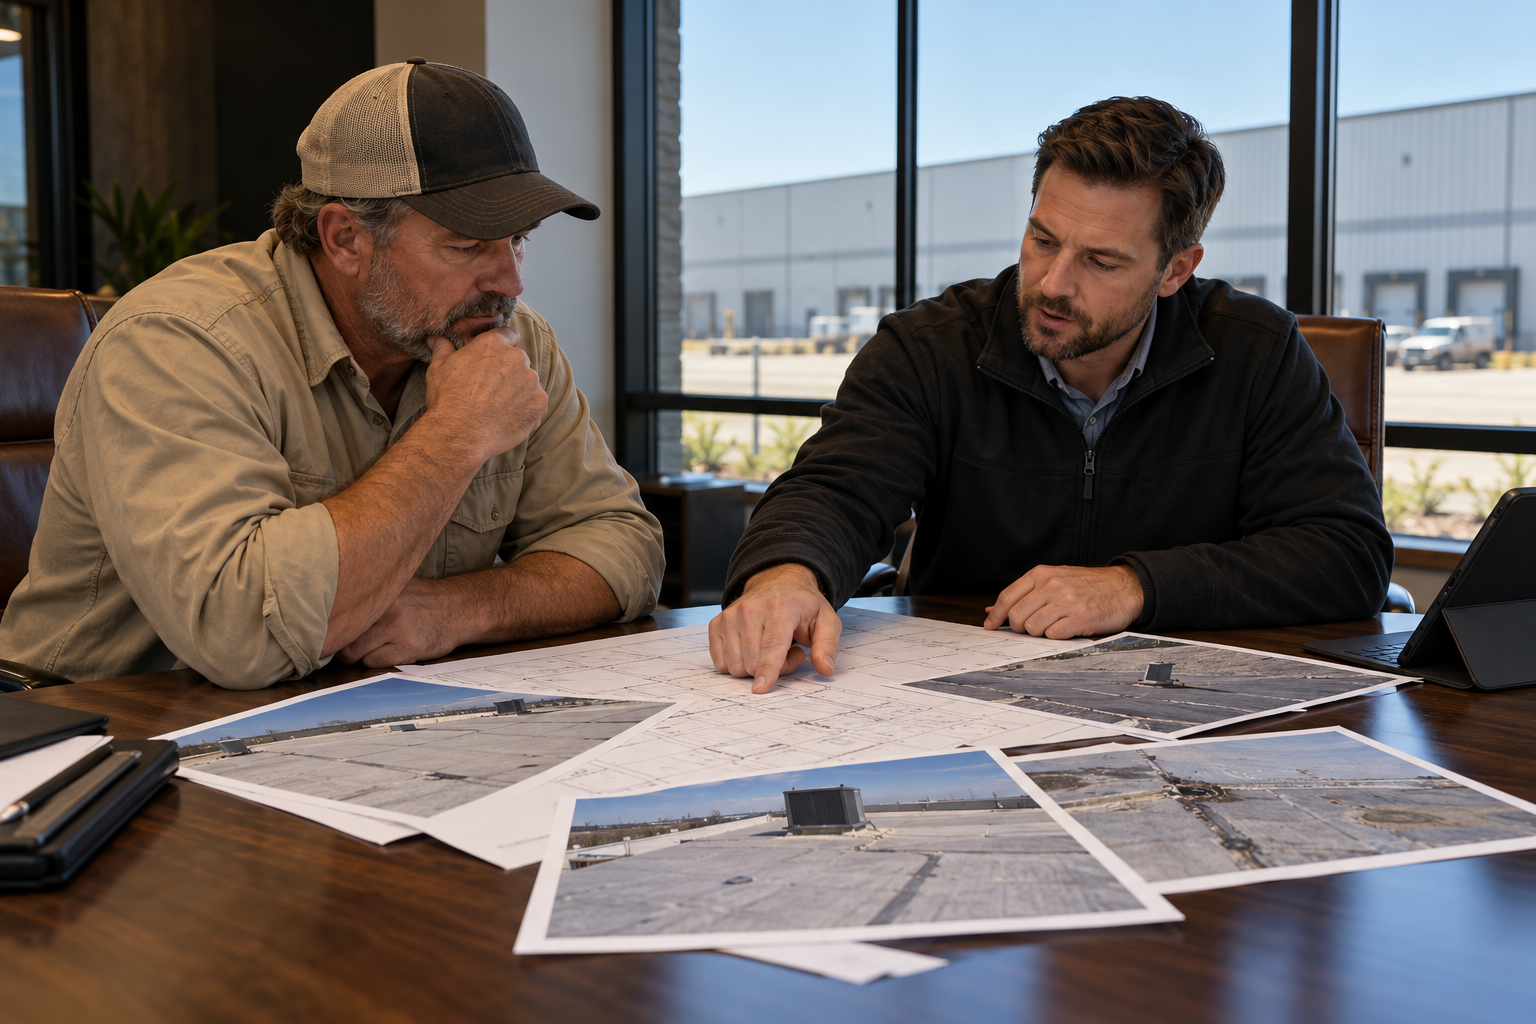
Begin with the insurer’s estimate, your contractor’s itemized proposal, and any written coverage explanation.
Compare the documents by roof section and work category. Avoid comparing only the bottom-line totals.
Item to compareQuestion to resolveRoof measurementsDo both estimates describe the same roof sections and quantities?Existing assemblyAre the roof covering, insulation, attachment, and other layers correctly identified?Flashings and penetrationsDoes the scope address the details affected by the proposed work?Removal and disposalAre the quantities consistent with the materials actually being removed?Concealed conditionsIs additional investigation needed before the scope can be finalized?Construction requirementsIs there a documented requirement supporting the disputed item?
Write a short explanation for each difference. “Missing 140 linear feet of perimeter flashing shown on the attached roof plan” gives the reviewer a clearer issue to evaluate than “the estimate is too low.”
Step 2: Confirm the Submission Requirements
Contact your insurer and ask how it wants to receive a roof claim supplement.
Confirm:
- The correct claim number and assigned contact.
- The preferred upload portal or email address.
- Whether a particular form is required.
- Which supporting documents the reviewer needs.
- Whether another inspection is requested.
- Which policy conditions and deadlines may apply.
Keep a dated record of the response. Do not assume that submitting additional documents extends a deadline or changes the policy’s requirements.
Commercial property policies can differ substantially from homeowners policies. Ask your insurer or qualified adviser about the provisions that apply to your building.
Step 3: Protect the Property and Preserve Evidence
If water is entering the building, coordinate appropriate temporary protection and document the conditions before, during, and after the work whenever safely possible.
Keep emergency repair invoices, photographs, receipts, and descriptions of the areas treated. Distinguish temporary protection from the permanent repair proposal.
Do not climb onto a damaged roof to collect evidence yourself. Roof access, fragile surfaces, exposed edges, and wet materials require professional planning. The OSHA construction fall-protection resources explain why roofing work needs appropriate safeguards.
For owners managing an occupied commercial building, also record affected rooms, equipment, tenant spaces, and operational restrictions. These records help explain the project’s sequence, even when coverage for particular expenses remains unresolved.
Step 4: Create a Location-Based Evidence Package
A useful photograph answers three questions: Where is this? What does it show? Why does it matter?
Organize inspection photographs in three levels:
- Overview: Identify the building elevation or roof section.
- Context: Show the affected component and surrounding materials.
- Detail: Capture the specific condition with an appropriate scale reference.
Label photographs consistently. A file named “West Roof—Drain 2—Flashing Separation” is easier to evaluate than a folder of unnamed images.
Include the inspection date, roof diagram, measurements, and relevant maintenance history. Separate observed conditions from conclusions that require further testing.
Weather records can provide additional context. The NOAA Storm Events Database allows users to research reported events by location and date. A nearby hail report provides context; it does not establish the condition of an individual roof.
Step 5: Explain Each Additional Construction Item
Build the roof claim supplement around individual issues that can be reviewed.
For every requested addition, identify:
- The item or roof component.
- Its location.
- The measured quantity.
- The observed condition.
- The proposed work.
- The supporting photograph, report, specification, or other document.
For commercial roofs, the investigation may involve membrane seams, perimeter details, insulation, drainage components, equipment curbs, or attachment conditions. The appropriate scope depends on the actual assembly and findings.
Showtime Exteriors’ guide to commercial roofing assessments and project planning explains the importance of evaluating the roof system, drainage, details, and building operations together.
Avoid treating a suspected condition as a confirmed fact. For example, a thermal anomaly can identify an area for further investigation; the supplement should explain what additional verification supports the proposed removal.
Step 6: Support Code and Manufacturer Requirements Precisely
If an additional item is attributed to a building requirement, identify the applicable jurisdiction and the requirement relevant to that work.
If the item is based on manufacturer instructions, include the product, assembly, and detail being referenced.
A useful explanation connects the requirement to the project:
The proposed replacement affects the existing penetration flashing. The attached installation detail identifies the flashing configuration specified for the proposed assembly.
Avoid broad statements such as “everything must be upgraded to code” without supporting documentation.
Also separate the construction requirement from the insurance question. Work may be necessary for the selected project without automatically qualifying for insurance payment.
Step 7: Keep Contractor and Insurance Representation Roles Clear
Your roofer can explain its measurements, repair methods, material quantities, and pricing. Texas Department of Insurance guidance specifically allows contractors to answer questions about their repair estimates, including supplements and clarifications to revised estimates. That does not authorize the contractor to advocate on policy coverage or exclusions. See the TDI contractor and public-adjuster FAQ.
For a roof claim supplement, this distinction helps everyone address the appropriate issue:
- The contractor explains the construction scope.
- The insurer evaluates coverage and payment.
- The owner or an appropriately authorized representative handles the claim request.
Texas also prohibits a contractor from acting as a public adjuster on a claim when it will perform the work. Contractors cannot waive, rebate, or absorb the policyholder’s deductible. The TDI roofing and insurance law guidance explains these restrictions.
Step 8: Submit One Organized Package
Make the submission easy to navigate.
A practical package includes:
- A cover note identifying the claim and requested review.
- A comparison of disputed or omitted estimate items.
- The current itemized contractor proposal.
- A labeled photograph report and roof diagram.
- Relevant inspection findings and supporting documents.
- Temporary repair invoices, when applicable.
Use dated versions so the reviewer can distinguish the current proposal from earlier estimates. Keep a complete copy and request confirmation of receipt.
Sample Roof Claim Supplement Cover Note
Subject: Supplemental Review Request—Claim [Number], [Property Address]
Please review the attached additional roofing documentation for the above claim.
The submission identifies differences between the current insurance estimate and the proposed construction scope. Each requested revision includes its location, quantity, explanation, and supporting evidence.
Please confirm receipt, advise whether another inspection is needed, and identify any additional information required to evaluate these items.
Thank you,
[Property Owner or Authorized Representative]
Step 9: Track the Response and Resolve Specific Questions
Maintain a simple log of submission dates, responses, inspection appointments, and outstanding questions.
If the insurer requests clarification, respond to the particular issue. If an item is declined, ask for a written explanation identifying the reason.
A disagreement may concern quantity, construction method, pricing, causation, or coverage. Those are different questions and may require different evidence or professional input.
If you are considering outside claim representation, review the TDI guidance on hiring a public adjuster. Understand the proposed services, licensing, contract, and fees before signing.
Common Roof Claim Supplement Mistakes
Submitting a larger total without explaining the difference
Identify the specific line items and evidence supporting each requested revision.
Mixing maintenance and storm-related observations
Record older repairs, deterioration, and newly observed conditions separately. An accurate roof history makes the inspection record more useful.
Replacing evidence with assumptions
Neither a neighborhood storm report nor a nearby roof replacement establishes what happened to your building.
Losing track of revisions
Keep one current estimate and clearly label earlier versions.
Treating a supplement as guaranteed payment
Submission starts a review. It does not establish coverage, approval, or the amount of any additional payment.
After the Project: Keep a Better Roof Record
Retain the final scope, completion photographs, invoices, warranties, and maintenance instructions. A consistent roof history helps future inspections distinguish existing conditions from later changes.
For a practical overview of ongoing documentation and inspections, review Showtime Exteriors’ commercial roof maintenance guide.
Schedule a Documented Roof Assessment
An effective roof claim supplement begins with a construction scope that can be explained and supported.
Based in Mansfield and serving North Texas, Showtime Exteriors can evaluate roofing conditions, document observations, and prepare an itemized proposal for appropriate roofing work.
To discuss your building’s roof or arrange an assessment, contact Showtime Exteriors or call 817-400-ROOF (7663).