

How to Document a Post-Storm Roof Inspection Before Filing a Claim
Document a post-storm roof inspection with clear photos, location notes, repair records, and an organized report for your Texas property insurance claim.
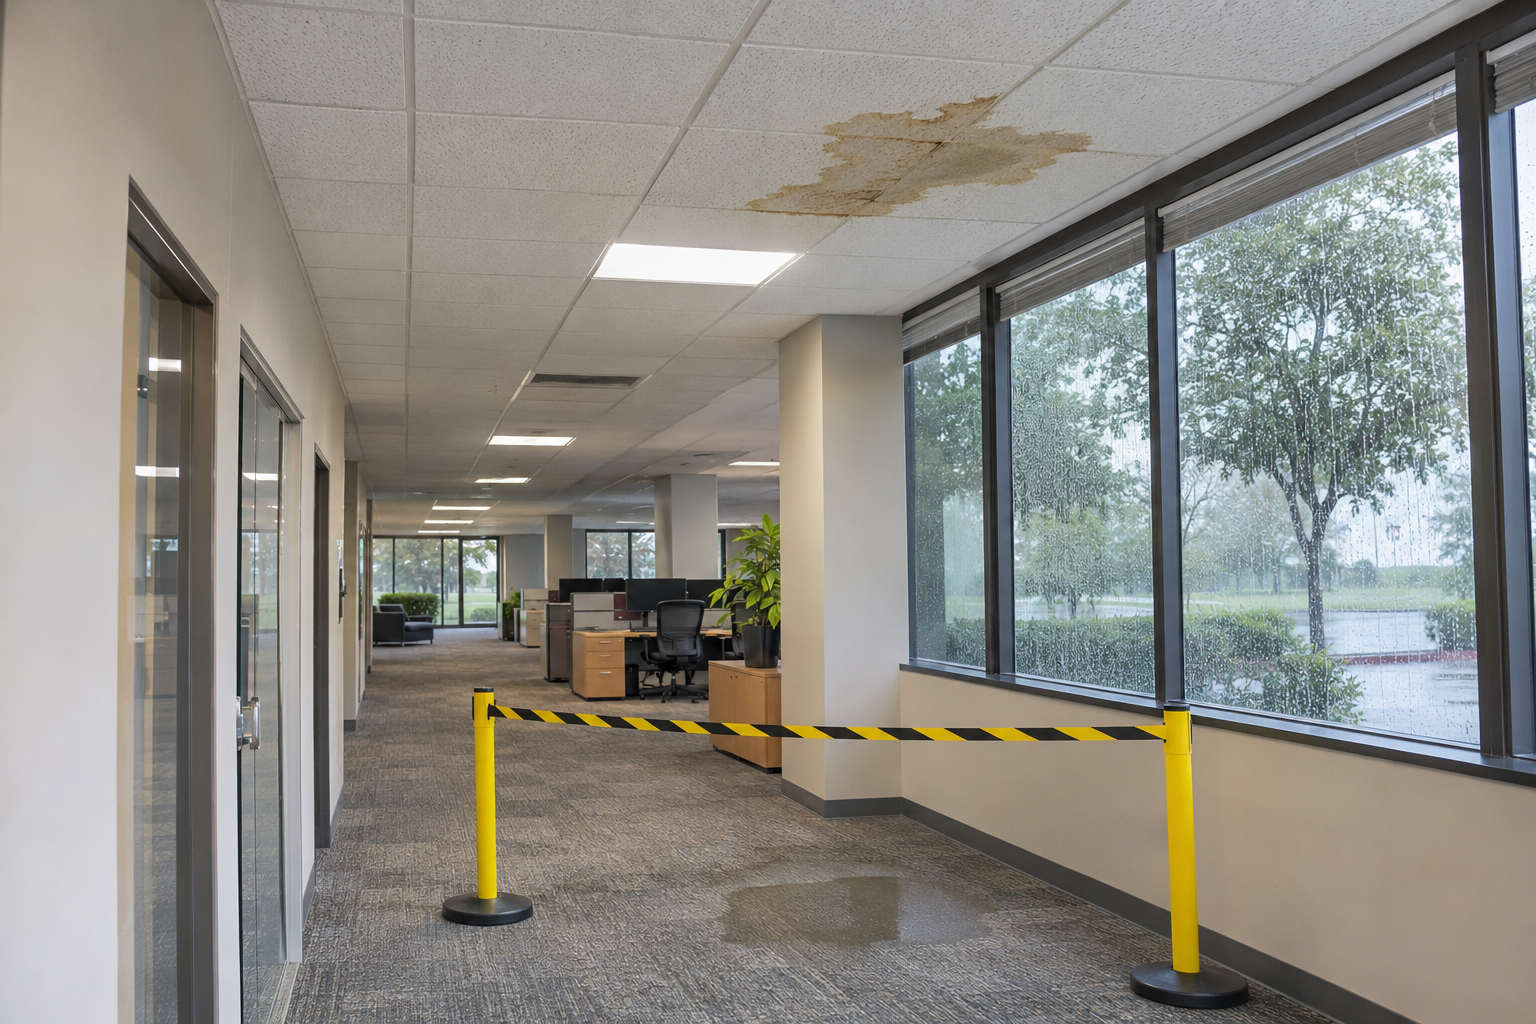
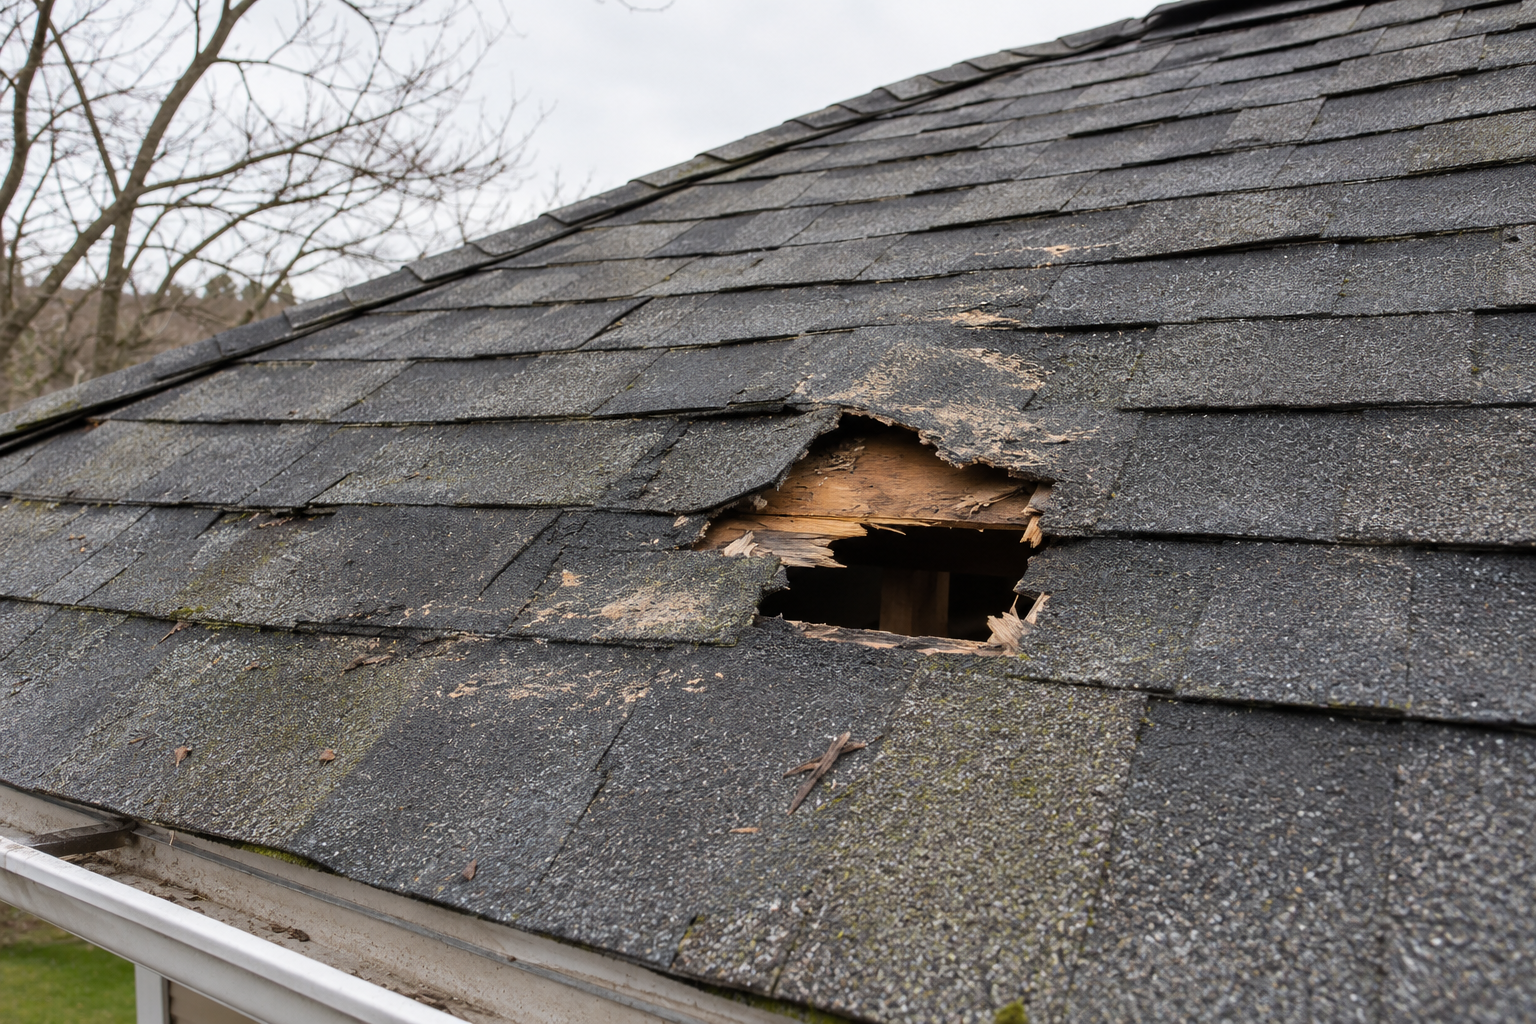
A close-up photograph shows an opening in the roof. Another shows a stained ceiling tile. Neither identifies the building section, inspection date, or relationship between the two.
The photographs may show important conditions, but the missing context makes them harder to evaluate.
A well-documented post-storm roof inspection connects each observation to a location, date, and supporting record. It also distinguishes visible damage from suspected conditions that require further investigation.
For Texas property owners, the goal is an accurate account of the building—not simply a large folder of photographs.
Do not delay required claim reporting while waiting for a complete inspection package. You can notify the insurer promptly and continue gathering documentation according to its instructions.
1. Establish Safe Access Before Collecting Evidence
Start with people and immediate hazards.
Stay away from downed power lines, unstable roof edges, damaged trees, sagging ceilings, and areas where water may contact electrical equipment. If structural damage is suspected, obtain appropriate professional evaluation before entering affected areas.
Property owners and employees should not climb onto damaged roofs to take pictures.
The OSHA construction fall-protection resources explain why roofing work requires appropriate access planning and protective measures.
Document what you can from safe ground-level or interior positions. Have qualified professionals handle roof-level observations.
Showtime Exteriors provides commercial roofing assessments to help owners document accessible roofing conditions and develop a construction scope.
2. Record the Timeline Without Guessing
Create a short event log before details become difficult to recall.
Record:
- The reported storm date and approximate time.
- When you first noticed water or visible changes.
- Who discovered the condition.
- Which rooms or roof sections were affected.
- Whether the same area had earlier problems.
- Any work performed between the event and inspection.
- The inspection date and people present.
Distinguish the time of the storm from the time you discovered the damage.
If you do not know when a condition developed, say so. Avoid assigning every observed defect to the latest storm without supporting evidence.
3. Photograph the Building Before the Detail
Use a consistent sequence so someone unfamiliar with the property can follow the record.
Overview Photographs
Show the building elevation, room, roof section, or surrounding area.
Context Photographs
Move closer while keeping enough surroundings visible to locate the component.
Detail Photographs
Capture the specific condition clearly. Where useful, include an appropriate scale reference without disturbing the area.
For example, a photograph of a damaged roof edge should be accompanied by a wider view showing which elevation it belongs to.
The Texas Department of Insurance storm-recovery guidance recommends pictures and video, temporary protection, and keeping repair records and receipts. It also advises preserving the insurer’s opportunity to inspect before permanent repairs.
Image 1: Ground-Level Storm Documentation
Place the first generated image here.
Alt text: Inspector photographing displaced roof-edge metal and a gutter outside a commercial warehouse.
Caption: Begin with safe overview photographs that establish where the observed condition is located.
4. Give Every Important Photograph a Location
A simple photo log can make a post-storm roof inspection much easier to review.
Photo referenceLocationObservationEX-01West elevationOverview of roof edge above loading doorsRF-02Roof section A, west perimeterVisible separation at edge detailIN-03Loading area, aisle 4Staining on ceiling finishMT-04Same perimeter locationTemporary protection after installation
These are organizational examples, not findings from an actual property.
Use roof-section names, room numbers, tenant suites, or grid references consistently. Add a roof or floor diagram when available.
Keep original image files. If you create annotated copies, retain the unedited originals separately. Avoid filters, AI enhancement, or alterations that change how damage appears.
5. Describe Observations Separately From Causes
Accurate wording matters.
“Water staining on the ceiling below roof section B” describes an observation.
“Wind-driven rain entered through a storm-created opening at section B” is a conclusion that requires evidence.
During a post-storm roof inspection, record visible conditions such as:
- Openings, tears, or displaced materials.
- Flashing or perimeter deficiencies.
- Debris and drainage obstructions.
- Conditions around equipment and penetrations.
- Earlier patches or repairs.
- Interior staining or active water entry.
Identify uncertainty directly. A suspected concealed moisture condition should remain a question until appropriately investigated.
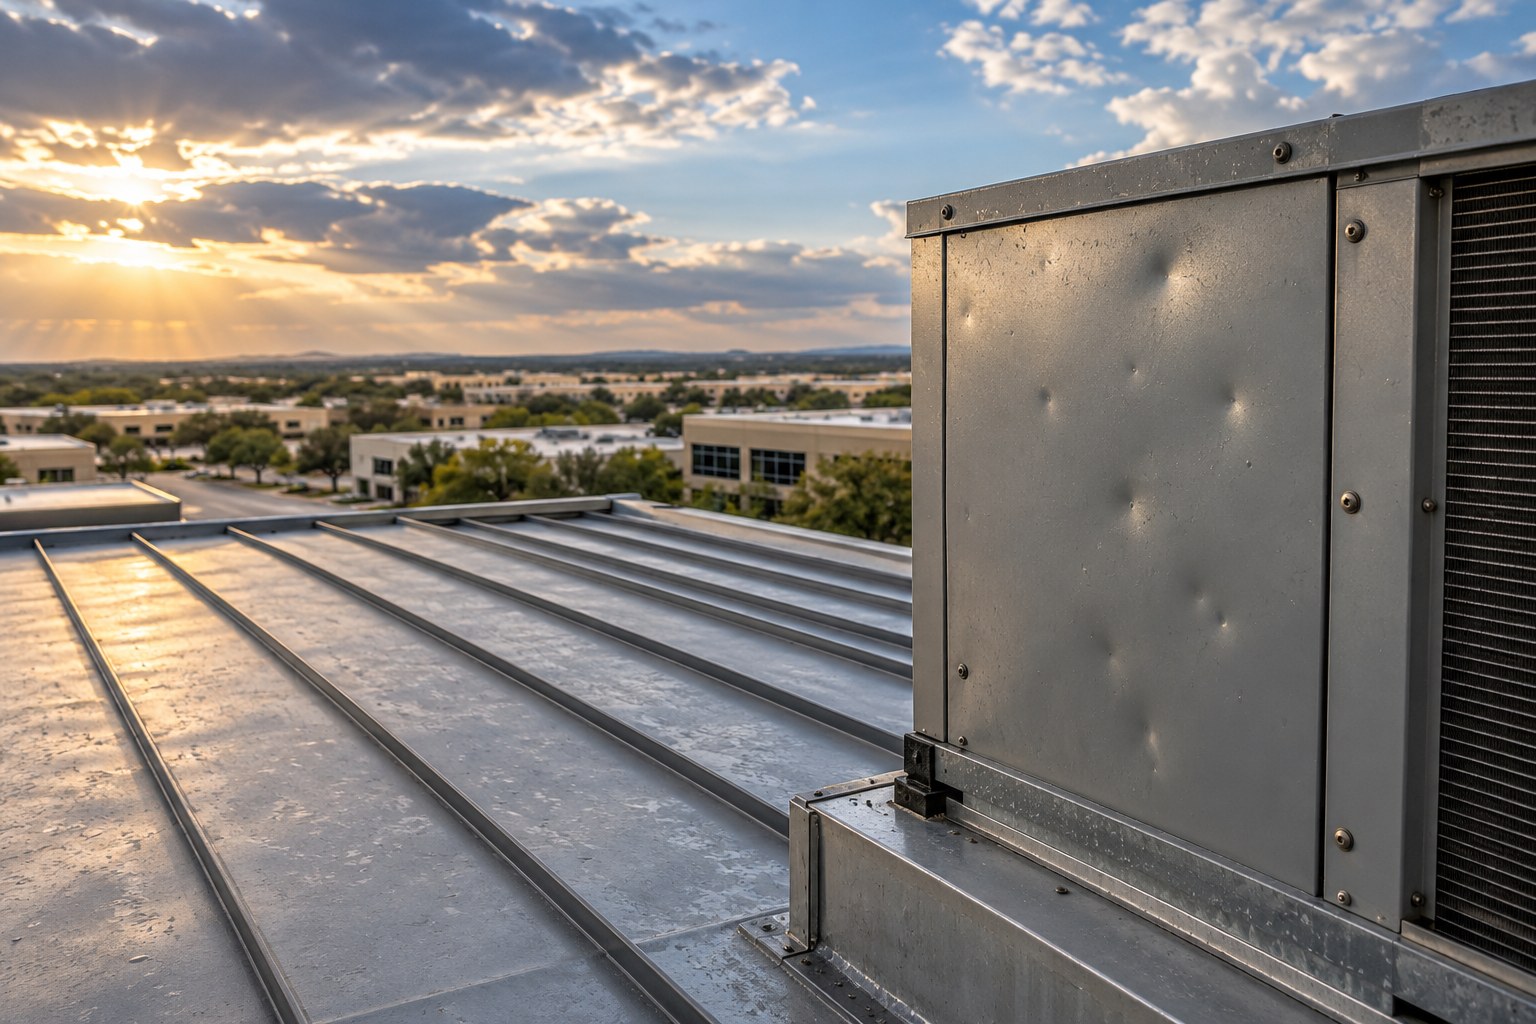
Likewise, a dent in one component does not establish damage to every adjacent material.
6. Include Roof History
Current photographs become more useful when compared with earlier records.
Gather installation invoices, warranties, maintenance reports, earlier inspections, and previous repair photographs.
For buildings with multiple roof sections, match each document to the correct area. A recent repair invoice does not necessarily establish the age of the entire roof.
Include relevant unfavorable history too. Earlier leaks or deterioration should be distinguished from newly observed conditions rather than omitted.
Showtime Exteriors’ commercial roof maintenance guide explains how an ongoing inspection and repair history supports future decisions.
7. Add Weather Records as Context
Weather reports may help establish that a storm was reported near the property at a particular time.
The National Weather Service storm-records guide describes records containing reported locations, event times, hail sizes, and other observations.
Keep the source, date range, and geographic information with the record.
A nearby hail or wind report does not prove damage to your roof. The absence of a nearby report also does not replace a property inspection.
Use weather information alongside building-specific findings.
8. Document Temporary Protection
If emergency work is needed, capture the condition before, during, and after the work whenever safely possible.
Ask the contractor to identify:
- The protected location.
- Why the work was necessary.
- Materials and labor used.
- The date performed.
- Limitations of the temporary measure.
- Permanent work still requiring evaluation.
Retain itemized invoices and payment records.
The NAIC’s disaster claims documentation guidance recommends documenting losses, preserving damaged items where possible, making temporary repairs, and retaining receipts. Payment remains subject to the policy and covered loss.
Coordinate disposal with the insurer where practical, while addressing immediate health and safety hazards appropriately.
Showtime Exteriors’ emergency roof repair guide provides additional response-planning considerations.
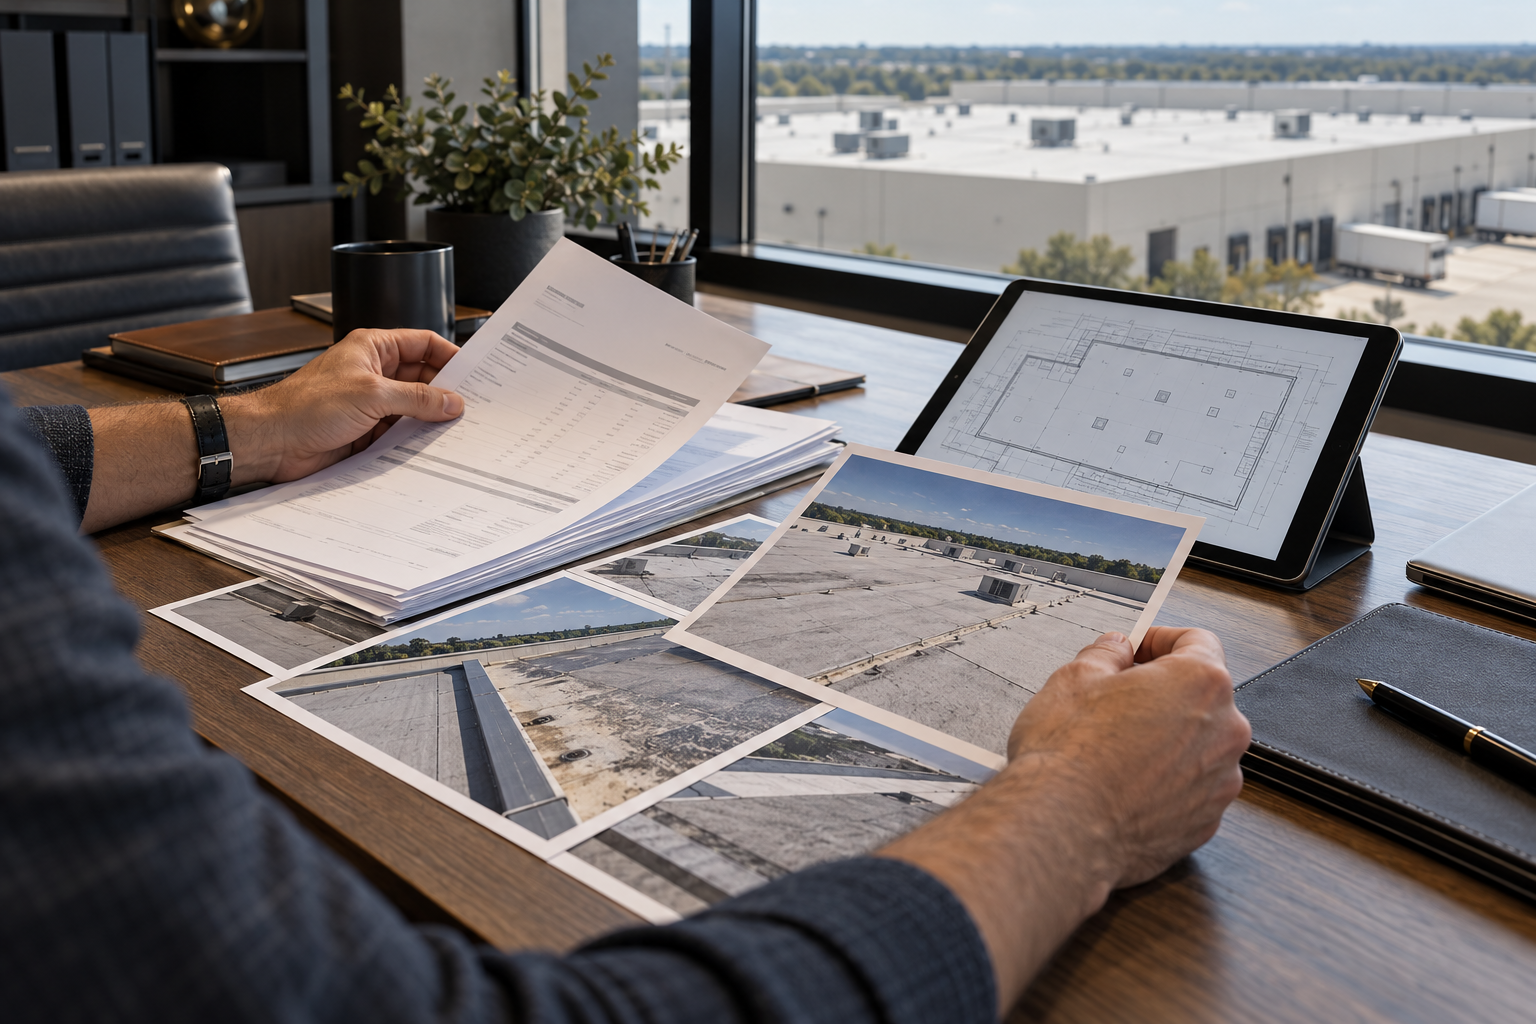
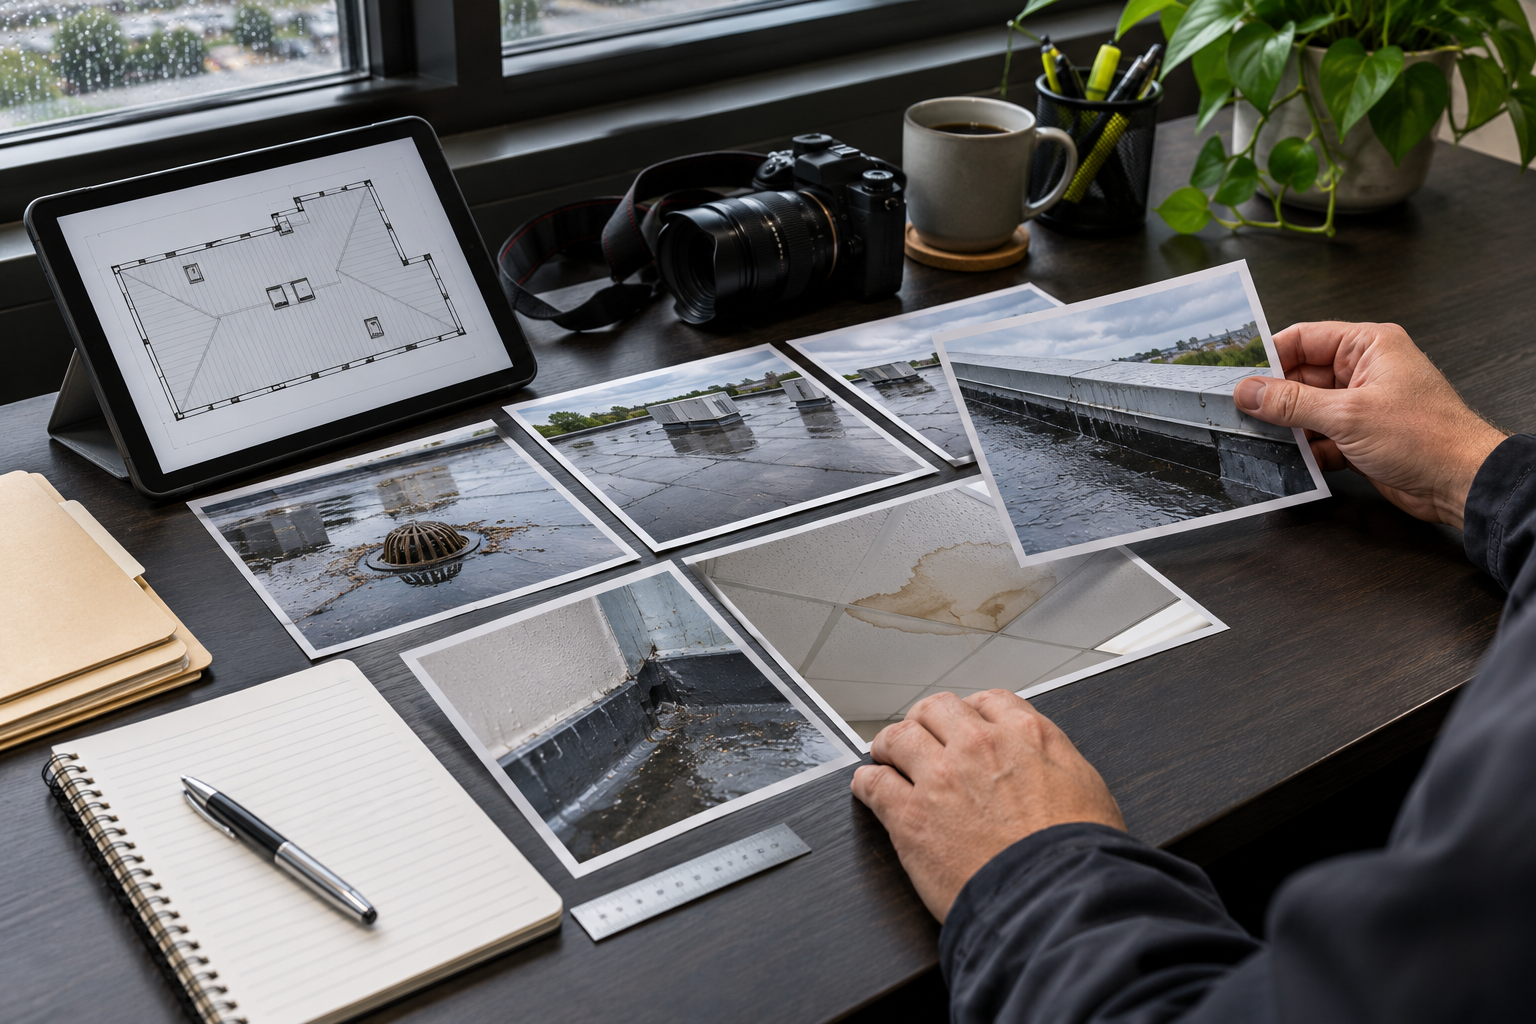
Image 2: Organizing the Inspection Record
Place the second generated image here.
Alt text: Roof photographs, an inspection plan, camera, and notes organized on a facilities office desk.
Caption: Connect photographs to a diagram and written observations so the inspection can be reviewed by location.
9. Request a Report That Explains Its Limitations
Before authorizing an inspection, ask what documentation is included.
A useful report should identify:
- Property address and inspection date.
- Inspector and areas evaluated.
- Roof materials and sections identified.
- Relevant history supplied by the owner.
- Access or visibility limitations.
- Labeled photographs and location references.
- Observed conditions.
- Unresolved questions and proposed investigation.
- Immediate protection needs.
- Recommended construction next steps.
Ask what any proposed testing will establish. Confirm who will perform it and how openings or disturbed areas will be restored.
An inspection report should not present inaccessible components as evaluated.
10. Keep Insurance Reporting and Construction Advice Clear
Ask your insurer which documents it requires and how to submit additional information.
The Texas Office of Public Insurance Counsel storm-claim checklist recommends prompt reporting, photographs, itemized temporary-repair receipts, confirmation of deadlines, and retention of claim records.
Your roofer can explain physical observations, measurements, and the construction estimate. Coverage interpretation and claim representation are separate roles.
The TDI roofing and insurance law guidance explains Texas restrictions on contractors acting as public adjusters on claims where they will perform the work.
If the insurer’s estimate and contractor’s proposal differ, organize the specific issues. Showtime Exteriors’ roof claim supplement questions can help structure that comparison.
A Final Check Before Submission
Review the package as if you had never visited the property.
Can the reader identify where each photograph was taken? Are the dates clear? Does the report explain what was observed and what remains unknown? Are temporary repairs distinguished from permanent work?
Include a short document index and keep a complete copy. Record when and how the package was submitted, then request confirmation of receipt.
Additional evidence can support review, but it does not guarantee coverage or payment.
Schedule a Documented Post-Storm Roof Inspection
A useful post-storm roof inspection produces more than photographs. It creates a clear record of locations, conditions, history, limitations, and next steps.
Based in Mansfield, Showtime Exteriors serves North Texas property owners with roofing assessments and documented construction proposals.
To arrange an evaluation, contact Showtime Exteriors or call 817-400-ROOF (7663).