



How to Document a Punctured Commercial Membrane Before Filing a Claim
Learn how to document commercial roof membrane punctures, photograph damage, preserve repair records, and organize information before filing a claim.

A puncture in a commercial roof membrane can look small while raising larger questions. Where did it come from? Has water entered the insulation? Is the opening isolated? What needs to be repaired?
Before filing a claim, document the puncture’s location and condition, arrange a professional assessment, preserve relevant roof records, and record any temporary protection or repairs. Keep observations separate from assumptions about the cause.
Do not postpone necessary protection while trying to assemble a perfect claim package. Photograph conditions before work when safe and practical, then document what was done.
Showtime Exteriors’ guide to how quickly to address a punctured commercial membrane explains why timely assessment matters when a roofing opening is discovered.
What Is a Commercial Roof Membrane Puncture?
A puncture is an opening through the roof membrane. It is different from a surface scuff, stain, or indentation, although distinguishing those conditions may require professional examination.
Commercial single-ply membranes include TPO, PVC, and EPDM. A puncture may be associated with sharp debris, dropped tools, equipment work, or another impact. Its cause should be investigated rather than assumed.
For example, discovering an opening after a storm does not prove that the storm created it. Similarly, finding damage near an HVAC unit does not establish that an equipment contractor caused it.
The documentation should show what is present, where it is located, and what information supports any proposed explanation.
Step 1: Address Immediate Safety and Water Entry
Keep occupants away from water near electrical systems, unstable ceiling materials, or other hazards. Property owners should leave rooftop access and close inspection to qualified professionals.
When arranging service, tell the contractor:
- Where the puncture was reported.
- Whether water is actively entering.
- Whether the location is near equipment or a roof edge.
- Whether recent storms or rooftop work occurred.
- Whether temporary repairs have already been made.
- Whether the roof has an active manufacturer warranty or guarantee.
The Insurance Information Institute’s business claim guidance recommends documenting damage, reviewing policy responsibilities, taking reasonable protective steps when safe, and retaining receipts. Your specific policy governs the applicable requirements. Triple-I®
Step 2: Record the Discovery Timeline
Create a short written timeline while details are fresh. Include separate entries for:
- The reported event date, if known.
- The date and time the puncture was discovered.
- The person who reported it.
- The first observed interior leak.
- The contractor’s inspection.
- Temporary protection.
- Subsequent testing or repairs.
Do not treat the discovery date as the confirmed date of damage unless evidence supports that conclusion.
Example of a Clear Incident Note
A ceiling leak was reported in Suite 104 on Tuesday morning. During a roof inspection that afternoon, the roofing contractor identified an opening near the northeast rooftop unit. The cause and date of the opening have not yet been confirmed.
This description records the sequence without assigning unsupported blame or causation.
Step 3: Photograph the Roof From Wide Views to Close-Ups
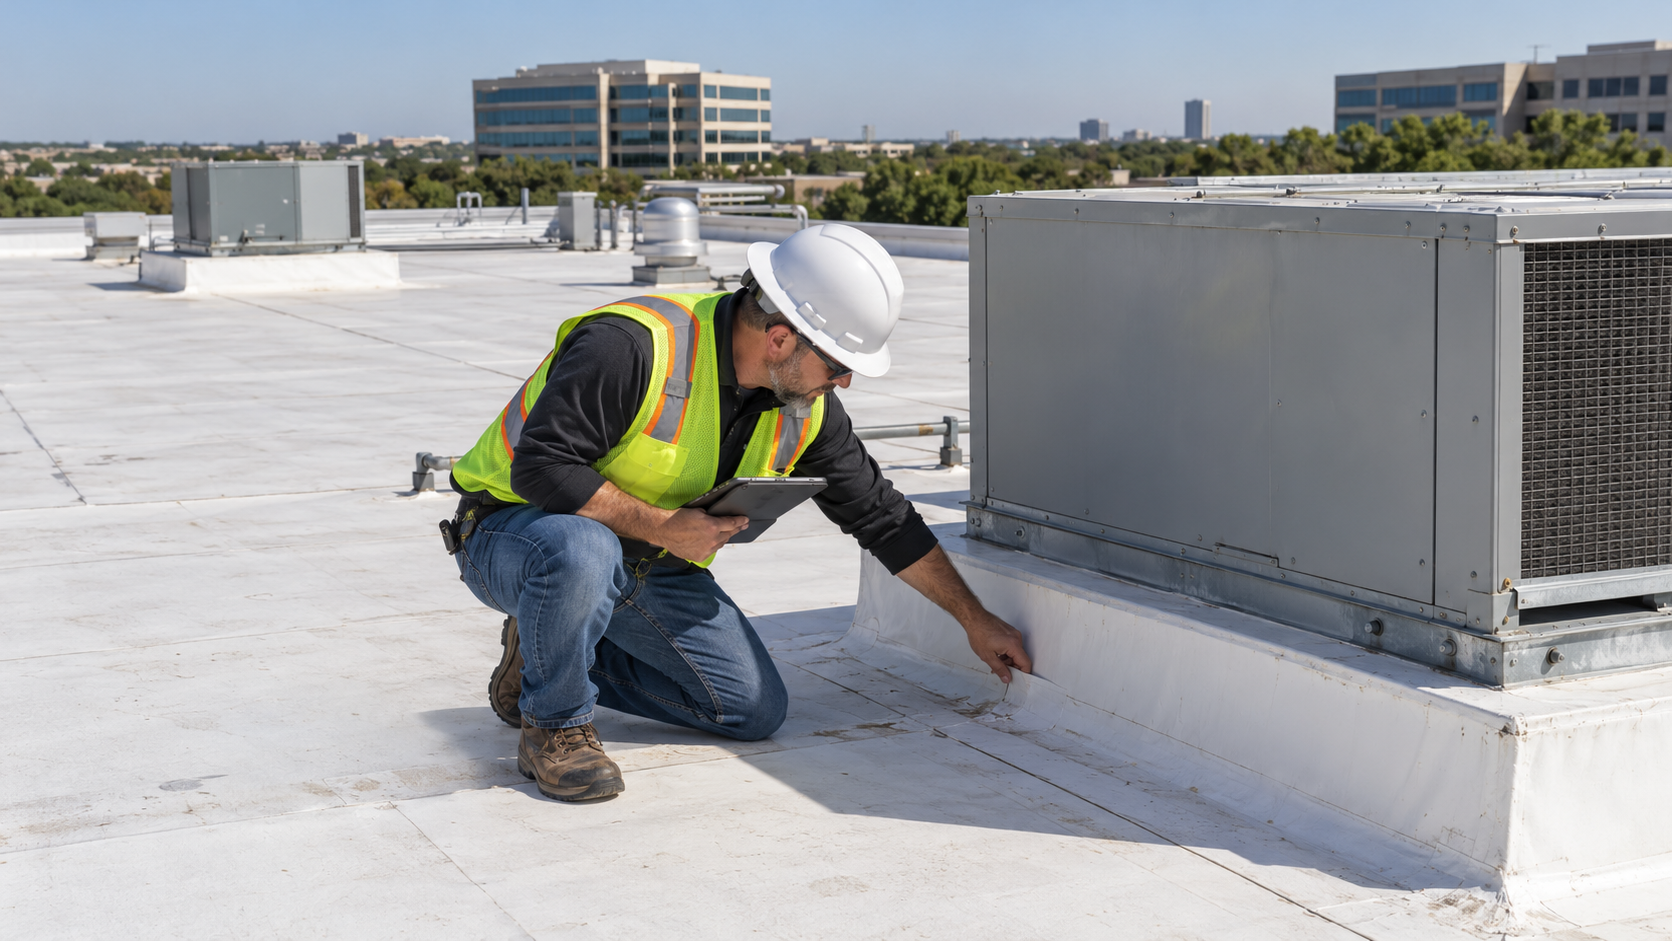
A close-up of a puncture is useful, but it rarely tells the full story. Ask the roofing professional to capture a sequence that connects the opening to the building and surrounding roof.
Wide Photographs
Wide views should establish:
- The roof section.
- Nearby equipment and penetrations.
- Roof edges or parapets.
- Drains and scuppers.
- Walkways and access points.
- The surrounding membrane.
Midrange Photographs
Midrange images should show how the puncture relates to a recognizable feature, such as an equipment curb, drain, or membrane seam.
Close-Up Photographs
Close-ups should record the visible opening and surrounding condition. A measurement scale can help show size when placed safely without changing the damage.
Avoid inserting objects into the opening, pulling at the membrane, or enlarging it to make the photograph clearer. Any examination that alters the condition should be performed and documented by an appropriate professional.
Preserve Original Files
Keep the original photographs and videos. Create separate annotated copies for labels, arrows, or explanations.
Use descriptive filenames, such as:
2026-10-28_Roof-A_P03_Closeup.jpg
A consistent naming system helps connect each image with the report and roof plan.
Step 4: Map Every Puncture
A roof plan does not have to be elaborate, but it should allow someone else to locate each reported condition.
Give every opening a unique identifier, such as P01, P02, or P03. Use the same identifier in photographs, inspection notes, repair records, and estimates.
Record fieldExampleRoof sectionRoof ADamage identifierP03LocationEast side of rooftop unit RTU-2Reported conditionVisible opening in membranePhotograph referencesP03-wide, P03-mid, P03-closeInterior observationStain reported in storage roomWork performedTemporary protection; see work orderRemaining questionUnderlying moisture condition not yet established
An interior stain can be recorded alongside the roof condition without asserting that the two are definitively connected. Water may travel before it becomes visible.
For a broader documentation framework, see Showtime Exteriors’ guide to evidence for a commercial roof claim.
Step 5: Identify the Membrane and Roof Assembly
Repair planning depends on knowing what roof system is present. Ask the contractor to record the membrane type and any confirmed product information.
Useful records may include:
- Original roof specifications.
- Installation invoices.
- Manufacturer and product names.
- Warranty or guarantee documents.
- Roof plans.
- Previous repair descriptions.
- Information about insulation, cover board, and attachment.
If a detail cannot be verified, the report should say so. Membrane color alone should not be used as proof of a particular product.
Carlisle’s inspection resources provide separate checklists for different membrane systems, illustrating why product-specific details matter. Those resources concern installation inspections; they do not establish insurance coverage or the cause of a puncture. carlislesyntec.com
Step 6: Document the Surrounding Roof
An inspection should look beyond the opening itself.
Ask the contractor to record relevant conditions involving:
- Adjacent seams.
- Flashing and terminations.
- Equipment curbs and supports.
- Roof drains.
- Previous patches.
- Debris and rooftop materials.
- Walkway locations.
- Other cuts, scuffs, or openings.
- Visible deterioration.
The report should distinguish current findings from older repairs or unrelated conditions. A photograph showing several patches does not establish that all of them resulted from the same event.
GAF’s commercial inspection guidance describes reviewing interior conditions, the building perimeter, and membrane details. It also recommends keeping maintenance records and a rooftop access log. gaf.com
Step 7: Document Interior Damage Separately
Photograph affected ceilings, walls, finishes, inventory, or equipment when it is safe to do so.
For each interior location, record:
- Room, suite, or unit number.
- Date and time of the observation.
- Whether water was actively entering.
- Approximate affected area.
- Photographs and related incident reports.
- Protective or drying work performed.
Avoid assuming that the ceiling stain directly identifies the roof opening. The inspection should explain any connection and note where further investigation is needed.
Showtime Exteriors’ guide to documenting a storm roof leak offers additional suggestions for organizing interior and exterior observations.
Step 8: Record Moisture Investigation Methods and Limits
The visible size of a puncture does not establish how far moisture may have traveled. It also does not prove that insulation or decking is wet.
Depending on the conditions, the contractor may recommend additional investigation. If testing is performed, ask for a report identifying:
- The method used.
- The date and conditions.
- The areas evaluated.
- Relevant equipment.
- Findings and supporting photographs.
- Any verification performed.
- Areas not tested.
- Limitations of the method.
If selective openings are necessary, obtain an agreed scope explaining where they will be made and how they will be restored.
A report should avoid broad claims based on limited evidence. One dry opening does not establish that the entire roof is dry, and one wet location does not establish that the whole roof requires replacement.
Step 9: Preserve Maintenance and Rooftop Access Records
Previous records help establish the roof’s history and may clarify when a condition first appeared.
Collect available:
- Inspection reports.
- Maintenance invoices.
- Leak logs.
- Previous photographs.
- Equipment service records.
- Roof access logs.
- Repair work orders.
- Manufacturer communications.
Carlisle’s annual inspection checklist is an example of a structured maintenance record. Retain existing checklists in their original form rather than rewriting them after a loss. carlislesyntec.com
These records provide context. A service visit or a storm date should not be treated as proof of cause by itself.
Step 10: Document Temporary Protection and Repairs
When temporary work is needed, ask the contractor to record:
- The condition before work, when practical.
- The location and identifier of the affected area.
- Materials used.
- Preparation and work performed.
- Photographs of the completed protection.
- Date, crew, and work-order number.
- Limitations and follow-up needs.
Commercial membrane repairs require suitable materials and procedures. Avoid applying a generic sealant or coating without confirming compatibility with the existing system.
GAF’s commercial repair and maintenance resources offer information on repair solutions. The selected method should be appropriate for the identified roof system and site conditions. GAF
If the roof has an active warranty or guarantee, check its notice and repair requirements promptly.
Showtime Exteriors’ guide to documenting emergency roof protection explains why before-and-after records remain useful even when urgent work must proceed.
Step 11: Obtain an Itemized Repair Estimate
A useful estimate connects proposed work to documented locations.
It should identify:
- Repair areas and quantities.
- Membrane and accessory materials.
- Preparation and installation work.
- Any insulation or deck work supported by findings.
- Access and property-protection needs.
- Disposal.
- Exclusions and assumptions.
- Additional investigation, if needed.
- Workmanship coverage.
One puncture does not automatically justify full replacement. Conversely, a small surface opening does not rule out damage beneath it. The recommendation should follow the inspection findings.
If replacement is proposed, ask why a localized or sectional repair would not address the documented conditions.
Step 12: Organize the Information for Your Insurer
Do not wait for every document to be complete before giving any notice required by your policy. Contact your insurer promptly and confirm what it needs.
A practical documentation package can include:
FolderContentsPolicy and correspondencePolicy documents, claim number, requests, and communicationsIncident timelineDiscovery notes and relevant event informationRoof informationPlans, specifications, warranties, and installation recordsPhotographsOriginals and separately annotated copiesInspectionFindings, location map, testing, and limitationsProtection and repairsWork orders, materials, photographs, and invoicesEstimatesProposed scope, quantities, assumptions, and exclusionsInterior and operationsDamage records, inventory information, and documented business effects
The Insurance Information Institute’s disaster claim preparation guidance recommends retaining photographs, expenses, estimates, and communications. Ask your insurer about preserving damaged materials before disposal when safe and practical. Triple-I®
Showtime Exteriors’ commercial roof insurance claim checklist can help property managers review their records.
Common Documentation Mistakes
Assigning a Cause Without Evidence
“Puncture found after a storm” and “puncture caused by storm debris” are different statements. Use the first when that is all the available evidence establishes.
Taking Only Close-Up Photographs
Close-ups need wider views and a location map so reviewers can understand where the damage is.
Combining Old and New Conditions
Identify previous patches and historical leaks separately. Explain what is known and what remains uncertain.
Concealing Damage Without Recording the Work
Emergency protection may be necessary, but before-and-after photographs and a work order can preserve important information.
Treating a Repair Recommendation as a Coverage Decision
A contractor can document roof conditions and construction needs. The insurer evaluates coverage under the policy.
Frequently Asked Questions
Does a membrane puncture automatically qualify for an insurance claim?
No. Coverage depends on the cause, policy terms, deductible, exclusions, and other circumstances. Ask your insurer how the policy applies.
Should I wait for the adjuster before protecting the roof?
Do not delay necessary protective measures solely to preserve an exposed opening. Contact your insurer, document conditions when practical, and keep records of the work.
Can a puncture be repaired instead of replacing the roof?
Often, a localized repair may be possible if the surrounding system is serviceable and a compatible repair can be completed. Inspection findings determine the appropriate scope.
What if the cause is unknown?
State that clearly. Record observations, discovery dates, roof history, and relevant evidence without inventing a cause.
Are photographs enough?
Photographs are important, but a location map, written inspection, timeline, repair records, and itemized estimate make the condition easier to evaluate.
Should I keep removed roofing materials?
Ask your insurer and contractor about inspection or preservation needs before disposal when practical. Do not keep hazardous materials or delay urgent protective work.
Request a Commercial Roof Assessment
Clear documentation starts with accurate observations and a repair scope tied to the roof’s condition. It helps owners, contractors, and insurers understand what was found, what work was performed, and what still needs investigation.
Showtime Exteriors helps commercial property owners evaluate membrane damage and document roofing work. Contact Showtime Exteriors to request an assessment.
Call: 817-400-ROOF (7663)